

Stinger
Stinger
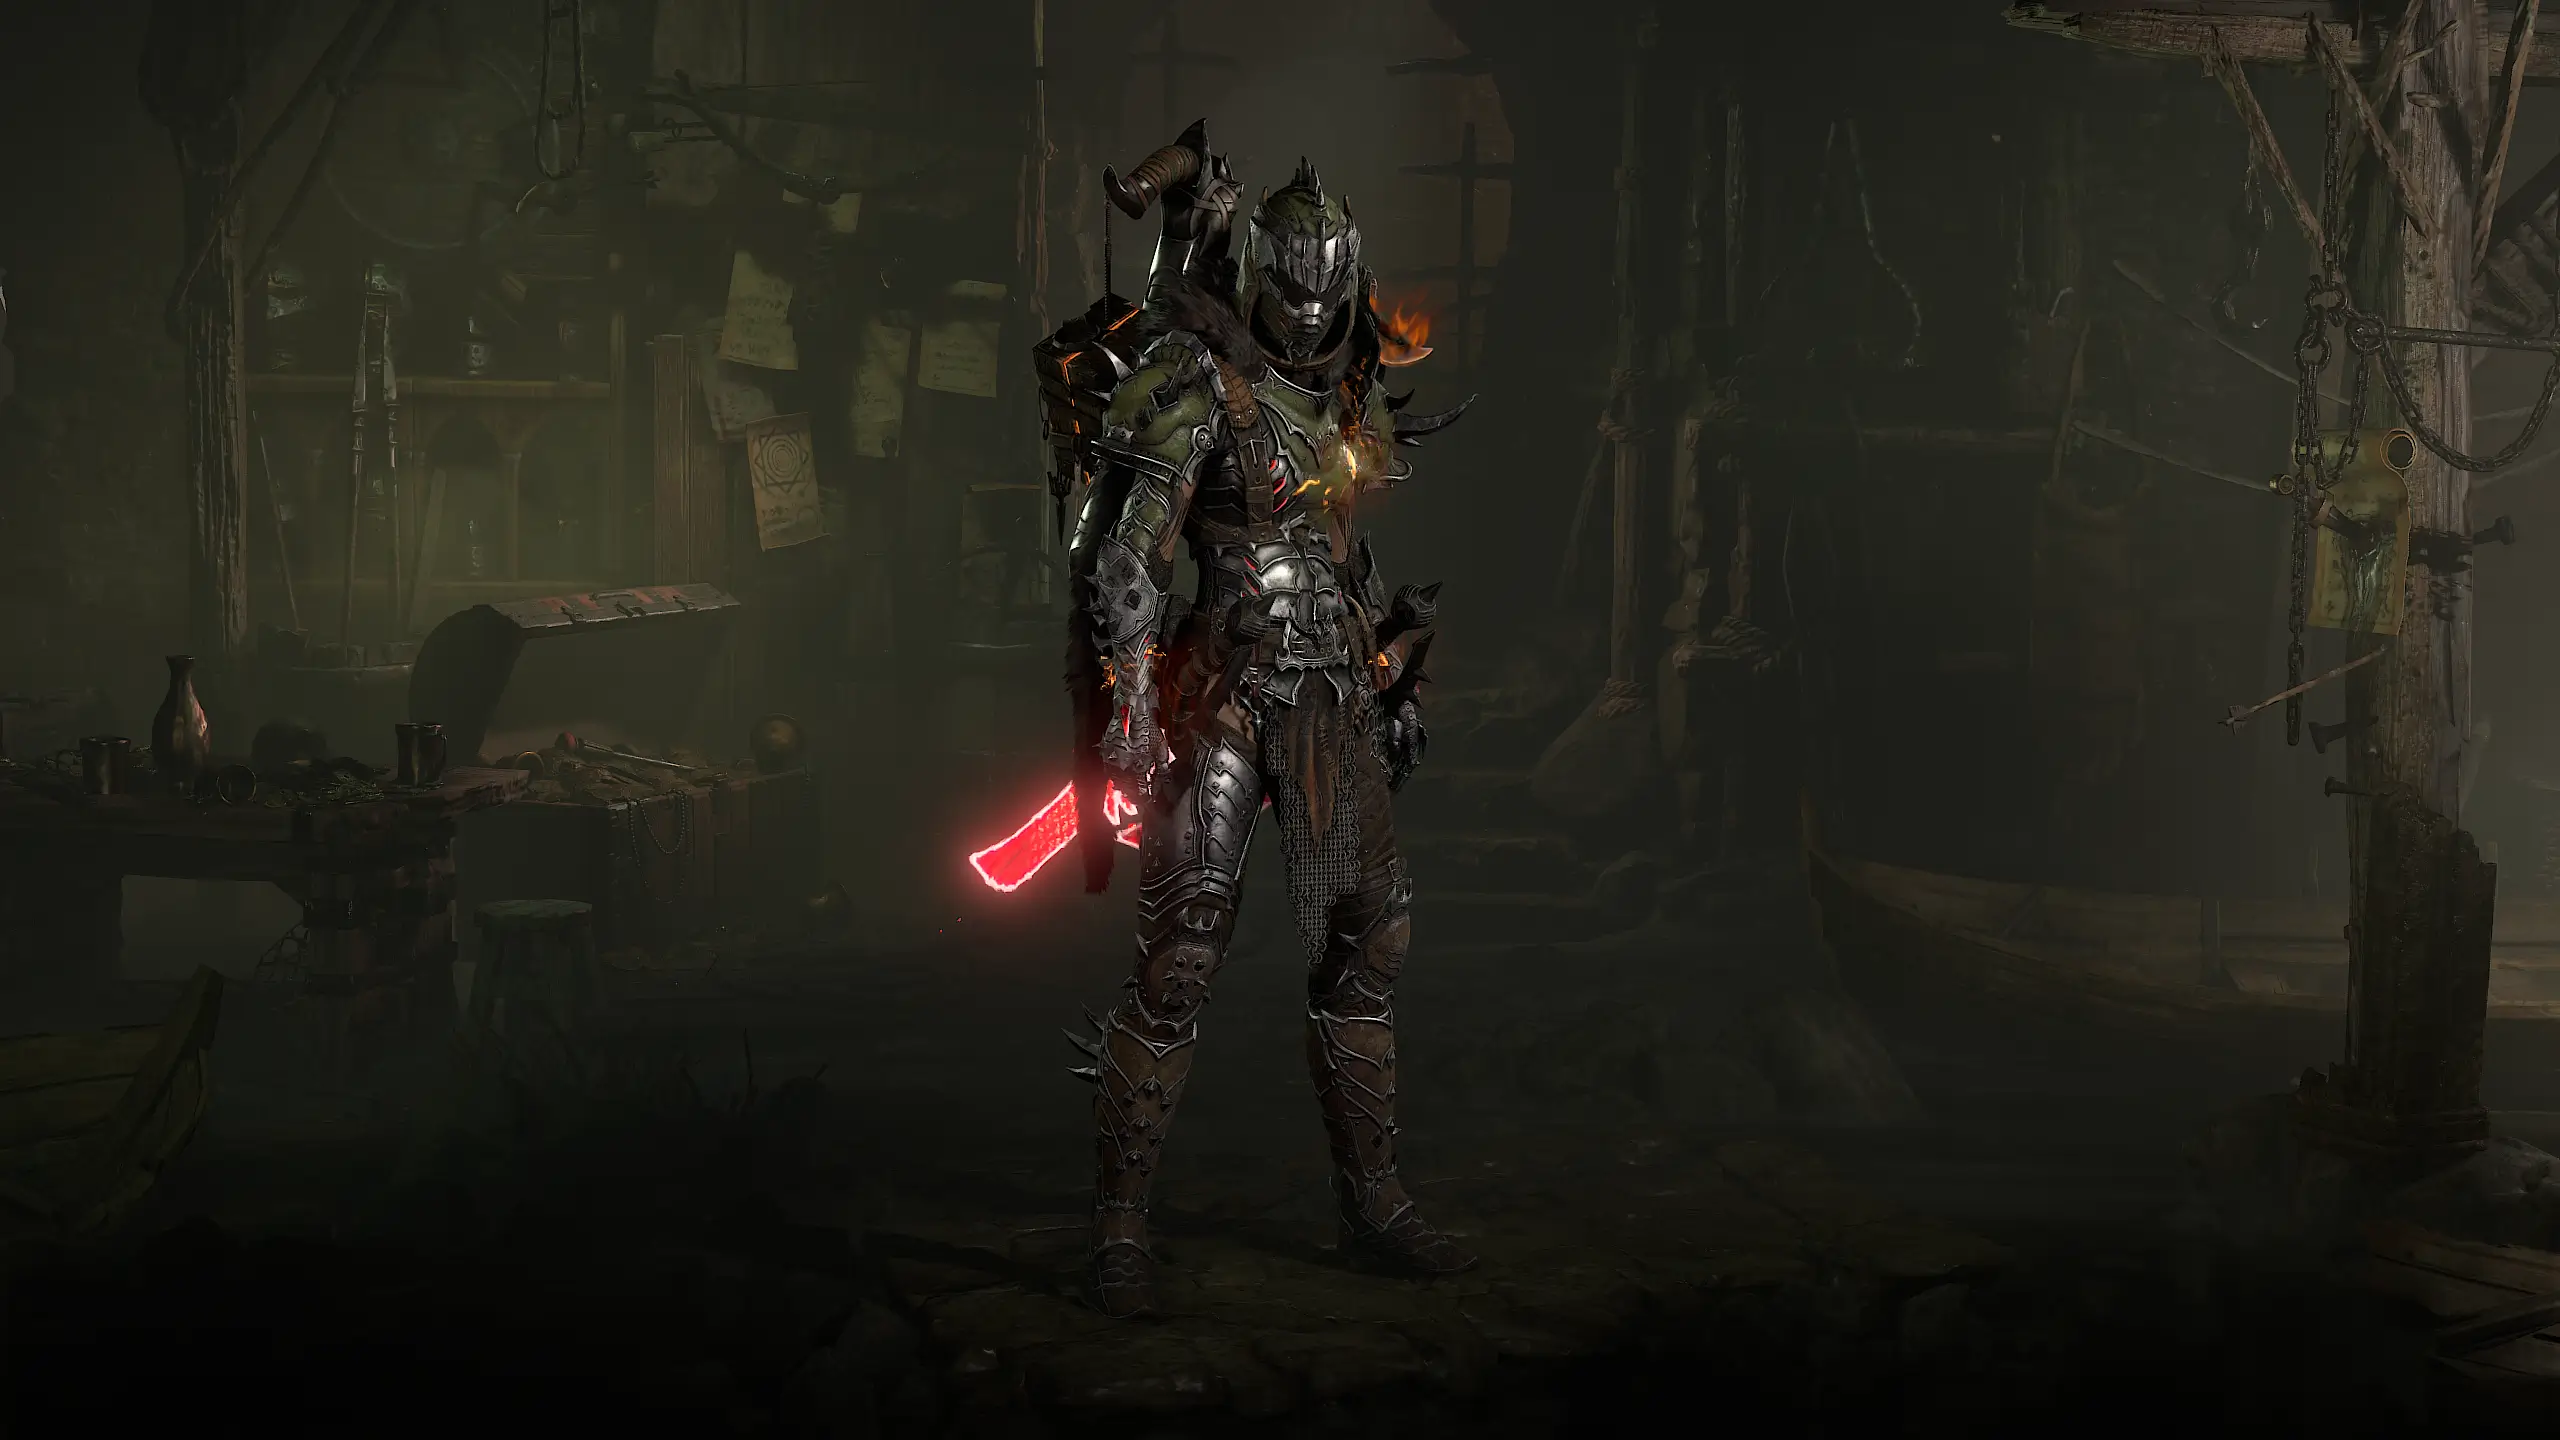
Spiritborn Leveling Build (S-Tier) by Chrix1848
Skills
- Scourge
- Thrash
- Toxic Skin
- Scourge Commander
- Erupting Skin
- Potent Sting
- Crashing and Thrashing
- Touch of Death
- The Devourer
- Erupting Swarm
- Spew Putrefaction
- Stinger
- Ferocity
- Cooldown Reduction
- Damage Bonus
- Weakened Damage Bonus
- Healing
- Vigor Generation
- Vulnerable
- Weaken
- Additional Charge
- Weakened Damage
- Healing
- Poisoning Duration
Aspects
- Aspect of Disobedience
- Juggernaut's Aspect
- Aspect of Infestation
- Aspect of Binding Morass
- Aspect of Pestilence
- Undying Aspect
- Aspect of Heavenly Strength
- Ferocious Aspect
- Aspect of the Moonrise
Gear Setup
- Helm: Aspect of Disobedience
- Chest Armor: Juggernaut's Aspect
- Gloves: Aspect of the Moonrise
- Pants: Aspect of Heavenly Strength
- Boots: Undying Aspect
- Amulet: Aspekt des bindenden Morasts
- Ring 1: Aspect of Infestation
- Ring 2: Ferocious Aspect
- Main Hand: Aspekt der Pestilenz
Paragon Boards
- Starter
- Prodigy's Tempo
- Convergence
- Drive
Glyphs
- Menagerist
Mercenaries
- Primary: Raheir (Tank)
- Reinforcement: Raheir (Tank)
Loading overview...
Gear Stats will be displayed here once gear is equipped.
Warplan configuration coming soon.
Mercenaries configuration coming soon.
Affix Priority
- Dexterity (Primary Class Attribute)
- Maximum Life
- Attack Speed
- Vigor Generation
- Resource Cost Reduction
- Damage Over Time
- Critical Strike Chance
- Movement Speed
- Armor / Resistances as needed
Stinger Spiritborn – Leveling Build
The Stinger Spiritborn is a fast Poison-based leveling build for Diablo 4 Season 15. The build revolves around Stinger, which becomes especially effective against Poisoned enemies and allows you to deal damage across large enemy packs.
Scourge, Toxic Skin, and Touch of Death prepare enemies and apply additional Poisoning, while Thrash helps rebuild your Vigor. Against tougher enemies, The Devourer provides a powerful additional damage window.
Playstyle
- Use Scourge against larger packs to control, Poison, and weaken enemies.
- Activate Toxic Skin when moving through enemy packs to spread additional Poisoning.
- Use Touch of Death against tougher enemies or larger groups so its infection and resulting swarms can spread.
- Follow up primarily with Stinger. With Potent Sting, already Poisoned enemies take significantly more damage.
- Use Thrash whenever your Vigor is running low. Thrash also supports the Ferocity and Basic Skill synergies used by the build.
- Activate The Devourer against large packs, elites, and bosses.
Rotation
For normal enemy packs, use this rotation as a general guideline:
Scourge → Toxic Skin → Touch of Death → Stinger → Thrash when Vigor is low → Stinger again
Against elites and bosses, add The Devourer at the beginning of your main damage window:
The Devourer → Scourge → Toxic Skin → Touch of Death → Stinger → Thrash when Vigor is low → Stinger
You do not need to use every cooldown against every small pack. Save your stronger abilities for larger groups and tougher enemies whenever possible.
Vigor
Stinger consumes Vigor, so you cannot continuously use it if your resource generation is still limited.
Thrash is your reliable way to rebuild Vigor.
A simple resource cycle is:
Stinger → Thrash when Vigor is low → rebuild Vigor → Stinger again
As your gear improves and you gain more Vigor Generation and Resource Cost Reduction, you will be able to use Stinger much more frequently.
Avoid spending your entire Vigor pool on individual normal enemies.
Preparing Poison for Stinger
The most important interaction in the build is between Poisoning and Stinger.
With Potent Sting, Stinger damages surrounding enemies whether they are Poisoned or not. However, enemies that are already Poisoned take significantly increased damage.
Several skills help you prepare enemies:
- Scourge deals Poison damage while controlling enemies.
- Toxic Skin spreads additional Poisoning as you move through enemy packs.
- Touch of Death infects enemies and creates additional swarms when the infection ends or the target dies.
- The Devourer spreads additional Poisoning through Spew Putrefaction.
Touch of Death and Pestilent Swarms
Touch of Death is especially useful against elites and dense enemy packs.
Its infection deals Poisoning damage over time. When the infection expires or the target dies, a swarm hatches and begins attacking additional enemies.
With Erupting Swarm, the swarm also repeatedly applies Poisoning damage around itself.
The build also uses Aspects that further strengthen your Pestilent Swarms.
This creates additional area damage during larger fights while you continue attacking with Stinger.
Using The Devourer
The Devourer is your most important skill against particularly large packs, elites, and bosses.
With Spew Putrefaction, it launches multiple toxic globs when it emerges. Enemies affected by these globs then take increased Poison Damage.
For this reason, try to activate The Devourer at the beginning of an important damage window and then follow up with your other Poison skills and Stinger.
Use it primarily:
- against bosses
- against elite enemies
- against especially large enemy packs
- whenever several targets can benefit from your Poison damage at the same time
Thrash and Ferocity
Thrash is more than just a way to generate Vigor.
The build also uses Ferocity and related synergies, allowing Thrash to further support your offensive gameplay.
Use Thrash regularly between Stinger attacks, especially whenever your Vigor starts running low.
Defense
This build fights relatively close to enemy packs but has several tools to reduce incoming pressure.
Scourge Slows and controls enemies. Toxic Skin also helps you move safely through dangerous areas and enemy packs.
While leveling, prioritize:
- Maximum Life
- Armor
- Resistances
- defensive Aspects
Leveling Gear
You do not need perfect items while leveling. Replace your equipment regularly and use the Affix Priority listed above as a guideline when choosing upgrades.
A smooth resource flow is especially important. If you cannot use Stinger frequently enough, Vigor Generation and Resource Cost Reduction become particularly valuable.
Attack Speed supports the fast playstyle and allows you to rebuild Vigor with Thrash more quickly before returning to Stinger.
A smooth rotation between Thrash and Stinger is more important while leveling than having perfect individual stats on every item.
Aspects
You can find the most important Aspects and their recommended item slots directly in the Gear section.
Aspects that strengthen your Pestilent Swarms, Poison mechanics, or Basic Skill synergies are especially useful for this build.
Other Aspects support your Ferocity and defenses.
Tip: Prioritize Aspects that noticeably improve your Poison damage, Pestilent Swarms, or resource management first. Perfect rolls are not necessary during the leveling phase.
Leveling Tip
The Stinger Spiritborn performs best when you avoid fighting every enemy individually.
Move quickly through the area, gather several enemies, and apply Poisoning first. You can then use Stinger to damage the entire pack at once.
You do not need to use every cooldown against small packs. Save The Devourer and your other powerful abilities for larger groups, elites, and bosses.
This gives the Stinger Spiritborn excellent mobility, strong Poison damage, and powerful area clearing throughout the leveling process.
Loot Filter
No loot filter provided.
Latest News
-
 BlizzCon 2026: Diablo 4 Schedule, Panels and Drops Explained
-
 Geralt Comes to Sanctuary: The Witcher 3 Lands on Battle.net
-
 Season 15 in the Build Planner: Preview Is Open
-
 The 3.2 PTR Is Live: Play Season 15 Early
-
The 3.2.0 PTR: Everything You Need to Know About Season 15



























How to read and rebuild this Spiritborn build
This page holds a complete Spiritborn build for Diablo 4: skill tree, gear with aspects, paragon boards and the class mechanic. Here is how to read each tab and in what order to rebuild it.
The class mechanic: Spirit Hall
Gorilla, Jaguar, Eagle and Centipede — one primary and one secondary spirit are chosen. The combination changes skills and passive bonuses and sets the playstyle before the first skill point is spent.
Gear, aspects and affixes
The Gear tab lists every slot with its item, aspect and all affixes. Colour marks show what is special about a given line: a Greater Affix (GA) is the fifty-percent stronger roll of an affix, a tempering affix is added at the blacksmith from a manual, and an affix marked for masterworking only takes effect at Masterwork Quality 25 — which is why the planner always shows it at maximum.
Rebuild the gear in this order: uniques and mythics first, since they are fixed, then aspects on the remaining slots, then tempering and masterworking. Aspects can be imprinted from the Codex of Power or extracted from legendaries you find.
Paragon and glyphs
Paragon boards unlock at level 60. How many points this build spends is shown in the header band at the top. What matters is not the individual nodes but the glyphs: their radius grows with glyph level, and their additional bonus only applies once enough attribute points sit inside that radius. A board with the right rotation is therefore worth more than a board with more nodes filled in.
Variants and season
Many builds carry several variants — for example a version without mythics to start out. The bar under the build name switches between them, and skills, gear and paragon all change with it. The version picker in the header shows the build against the data of a given season.