
Golem Necromancer Endgame Build Guide · Diablo 4 · Season 15
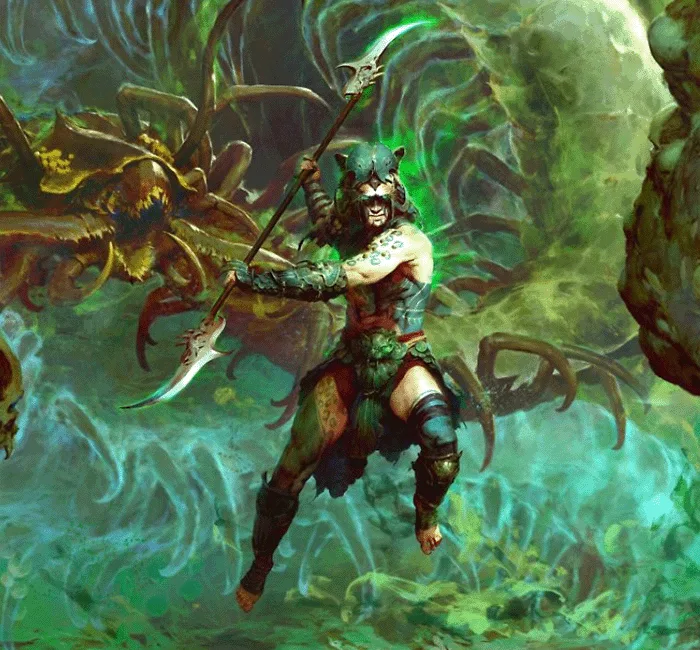
Golem is a Necromancer Endgame build for Season 15. The skill bar runs Hemorrhage, Sever, Blight, Skeleton Warrior, Golem and Bone Storm. Core gear: Mace of King Leoric, Blood Moon Breeches and Pact of Bone. Paragon uses Hulking Monstrosity, Cult Leader and Frailty with the glyphs Mage, Golem, Essence and Dominate.
Necromancer Endgame Build (B-Tier) by Chrix1848
Skills
- Blight (Rank 9)
- Sever (Rank 10)
- Hemorrhage (Rank 1)
- Bone Storm (Rank 15)
- Overpower (Rank 1)
- Blood Orb (Rank 1)
- Blood Runs Cold (Rank 1)
- Lucky Hit Chance (Rank 1)
- Whirlpool (Rank 1)
- Size Bonus (Rank 1)
- Cost Reduction (Rank 1)
- Inexorable Reaper (Rank 1)
- Crowd Control and Corpse Generation (Rank 1)
- Damage Reduction (Rank 1)
- Roll The Bones (Rank 1)
- Vulnerable (Rank 1)
- Skeleton Warrior (Rank 15)
- Healing (Rank 1)
- Litany of Death (Rank 1)
- Vulnerable (Rank 1)
- Golem (Rank 15)
- Damage Bonus (Rank 1)
- Gargantua (Rank 1)
- Weaken (Rank 1)
Items
- Mace of King Leoric
- Blood Moon Breeches
- Pact of Bone
Aspects
- Aspect of Frenzied Onslaught
- Necrotic Carapace Aspect
- Sacrificial Aspect
- Aspect of Hardened Bones
- Exploiter's Aspect
- Aspect of Amplified Damage
- Hellbent Commander Aspect
Gear setup
- Helm: — Necrotic Carapace Aspect
- Chest Armor: — Aspect of Hardened Bones
- Gloves: — Aspect of Frenzied Onslaught
- Pants: Blood Moon Breeches
- Boots: — Exploiter's Aspect
- Amulet: — Hellbent Commander Aspect
- Ring 1: Pact of Bone
- Ring 2: — Aspect of Amplified Damage
- Main Hand: Mace of King Leoric
- Off-Hand: — Sacrificial Aspect
Paragon Boards
- Starter
- Hulking Monstrosity
- Cult Leader
- Frailty
Glyphs
- Mage
- Golem
- Essence
- Dominate
Mercenaries
- Primary: Raheir (Tank)
- Reinforcement: Raheir (Tank)
Golem build at a glance
This variant gets your Golem build going without any Mythic Uniques. Your  Golem is the main damage dealer.
 Mace of King Leoric makes it devour a Skeleton Warrior regularly and keeps its damage buff active. The
 Radament's Desecration set turns the Golem into a Macabre skill with a large damage bonus.
The Midgame variant prepares you for the Endgame setup. Almost all skills, the weapon and most items stay the same. Later you only swap individual pieces.
Variants at a Glance
| Midgame | Endgame | |
|---|---|---|
| Helm | Necrotic Carapace Aspect with two  Grand Topaz |  Leoric's Crown with Soul Splinters |
| Talisman charm |  Will of Rathma |  The Grandfather |
| Off-hand | Sacrificial Aspect |  Lidless Wall |
| Bone Storm upgrade |  Damage Reduction |  Duration Increase |
| Paragon | four boards | five boards |
| Greater Affixes | not needed | on the ★ lines |
Requirements
Mace of King Leoric. It is what turns the Golem into your damage carrier.  Blood Moon Breeches and
 Pact of Bone are needed from the start as well.
All three are regular Uniques, so you need no Mythic item. Collect the five charms of Radament's Desecration along the way. The 2-piece and 3-piece bonuses already help a lot, the full boost comes with the 5-piece bonus.
Combat Rotation
- Cast
 Sever into the pack. The
 Crowd Control and Corpse Generation upgrade slows enemies and creates a corpse. With Inexorable Reaper you dash forward at the same time.
- Drop
 Blight with
 Whirlpool in the middle. The defiled area pulls enemies together and chills them.
- Your Skeleton Warriors rise from corpses on their own. Once all of them are up, the Skeleton Priest from
 Litany of Death appears briefly.
- Command your Golem onto elites or the densest spot. It leaps in, becomes Unstoppable and taunts enemies.
- Cast
 Bone Storm whenever it is ready. The Damage Reduction upgrade gives you 10% Damage Reduction while it lasts.
- Use
 Hemorrhage as filler. It gives you Essence and Overpower stacks and freezes dangerous enemies.
Skeleton Warrior onto the target. Use Golem and Bone Storm on cooldown.How the Damage Works
Your Golem attacks on its own. As an Iron Golem with the first Book of the Dead upgrade, every attack creates a shockwave. It hits the target and every enemy behind it. Several multipliers stack on top:
| Bonus | Source | Condition |
|---|---|---|
| +100 to 120% Golem damage | Mace of King Leoric | the Golem consumes a Skeleton Warrior every 8 seconds |
| +250% for Macabre skills | Radament's Desecration (5 pieces) | always active |
| +50% for Macabre skills | Radament's Desecration (2 pieces) | after creating or consuming a corpse |
| +100% and +60% Golem damage | Hulking Monstrosity | +60% from the Warrior and Mage sacrifice bonuses |
| +40% minion damage per 20% attack speed | Cult Leader | up to a 100% attack speed bonus |
| +60% and +60% damage | Frailty and Aspect of Amplified Damage | enemy is cursed |
| +60% damage | Will of Rathma | enemy is Vulnerable, Weakened, Corrupted or crowd controlled |
| +30% Golem damage |  Damage Bonus | enemy is Vulnerable |
Where the curses come from
You never cast the curses yourself.  Decrepify and
 Iron Maiden come from three sources. Blood Moon Breeches lets your minions apply them. The
 Igni and
 Wat runeword casts Decrepify regularly. The set's 3-piece bonus curses every enemy close to your corpses.
Corpses are the engine of this build. They raise the Skeleton Warriors your Golem consumes. They also trigger the set's 2-piece bonus.
Skills
| Bar | Skill | Upgrades |
|---|---|---|
| 1 | Hemorrhage |  Overpower,  Blood Runs Cold,  Blood Orb |
| 2 | Sever |  Cost Reduction, Inexorable Reaper, Crowd Control and Corpse Generation |
| 3 | Blight |  Lucky Hit Chance, Whirlpool,  Size Bonus |
| 4 | Skeleton Warrior |  Healing, Litany of Death,  Vulnerable |
| 5 | Golem | Damage Bonus, Gargantua, Weaken |
| 6 | Bone Storm | Damage Reduction, Roll The Bones, Vulnerable |
Most points go into Golem, Skeleton Warrior and Bone Storm. Sever and Blight are tools, so their own damage barely matters.
Key choices
- Gargantua raises a larger Golem with an aura that speeds up your other minions. You keep a single Golem that carries every buff.
- Weaken weakens every target the Golem hits. That lowers the damage you take and activates Will of Rathma.
- Litany of Death summons the Skeleton Priest. It grants your minions Critical Strike Chance and heals them to full.
- Overpower grants Overpower stacks. Overpower is a bonus hit that scales with your Life and Fortify. You need the stacks for the Bone Mage sacrifice bonus.
- Damage Reduction makes you sturdier inside the storm. In the Endgame you swap it for Duration Increase.
Book of the Dead
| Minion | Choice | Effect |
|---|---|---|
| Skeleton Warriors | Reapers, sacrificed | +15% damage |
| Skeleton Mages | Bone, sacrificed | +20% damage while you have an Overpower stack |
| Golem | Iron, first upgrade | shockwave on every attack |
A sacrifice bonus is a permanent bonus you get for giving up part of your minions. After the sacrifice you summon only half as many Warriors. That is still enough food for your Golem.
Decrepify and Iron Maiden are not on your bar. Your gear and the set handle them.
Gear and Aspects
◆ = Masterworking target, the line that receives the bonus ranks while upgrading. You do not need Greater Affixes yet.
| Slot | Item or Aspect | Affixes by priority |
|---|---|---|
| Helm | Necrotic Carapace Aspect | ◆ Maximum Life, Armor, Intelligence, Resistance |
| Chest | Aspect of Hardened Bones | ◆ Maximum Life, Ranks to Golem, Armor, Intelligence |
| Gloves | Aspect of Frenzied Onslaught | ◆ Critical Strike Chance, Critical Strike Damage, Vulnerable Damage, Intelligence |
| Pants | Blood Moon Breeches | Critical Strike Damage, ◆ Maximum Life, Resistance |
| Boots | Exploiter's Aspect | Movement Speed, ◆ Maximum Life, Essence Regeneration, Resistance |
| Amulet | Hellbent Commander Aspect | ◆ All Damage Multiplier, Critical Strike Damage, Vulnerable Damage, Intelligence |
| Ring 1 | Pact of Bone | ◆ Critical Strike Damage, Vulnerable Damage, Maximum Life |
| Ring 2 | Aspect of Amplified Damage | Critical Strike Chance, ◆ Critical Strike Damage, Maximum Life, Intelligence |
| Weapon | Mace of King Leoric | ◆ Weapon Damage, Ranks to Golem, Critical Strike Damage, Intelligence |
| Off-hand | Sacrificial Aspect | ◆ Damage Reduction, Critical Strike Chance, Armor, Intelligence |
Aspect of Frenzied Onslaught and Pact of Bone give your minions attack speed, which is exactly what Cult Leader scales with. Sacrificial Aspect increases both sacrifice bonuses by 80%. Necrotic Carapace Aspect grants Damage Reduction and Fortifies you whenever your skills or minions create a corpse. Fortify is a protective buffer that heals you while it exceeds your current Life.
Tempering and sockets
Tempering and sockets
| Slot | Tempering | Sockets |
|---|---|---|
| Helm | Damage Reduction for your summons | two Grand Topaz |
| Chest | chance for minion attacks to Fortify you | Igni and Wat |
| Gloves | Summoning damage | – |
| Pants | Skeleton Priest effect duration | two Grand Topaz |
| Boots | Bone Storm duration | – |
| Amulet | Maximum Life |  Grand Diamond |
| Ring 1 | Summoning damage | Grand Diamond |
| Ring 2 | Lucky Hit: chance to restore Primary Resource | Grand Diamond |
| Weapon | Macabre damage | Grand Diamond |
| Off-hand | chance for the Golem to hit twice | Grand Topaz |
Igni keeps storing Offerings and releases them when you cast a non-Basic skill. Wat turns them into Decrepify. Exploiter's Aspect extends crowd control effects such as the Hemorrhage freeze by 50%.
Paragon and Glyphs
| Board | Position | Glyph | Why |
|---|---|---|---|
| Starter | bottom |  Mage | Intelligence and +20% Summoning damage as additional bonus |
| Hulking Monstrosity | center |  Golem | Golem damage, sacrifice bonuses add Golem damage |
| Cult Leader | left |  Essence | minion damage through attack speed |
| Frailty | right |  Dominate | +60% damage to cursed enemies |
Attach the boards in this order. Hulking Monstrosity comes right after the Starter because it holds the biggest Golem bonus. Then attach Cult Leader to its left and Frailty to its right side. Keep the top gate of Hulking Monstrosity free, Scent of Death goes there in the Endgame.
You slot the Mage glyph for its additional bonus. Its base bonus for Skeleton Mages is wasted because you sacrifice your Mages. From glyph level 51 the radius of every glyph grows. From then on they reach all attribute nodes the planner allocates around the socket.
Talisman
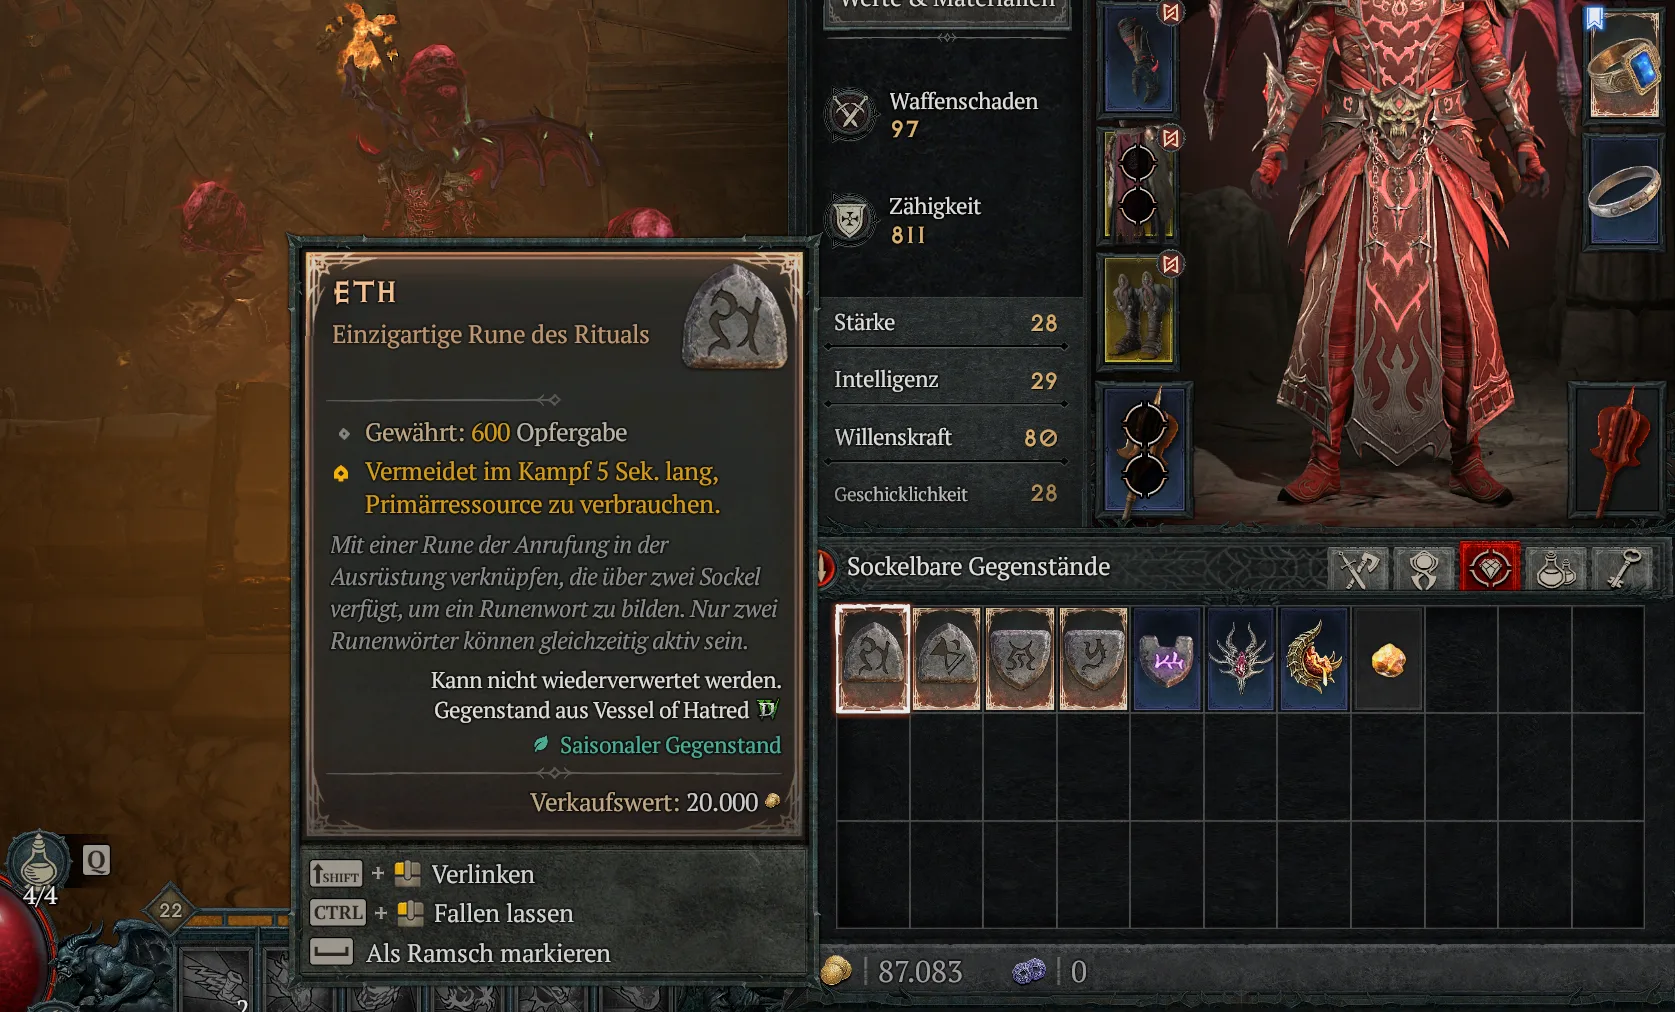
 Ancestral Horadric SealRadament's DesecrationWill of Rathma
The Ancestral Horadric Seal unlocks six charm slots. Five of them hold Radament's Desecration, the sixth belongs to Will of Rathma. It makes Vulnerable, Weakened, Corrupted and crowd controlled enemies take more damage from you. Golem, Skeleton Warriors and Hemorrhage apply these states constantly. As affix on the set charms, pick Ranks to Minion skills.
The set also adds defense. Every corpse you create or consume grants 15% Damage Reduction. Each Ultimate skill also creates 10 corpses over its duration. That is how Bone Storm feeds your Skeleton Warriors.
Mercenaries
Varyana is your primary mercenary with Cleave, Hysteria, Bloodthirst and Intimidated. Hysteria and Bloodthirst grant you attack speed. Intimidated lowers the damage of enemies around her while Bloodthirst is active.
Raheir joins as reinforcement with Provoke, triggered by Injured. When things get tight, he taunts nearby enemies and grants you up to 20% Damage Reduction.
Upgrade Path to Endgame
- Equip Mace of King Leoric, Blood Moon Breeches and Pact of Bone
- Collect all five charms of Radament's Desecration
- Find Leoric's Crown and socket
 Abyssal Splinter of Anguish and
 Abyssal Splinter of Sin
- Swap Sacrificial Aspect in the off-hand for Lidless Wall
- Attach Scent of Death as fifth board on top of Hulking Monstrosity
- Swap Damage Reduction on Bone Storm for Duration Increase
- Swap Will of Rathma for The Grandfather once it drops
- Collect Greater Affixes and masterwork the ◆ lines
Lidless Wall multiplies your Bone Storm. The Grandfather is a pure bonus, not a must.Common Mistakes
- Minions not sacrificed. Without both sacrifices you lose the sacrifice bonuses, the extra Hulking Monstrosity damage and the effect of Sacrificial Aspect.
- No corpses. Without the Crowd Control and Corpse Generation upgrade on Sever, few Warriors rise. Then Mace of King Leoric has nothing to consume and the Golem loses its buff.
- Curses on the skill bar. Decrepify and Iron Maiden run through pants, runeword and set. A bar slot for them is wasted.
- Set only half complete. The biggest damage jump sits in the 5-piece bonus of Radament's Desecration. Collect the missing charms before pushing higher Pit tiers.
- Paragon in the wrong order. Without Hulking Monstrosity right after the Starter, your Golem misses its biggest bonus early on.
Loot Filter
More Necromancer Builds
View all Necromancer builds →


Latest News
-
 Season 16 Tier List After the PTR: Who Clears Tower 150?
-
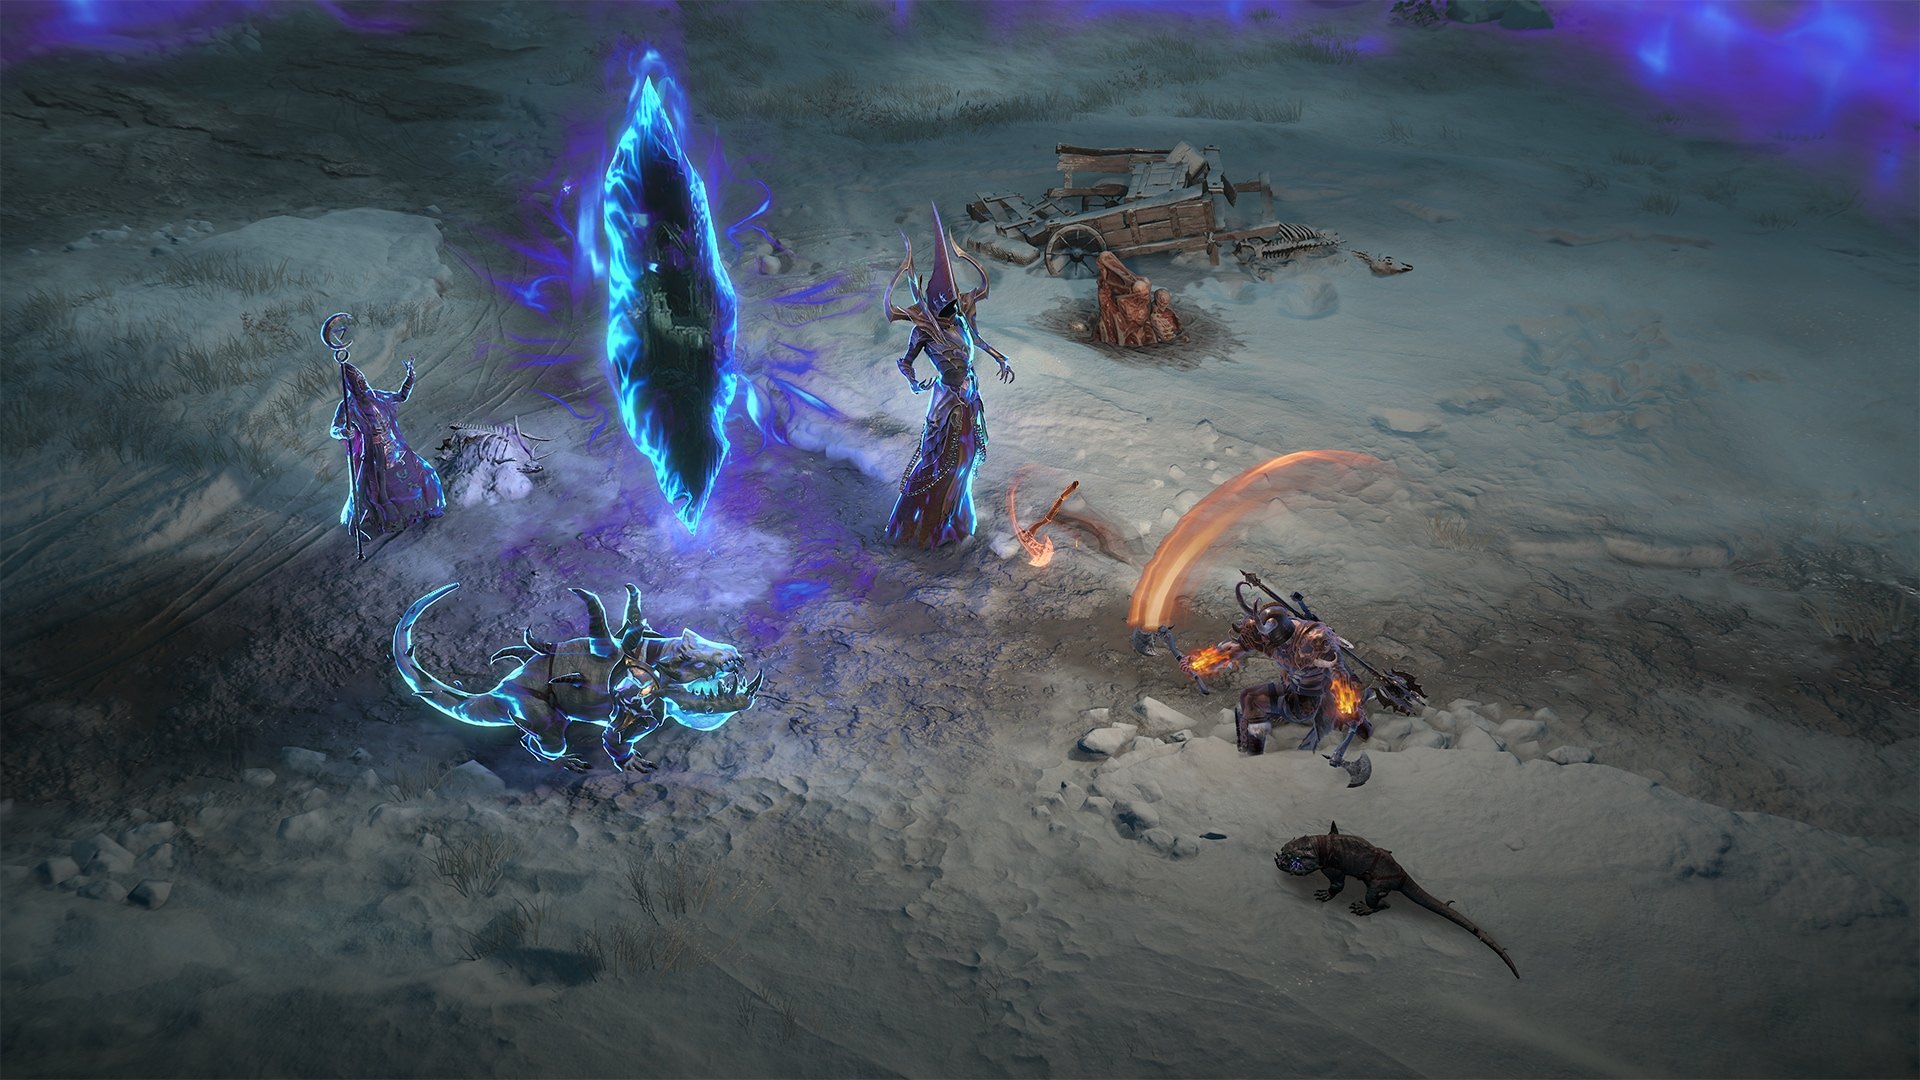 Diablo 4 Season 16 Story: Tyrael Against the Ullo Sar Death Cult
-
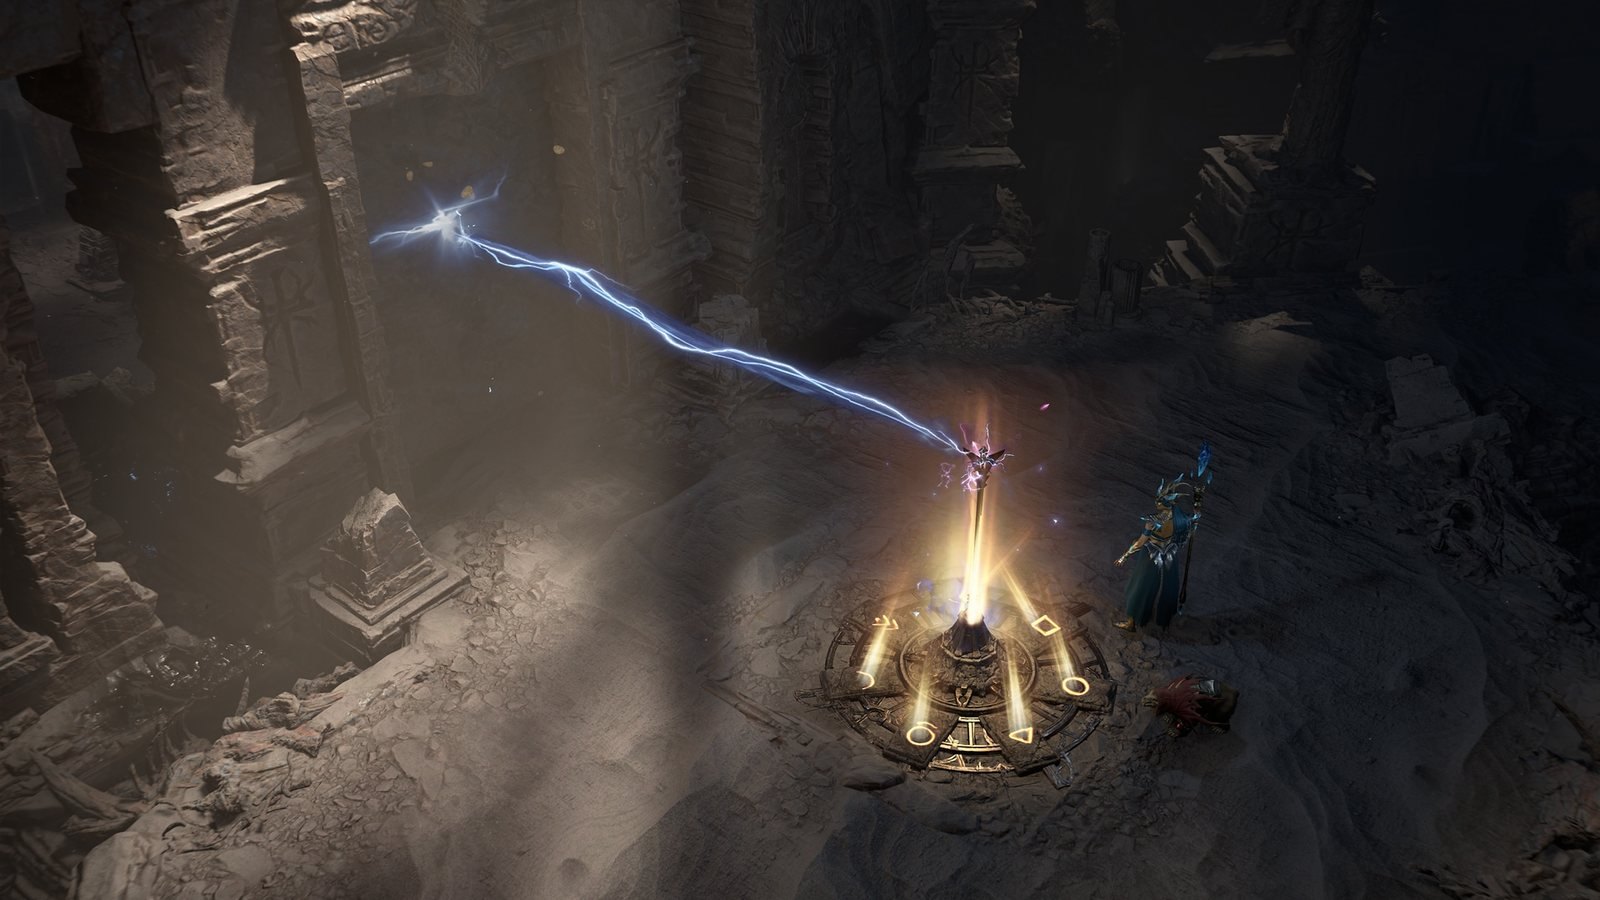 Diablo 4 Season 16 Gets Harder: Better Loot Only at the Top
-
 Diablo 4 Uber Tristram Returns as a Regular Boss in Season 16
-
 Diablo 4 Season 16 Class Changes: All Buffs and Nerfs for 8 Classes