

선조의 망치 야만용사 게임 종반 빌드 가이드 · Diablo 4 · 시즌 15
선조의 망치 — 시즌 15 야만용사 게임 종반 빌드입니다. 기술 바 구성: 선조의 망치, 강력한 투척, 집결의 함성, 전장의 함성, 철갑 피부 및 광전사의 진노. 핵심 장비: 가차없는 마음, 붉은 열광의 반지 및 추방된 군주의 영물. 정복자: 시작, 전쟁 인도자, 도륙 및 깔끔한 기술 (외 1개), 문양: 힘, 진노, 피탐식자, 착취 및 도전자.
야만용사 게임 종반 Build (B-Tier) 작성자 Chrix1848
기술
- 강력한 포효 (등급 1)
- 뇌성 (등급 1)
- 폭발성 (등급 1)
- 거한 (등급 1)
- 호통 (등급 1)
- 극한의 학살 (등급 1)
- 광전사의 진노 (등급 15)
- 전장의 함성 (등급 15)
- 도전의 외침 (등급 1)
- 집결의 함성 (등급 14)
- 철갑 피부 (등급 1)
- 선조의 망치 (등급 15)
- 강력한 투척 (등급 1)
- 규모 및 피해 보너스 (등급 1)
- 제압 (등급 1)
- 포악함 (등급 1)
- 지속시간 증가 (등급 1)
- 보강 (등급 1)
- 지속 효력 (등급 1)
- 이동 속도 (등급 1)
- 결의 (등급 1)
- 피해 보너스 (등급 1)
- 약화 (등급 1)
- 최강자 (등급 1)
- 보호막 (등급 1)
- 제압 (등급 1)
- 광폭화 (등급 1)
- 제압 (등급 1)
아이템
- 추방된 군주의 영물
- 라말라드니의 역작
- 붉은 열광의 반지
- 가차없는 마음
- 요르단의 반지
- 레오릭의 왕관
- 용광로
- 통찰
위상
- 천부의 힘의 위상
- 으스러뜨리는 위상
- 출정로의 위상
- 대지격퇴자의 위상
장비 구성
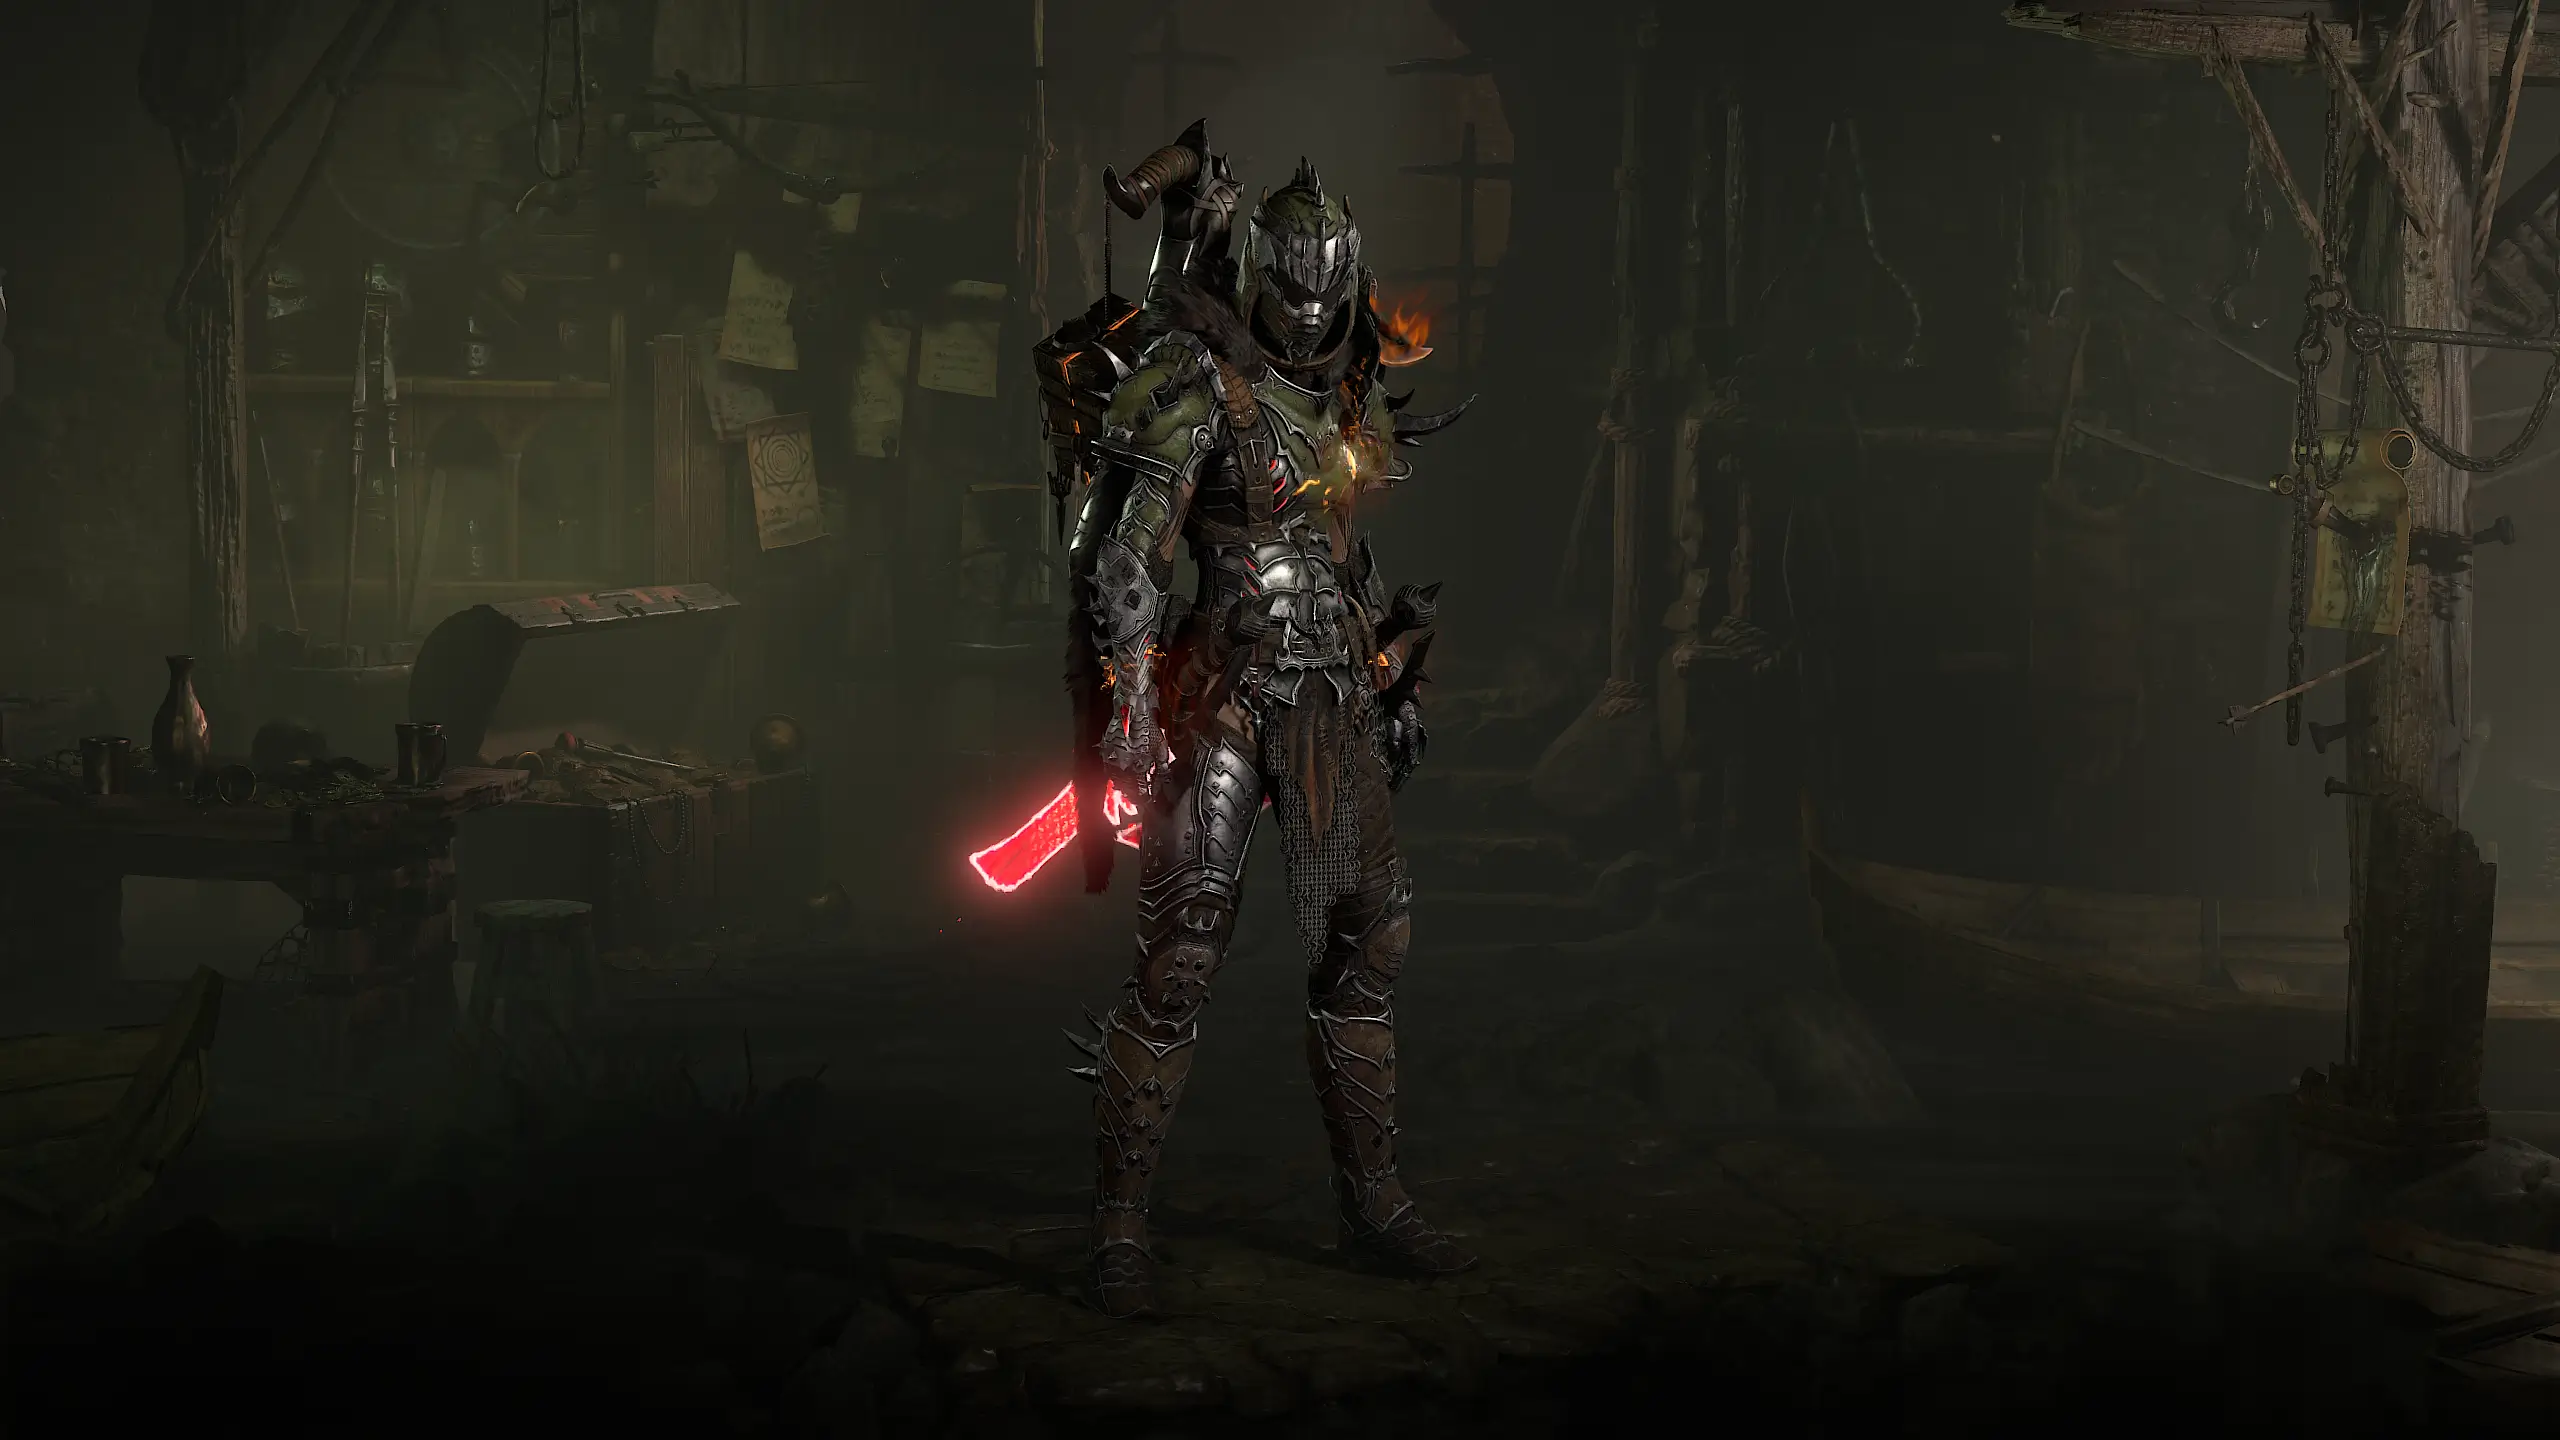
- Helm: 레오릭의 왕관
- Chest Armor: 가차없는 마음
- Gloves: — 출정로의 위상
- Pants: — 천부의 힘의 위상
- Boots: — 대지격퇴자의 위상
- Amulet: 추방된 군주의 영물
- Ring 1: 요르단의 반지
- Ring 2: 붉은 열광의 반지
- Main Hand: 라말라드니의 역작
- Off-Hand: — 으스러뜨리는 위상
- Two-Handed Slashing: 통찰
- Two-Handed Bludgeoning: 용광로
정복자 보드
- 시작
- 전쟁 인도자
- 도륙
- 깔끔한 기술
- 피의 분노
문양
- 힘
- 진노
- 피탐식자
- 착취
- 도전자
용병
- 주 용병: Raheir (Tank)
- 증원: Raheir (Tank)
Hammer of the Ancients (HotA) Build at a Glance
The  Hammer of the Ancients Barbarian (HotA) is a generator-free build for Season 15. You slam the hammer almost nonstop and refill Fury through shouts, Glyphs and gear.
 The Relentless Heart stacks damage on the same target. The Explosive upgrade turns every slam into a quake around you. This Midgame variant is your entry point from Torment 1. It works without
 Tibault's Will and without expensive Mythics and prepares you for the endgame.
Variants at a Glance
| Midgame | Endgame | |
|---|---|---|
| Purpose | Entry from Torment 1, gear hunting | High Pit tiers, bosses, farming |
| Pants | Aspect of Heavenly Strength | Tibault's Will |
| Two-handed slashing weapon | Insight (runeword) | Crushing Aspect |
| Off-hand | Crushing Aspect | Edgemaster's Aspect |
| Seal |  Ancestral Horadric Seal |  Seal of the Golden Epiphany |
 Sescheron's Fury | 5 pieces | 2 pieces |
| Soul splinters | Greater splinters | Abyssal splinters |
Skills, mercenaries and War Plans are identical in both variants. When you switch, you only change gear, Talisman and Paragon.
Requirements
The build does not work without The Relentless Heart and  Ring of Red Furor. The chest provides the stacking hammer damage. The ring delivers guaranteed Critical Strikes. Add
 Banished Lord's Talisman as your amulet and
 Locran's Talisman as a charm. You can also swap the two.
 Ramaladni's Magnum Opus drains part of your Fury every second in combat. Use the regular, non-Mythic version in the Midgame. The Mythic version drains from your maximum Fury and only belongs in your gear once you have Tibault's Will.
Insight is a polearm runeword. You craft it in the Horadric Cube from a polearm and the runes Ral, Tir, Tal and Sol. It gives a big Critical Strike Damage multiplier, Attack Speed and All Stats. That makes it an early replacement for expensive two-handed weapons. Your first Mythic upgrade goes to Banished Lord's Talisman or  Locran's Talisman, followed by
 Leoric's Crown.
Combat Rotation
- Cast
 Wrath of the Berserker when the fight starts. You gain damage, become Berserking and turn Unstoppable.
- Cast
 Iron Skin whenever it is ready. The Barrier and Juggernaut keep you alive.
- Cast
 Rallying Cry about every four seconds. Booming raises your Fury generation a lot.
- Cast
 Mighty Throw whenever it is ready. The throw triggers a weapon swap and consumes one Overpower stack.
- Cast
 War Cry whenever it is ready.
- Spam Hammer of the Ancients in between. The
 Lac rune casts
 Challenging Shout for you.
The Relentless Heart keeps all three stacks.How the Damage Works
Ring of Red Furor is the core. Once you spend 30 Fury within 5 seconds, your next Core skill is a guaranteed Critical Strike. HotA itself costs 30 Fury. Every slam therefore primes the next one. This is why the downsides of  Greater Splinter of Hellfire and Locran's Talisman do not matter. Both lower your Critical Strike Chance, but the ring replaces it completely.
| State | Trigger | Effect |
|---|---|---|
| Guaranteed Critical Strike | Ring of Red Furor | Every HotA crits |
| Overpower |  Overpower, Earthstriker's Aspect | Feeds Aspect of the Warpath and Banished Lord's Talisman |
| Colossal | Sescheron's Fury at 100 Fury | Much more size and damage, slower casting |
| Berserking | Wrath of the Berserker, Aspect of Anger Management, Mighty Roar | Enables Blood Rage and Carnage |
| Fortified | Iron Skin,  Fortify, Warbringer | Enables Crushing Aspect |
| Bleeding | Two-Handed Sword Expertise | Enables  Bloodfeeder |
With all five pieces of Sescheron's Fury, the Colossal bonus gets much stronger and your maximum Fury goes up. Stay above 100 Fury for that reason. Ramaladni's Magnum Opus also scales with your current Fury. Overpower is a charge that massively boosts your next hit. With Overpower, Mighty Throw consumes a stack. That starts the Critical Strike Damage bonus of Banished Lord's Talisman.
Skills
| Slot | Skill | Job |
|---|---|---|
| 1 | Hammer of the Ancients | Main damage |
| 2 | Mighty Throw | Weapon swap, Overpower, Barrier |
| 3 | Rallying Cry | Fury generation and Fortify |
| 4 | War Cry | Damage buff |
| 5 | Iron Skin | Barrier, Unstoppable |
| 6 | Wrath of the Berserker | Damage, Berserking, Unstoppable |
Upgrades That Define the Playstyle
- Explosive makes the hammer quake all around you.
 Size and Damage Bonus and Overpower add to it.
- Mightiest turns Mighty Throw into an Ultimate skill. The throw then no longer consumes the Ring of Red Furor bonus.
 Barrier and Overpower complete it.
- Booming raises your Resource Generation. Fortify and
 Potency round out Rallying Cry.
- Mighty Roar,
 Ferocity and
 Duration Increase strengthen War Cry.
- Juggernaut,
 Movement Speed and Resolve make Iron Skin your panic button.
- Maximum Carnage extends Wrath of the Berserker as you spend Fury. Overpower and
 Berserking add damage.
- Challenging Shout only gets one point and is not on your bar. Bawl,
 Damage Bonus and
 Weaken still apply when Lac casts the shout.
Arsenal
Pick Two-Handed Sword Expertise in the Technique slot. Part of your direct damage turns into Bleeding. That enables Bloodfeeder and the Blood Rage legendary node. In the Arsenal, assign Mighty Throw to the two-handed slashing weapon. HotA always uses the bludgeoning weapon. Every throw then counts as a weapon swap for Earthstriker's Aspect.
Gear and Aspects
Stat Goals
These are your stat goals:
- 30–40% Cooldown Reduction so Iron Skin is up often.
- 50–80% Resource Generation together with Booming.
- At least 15 Fury per second from affixes.
- 300–400 maximum Fury.
- No Resource Cost Reduction. It weakens the Ring of Red Furor bonus.
Gear by Slot
| Slot | Item or Aspect | Key Affixes |
|---|---|---|
| Helm | Leoric's Crown | Cooldown Reduction ◆, Maximum Fury |
| Chest | The Relentless Heart | Ranks to HotA ◆, Maximum Fury, Fury Regeneration |
| Gloves | Aspect of the Warpath | Vulnerable multiplier ★◆, Critical Strike Damage ★, Physical Damage ★ |
| Pants | Aspect of Heavenly Strength | Fury Regeneration ◆, Strength, Life, Physical Resistance |
| Boots | Earthstriker's Aspect | Ranks to War Cry ◆, Fury Regeneration, Movement Speed |
| Amulet | Banished Lord's Talisman | Vulnerable multiplier ★◆, Critical Strike Damage ★ |
| Ring 1 |  Stone of Jordan | Vulnerable multiplier ◆, Ranks to All Skills |
| Ring 2 | Ring of Red Furor | Vulnerable multiplier ◆, Resource Generation |
| One-hand 1 | Ramaladni's Magnum Opus | Maximum Fury ◆, Strength ★ |
| One-hand 2 | Crushing Aspect | Critical Strike Damage ◆, Strength ★, Life ★ |
| Two-handed slashing | Insight | Critical Strike Damage ◆ |
| Two-handed bludgeoning |  The Furnace | Critical Strike Damage ◆, Life ★, Strength ★ |
★ marks a Greater Affix, an exceptionally high roll. ◆ marks the affix your Masterworking should hit. On Insight, enchant Weapon Damage into Strength at the Occultist.
Tempering, Sockets and Soul Splinters
Tempering, Sockets and Transfiguration
| Socket | Content |
|---|---|
| Chest | Runeword 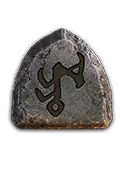 Mal +  Que: grants you a Barrier |
| Pants | Runeword  Neo + Lac: casts Challenging Shout automatically |
| All weapons |  Grand Skull |
| Helm | Greater Splinter of Hellfire and  Greater Splinter of Pain |
| Amulet |  Greater Splinter of the Mother |
| Ring 1 |  Greater Splinter of Lies |
| Ring 2 |  Greater Splinter of the Black Soulstone |
Leoric's Crown counts as jewelry. Soul splinters in the helm therefore work and get an extra boost. Transfigure the amulet into Aspect of Anger Management. Pick Physical Damage as the affix. On Leoric's Crown, transfigure Gem Strength.
Greater Splinter of Lies is a farming splinter. It brings more gold, materials and experience, but keeps you Weakened and Vulnerable at all times.
Paragon and Glyphs
The boards go in this order: Starter, Warbringer, Carnage, Flawless Technique and Blood Rage. Carnage attaches to the right of Warbringer. Flawless Technique sits above it, Blood Rage to its right.
| Board | Glyph | Legendary node |
|---|---|---|
| Starter |  Might | none |
| Warbringer |  Wrath | Fortify when spending Fury, more damage while Fortified |
| Carnage | Bloodfeeder | Attack Speed while Berserking, more Physical damage |
| Flawless Technique |  Exploit | Critical Strike Damage for attacks with the same weapon |
| Blood Rage |  Challenger | More damage while Berserking |
Grab all Glyph sockets and legendary nodes first. Then take the Rare nodes along the way and fill your Glyph radius. Level the Glyphs in this order: Wrath, Might, Exploit, Bloodfeeder, Challenger. Wrath returns Fury on every Critical Strike. At level 51 a Glyph is upgraded and gains a larger radius.
Talisman
Use a seal with six slots, for example Ancestral Horadric Seal. It holds the full Sescheron's Fury set and Locran's Talisman.
Ancestral Horadric SealSescheron's FuryLocran's Talisman- Two pieces of Sescheron's Fury make you Colossal at 100 Fury.
- Three pieces give you Fury when you get hit.
- Five pieces raise your maximum Fury and strongly boost the Colossal bonus.
- Locran's Talisman increases the damage of your Critical Strikes.
Stone of Jordan sets all your resistances to your highest one. Physical Resistance therefore protects you against everything and boosts your physical damage through the ring.Mercenaries
Subo is your hired mercenary. His Seeker ability reveals enemies and materials nearby. Opening Fire increases your Critical Strike Damage against enemies hit by Cover Fire. Wire Trap and Ready At Hand complete his setup.
Raheir is your reinforcement. He casts Bastion whenever you use Wrath of the Berserker. Bastion redirects most of the damage nearby to Raheir.
Upgrade Path to Endgame
- Find Tibault's Will and replace the Aspect of Heavenly Strength pants. Swap Neo for
 Igni at the same time.
- Only then switch Ramaladni's Magnum Opus to the Mythic version.
- Replace Insight with a two-handed slashing weapon carrying Crushing Aspect.
- Put Edgemaster's Aspect on your second one-handed weapon.
- Swap Que for
 Ohm in the chest. War Cry then casts automatically.
- Collect Seal of the Golden Epiphany,
 Hellfire Torch, Blood-Mad Idol and Tuskhelm of Joritz the Mighty and rebuild the Talisman.
- Replace Greater soul splinters with Abyssal ones.
- Spend your remaining Paragon points and keep leveling Glyphs.
Common Mistakes
- You roll Resource Cost Reduction. HotA then spends less Fury and Ring of Red Furor loses its bonus.
- You skip Mightiest. Mighty Throw then consumes the ring bonus and your next HotA is no longer a guaranteed crit.
- You put Mighty Throw on the same weapon as HotA. Without weapon swaps, Earthstriker's Aspect gives no stacks.
- You stack Critical Strike Chance. The ring already guarantees the crit.
- You equip the Mythic Ramaladni's Magnum Opus before Tibault's Will. The Fury drain is then too high.