
돌진 공성추 야만용사 게임 종반 빌드 가이드 · Diablo 4 · 시즌 15
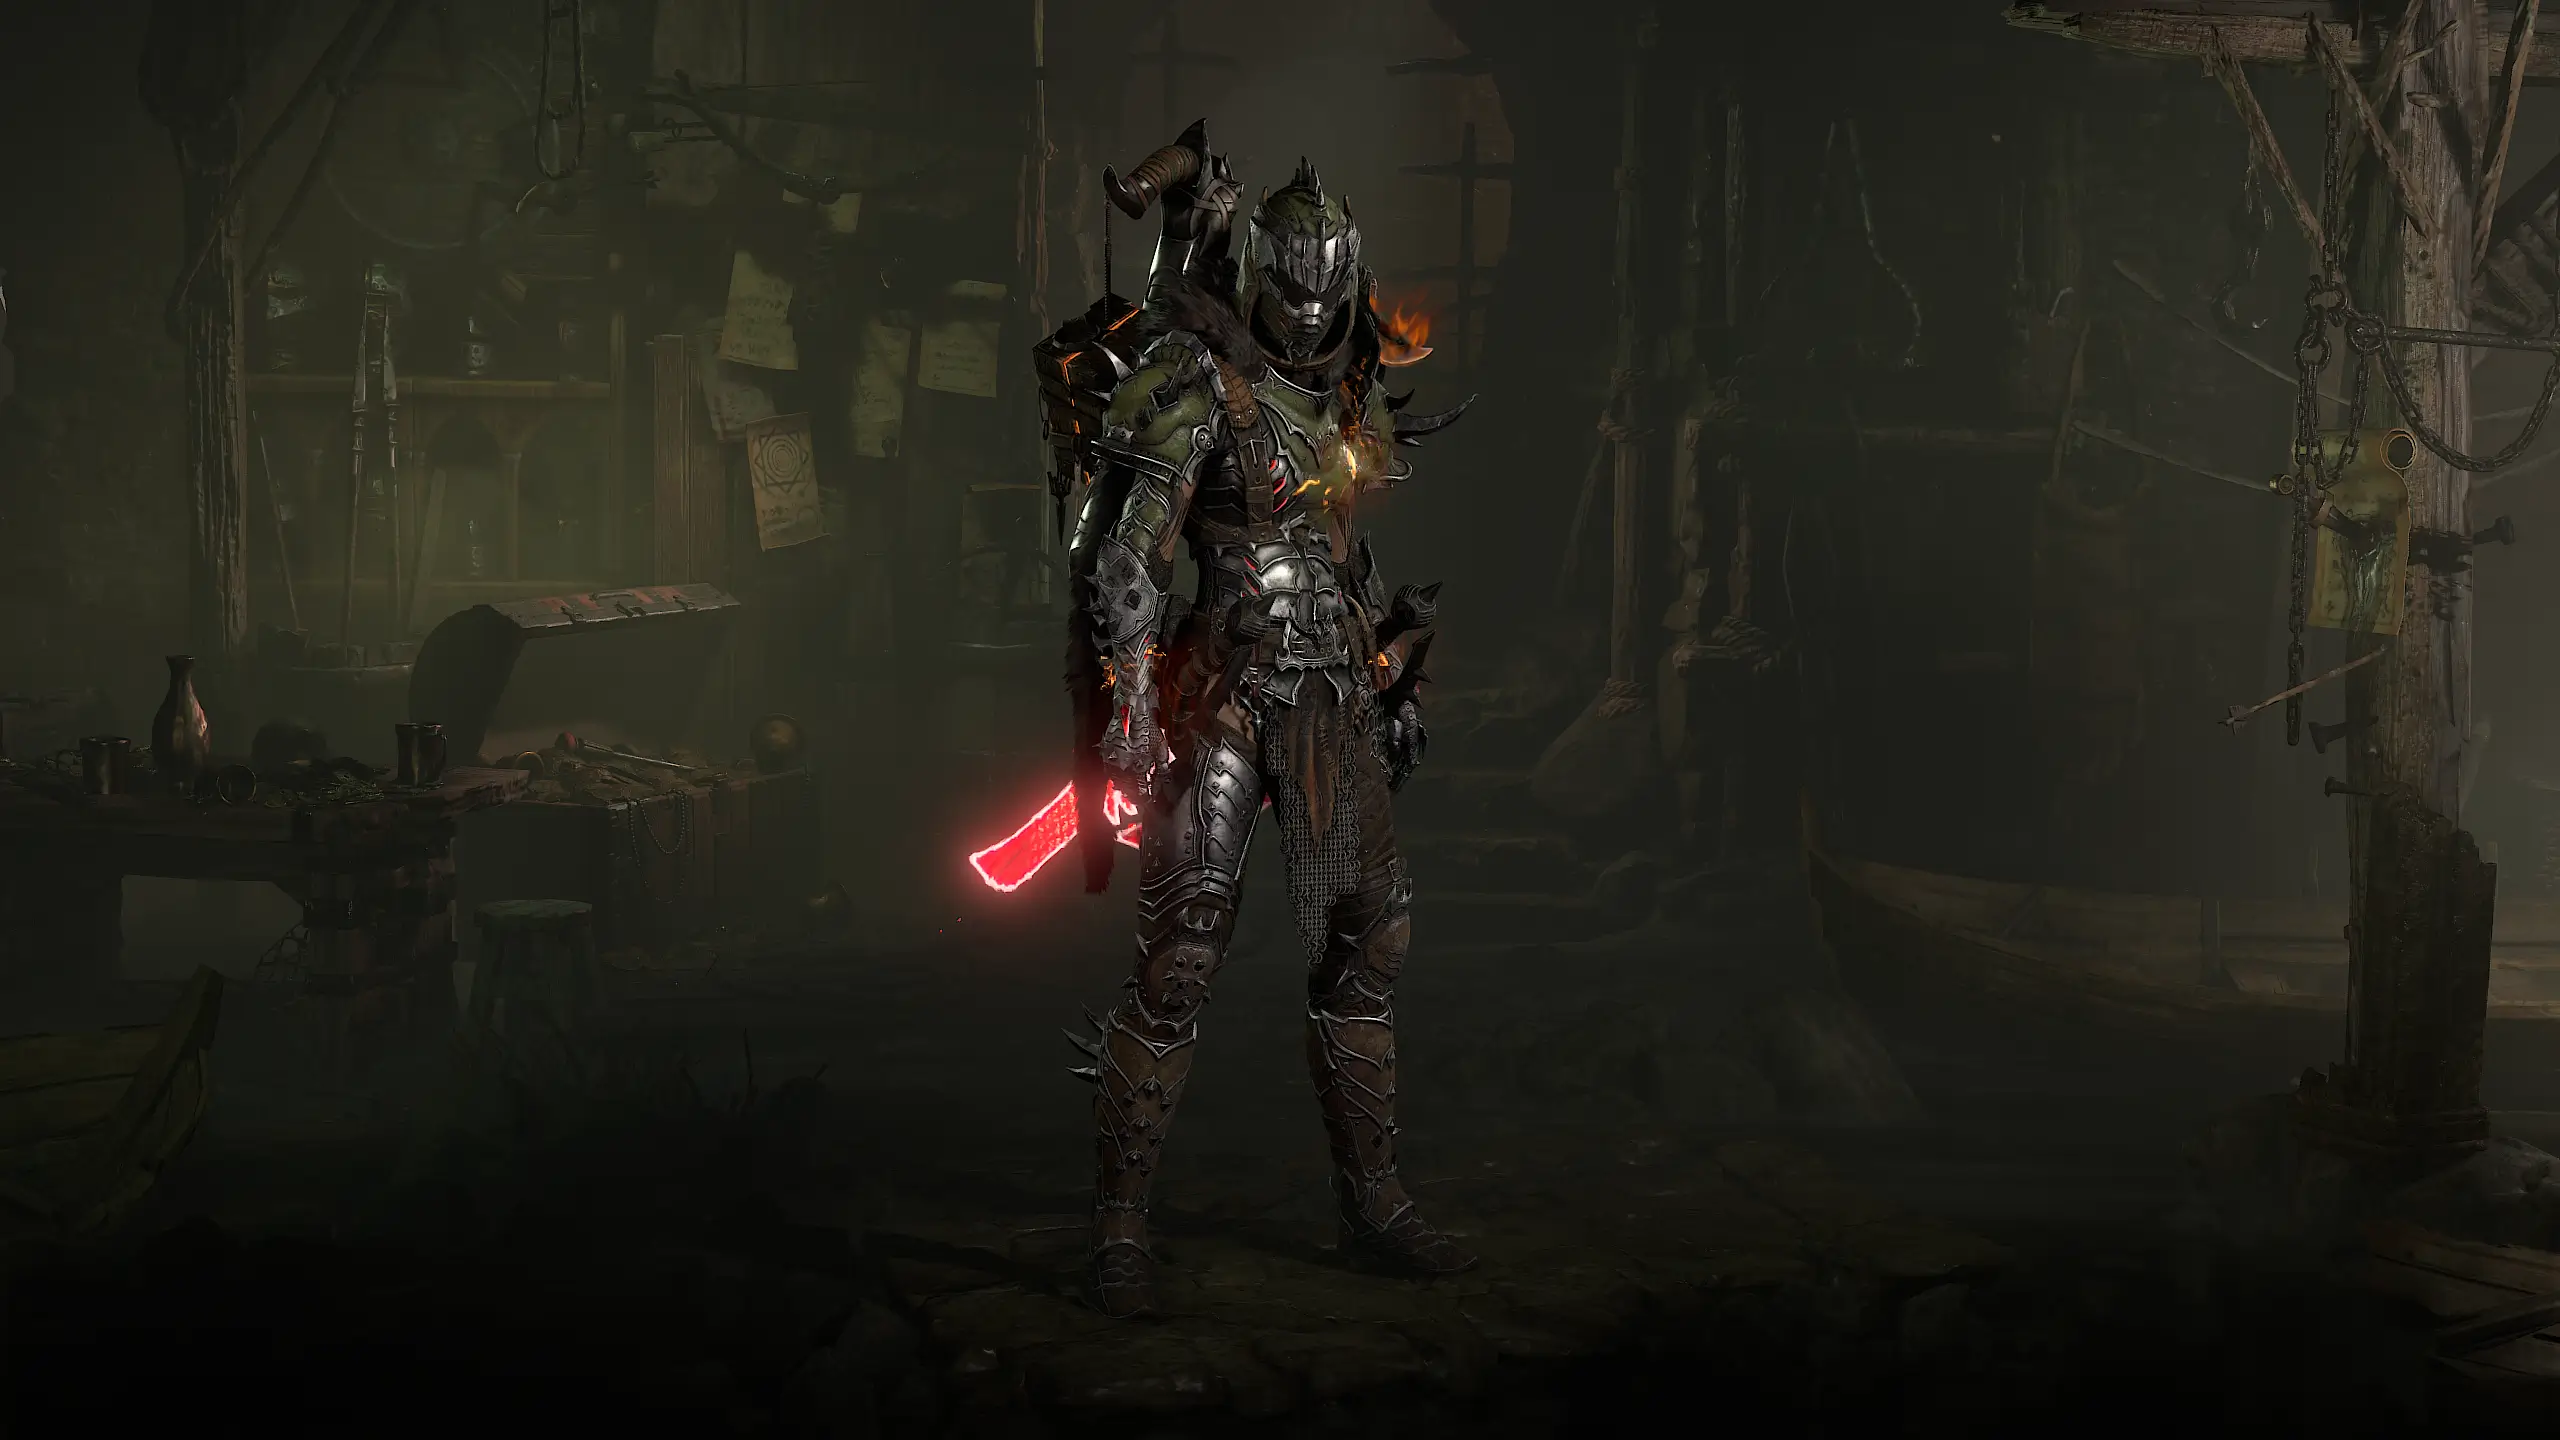
돌진 공성추 — 시즌 15 야만용사 게임 종반 빌드입니다. 기술 바 구성: 집결의 함성, 전장의 함성, 도전의 외침, 광전사의 진노, 철갑 피부 및 돌진. 핵심 장비: 사슬참화 쇠미늘. 정복자: 시작, 과다출혈, 피의 분노 및 전쟁 인도자 (외 1개), 문양: 도전자, 집행자 및 착취.
야만용사 게임 종반 Build (S-Tier) 작성자 Cornaro
기술
- 강력한 포효 (등급 1)
- 뇌성 (등급 1)
- 호통 (등급 1)
- 광전사의 진노 (등급 4)
- 돌진 (등급 15)
- 전장의 함성 (등급 15)
- 도전의 외침 (등급 15)
- 집결의 함성 (등급 15)
- 철갑 피부 (등급 1)
- 포악함 (등급 1)
- 지속시간 증가 (등급 1)
- 공성추 (등급 1)
- 거리 피해 보너스 (등급 1)
- 적 피해 보너스 (등급 1)
- 응징 (등급 1)
- 보강 (등급 1)
- 지속 효력 (등급 1)
- 약화 (등급 1)
- 최대 생명력 (등급 1)
- 피해 보너스 (등급 1)
- 지속시간 보너스 (등급 1)
- 전속력 (등급 1)
- 제압 (등급 1)
- 광폭화 (등급 1)
아이템
- 사슬참화 쇠미늘
위상
- 불복의 위상
- 자만하는 위상
- 검의 달인 위상
- 담대한 족장의 위상
- 쳐부수는 위상
- 악독한 파열 위상
- 천부의 힘의 위상
- 으스러뜨리는 위상
- 뼈 가르기 위상
- 전투의 열성 위상
- 과열 위상
장비 구성
- Helm: — 과열 위상
- Chest Armor: — 불복의 위상
- Gloves: — 검의 달인 위상
- Pants: 사슬참화 쇠미늘
- Boots: — 전투의 열성 위상
- Amulet: — 천부의 힘의 위상
- Ring 1: — 자만하는 위상
- Ring 2: — 담대한 족장의 위상
- Main Hand: — 뼈 가르기 위상
- Off-Hand: — 쳐부수는 위상
- Two-Handed Slashing: — 악독한 파열 위상
- Two-Handed Bludgeoning: — 으스러뜨리는 위상
정복자 보드
- 시작
- 과다출혈
- 피의 분노
- 전쟁 인도자
- 도륙
문양
- 도전자
- 집행자
- 착취
용병
- 주 용병: Raheir (Tank)
- 증원: Raheir (Tank)
Build Overview
The Charge Battering Ram Barbarian is a fast-paced Fire and Damage Over Time build that uses  Charge as both its main mobility Skill and primary source of damage.
The  Battering Ram variant turns Charge into a Fire Skill. Instead of focusing on the normal weapon hit, Charge leaves a burning trail behind that deals powerful Burning Damage to enemies.
Most of our damage therefore comes from Damage Over Time rather than the direct hit from Charge.
Core Mechanic
Charge is our main Skill and should be assigned to a Two-Handed Slashing Weapon.
The Battering Ram variant changes the way Charge works and creates a burning trail while traveling. This trail deals a large portion of our total damage as Damage Over Time.
The basic concept is simple:
Charge → create Burning Trails → reposition → Charge again
Wanton Rupture Aspect is one of our most important damage multipliers because it increases both the damage and duration of our Damage Over Time effects.
Cut to the Bone Aspect further increases our Damage Over Time against Vulnerable enemies.
Charge is not our primary source of damage. Focus on hitting enemies with the burning trails created by Battering Ram and scaling your Damage Over Time.
Chainscourged Mail
 Chainscourged Mail is the most important item in the build and is required to use Charge continuously.
Normally, Charge has a long Cooldown. Chainscourged Mail solves this problem through its Unique Effect.
Casting a damaging Brawling Skill disables that Skill afterwards. Once all corresponding Skills on your Action Bar are disabled, they are re-enabled and their Cooldowns are refreshed.
Since Charge is our only damaging Brawling Skill on the Action Bar in this setup, we use this effect to continuously reset the Cooldown of Charge.
Chainscourged Mail is required for this build.Without the Unique, Charge has too much Cooldown to function as our continuously available primary Skill.
Chainscourged Mail is not the main reason we use the item in this variant.Multiple different damaging Brawling Skills are required to benefit from that part of the Unique. In this setup, we primarily use the Unique for the Charge Cooldown reset.
Damage & Aspects
Wanton Rupture Aspect
Wanton Rupture Aspect is one of the most important Aspects in the build.
It increases both the damage and duration of our Damage Over Time effects, directly improving the burning trail created by Battering Ram.
Cut to the Bone Aspect
Cut to the Bone Aspect increases our Damage Over Time against Vulnerable enemies.
This makes Vulnerable an important part of our overall damage scaling.
Crushing Aspect
Crushing Aspect increases our damage while we are Fortified.
We gain Fortify through  Rallying Cry and other mechanics, allowing Fortify to provide both defensive and offensive value.
Edgemaster's Aspect
Edgemaster's Aspect increases our damage based on the amount of Fury available when using a Skill.
Since Charge generates Fury and the build barely spends it, we normally remain near maximum Fury and can consistently benefit from the damage multiplier.
Conceited Aspect
Conceited Aspect increases our damage while a Barrier is active.
The Barrier required to activate this multiplier is provided by @Iron Skin and our seasonal mechanics.
Vanquishing Aspect
Vanquishing Aspect synergizes with the Crowd Control provided by Charge.
Battering Ram allows Charge to Stun enemies, creating a natural interaction with the damage mechanic of the Aspect.
Aspect of Heavenly Strength
Aspect of Heavenly Strength is an important defensive component of the build.
The Aspect supports our Damage Reduction while using a Two-Handed Weapon and becomes increasingly valuable in more difficult content.
Aspect of Disobedience
Aspect of Disobedience provides another defensive layer.
Our burning trails continuously deal Damage Over Time, allowing us to reliably maintain its defensive effect.
Bold Chieftain's Aspect
Bold Chieftain's Aspect improves the uptime of our Shouts, giving us more consistent access to our offensive and defensive buffs.
Overheating Aspect
Overheating Aspect increases our Fire Damage, directly synergizing with Battering Ram.
Killing Burning enemies can also provide an Overpower charge.
Battle Fervor's Aspect
Battle Fervor's Aspect is one of our main sources of Berserking.
Since Charge is the Brawling Skill we continuously use, Berserking can be activated very reliably.
Skills
Charge
Charge is our main Skill and should be assigned to a Two-Handed Slashing Weapon.
With Battering Ram, we create the burning trails responsible for a large portion of our Damage Over Time.
Iron Skin
 Iron Skin is one of our primary defensive Skills.
It provides an important defensive layer and gives us access to a Barrier, which also enables our Barrier-based damage bonuses.
Rallying Cry
Rallying Cry provides valuable Movement Speed and supports our resource generation.
Since the build barely spends Fury, it helps us maintain a high resource level for Edgemaster's Aspect.
War Cry
 War Cry is our offensive Shout and provides a strong damage increase.
It also supports our Berserking and should be used regularly to maintain our offensive power.
Challenging Shout
 Challenging Shout is one of our primary defensive Skills and provides a large amount of Damage Reduction while active.
It is particularly valuable against dangerous groups of enemies and allows us to continue playing aggressively with Charge.
Wrath of the Berserker
 Wrath of the Berserker is our Ultimate Skill and supports our Berserking and overall offensive power.
Because of its longer Cooldown, it is not permanently available and should primarily be used when additional damage is required.
Important Mechanics
Burning: The burning trails created by Battering Ram are the core damage source of the build.
Vulnerable: Improves our Damage Over Time scaling, particularly through Cut to the Bone Aspect.
Berserking: Provided by mechanics including Battle Fervor's Aspect, War Cry and Wrath of the Berserker.
Fortify: Provides additional defense while simultaneously activating damage bonuses such as Crushing Aspect.
Barrier: Provided by Iron Skin and other mechanics, enabling additional offensive and defensive synergies.
Stun: Battering Ram allows Charge to Stun enemies and activate additional damage interactions.
Positioning
Charge is heavily affected by the environment.
The build performs best in open areas where you can travel through groups of enemies and position your burning trails effectively.
Charge travels through as many enemies as possible while leaving a long burning trail through the group.
Charge early or interfere with its movement.Because of this, the build can feel significantly clunkier in enclosed areas.