

역병 벌레 무리 역습 · 혼령사 게임 종반 빌드 가이드 · Diablo 4 · 시즌 15
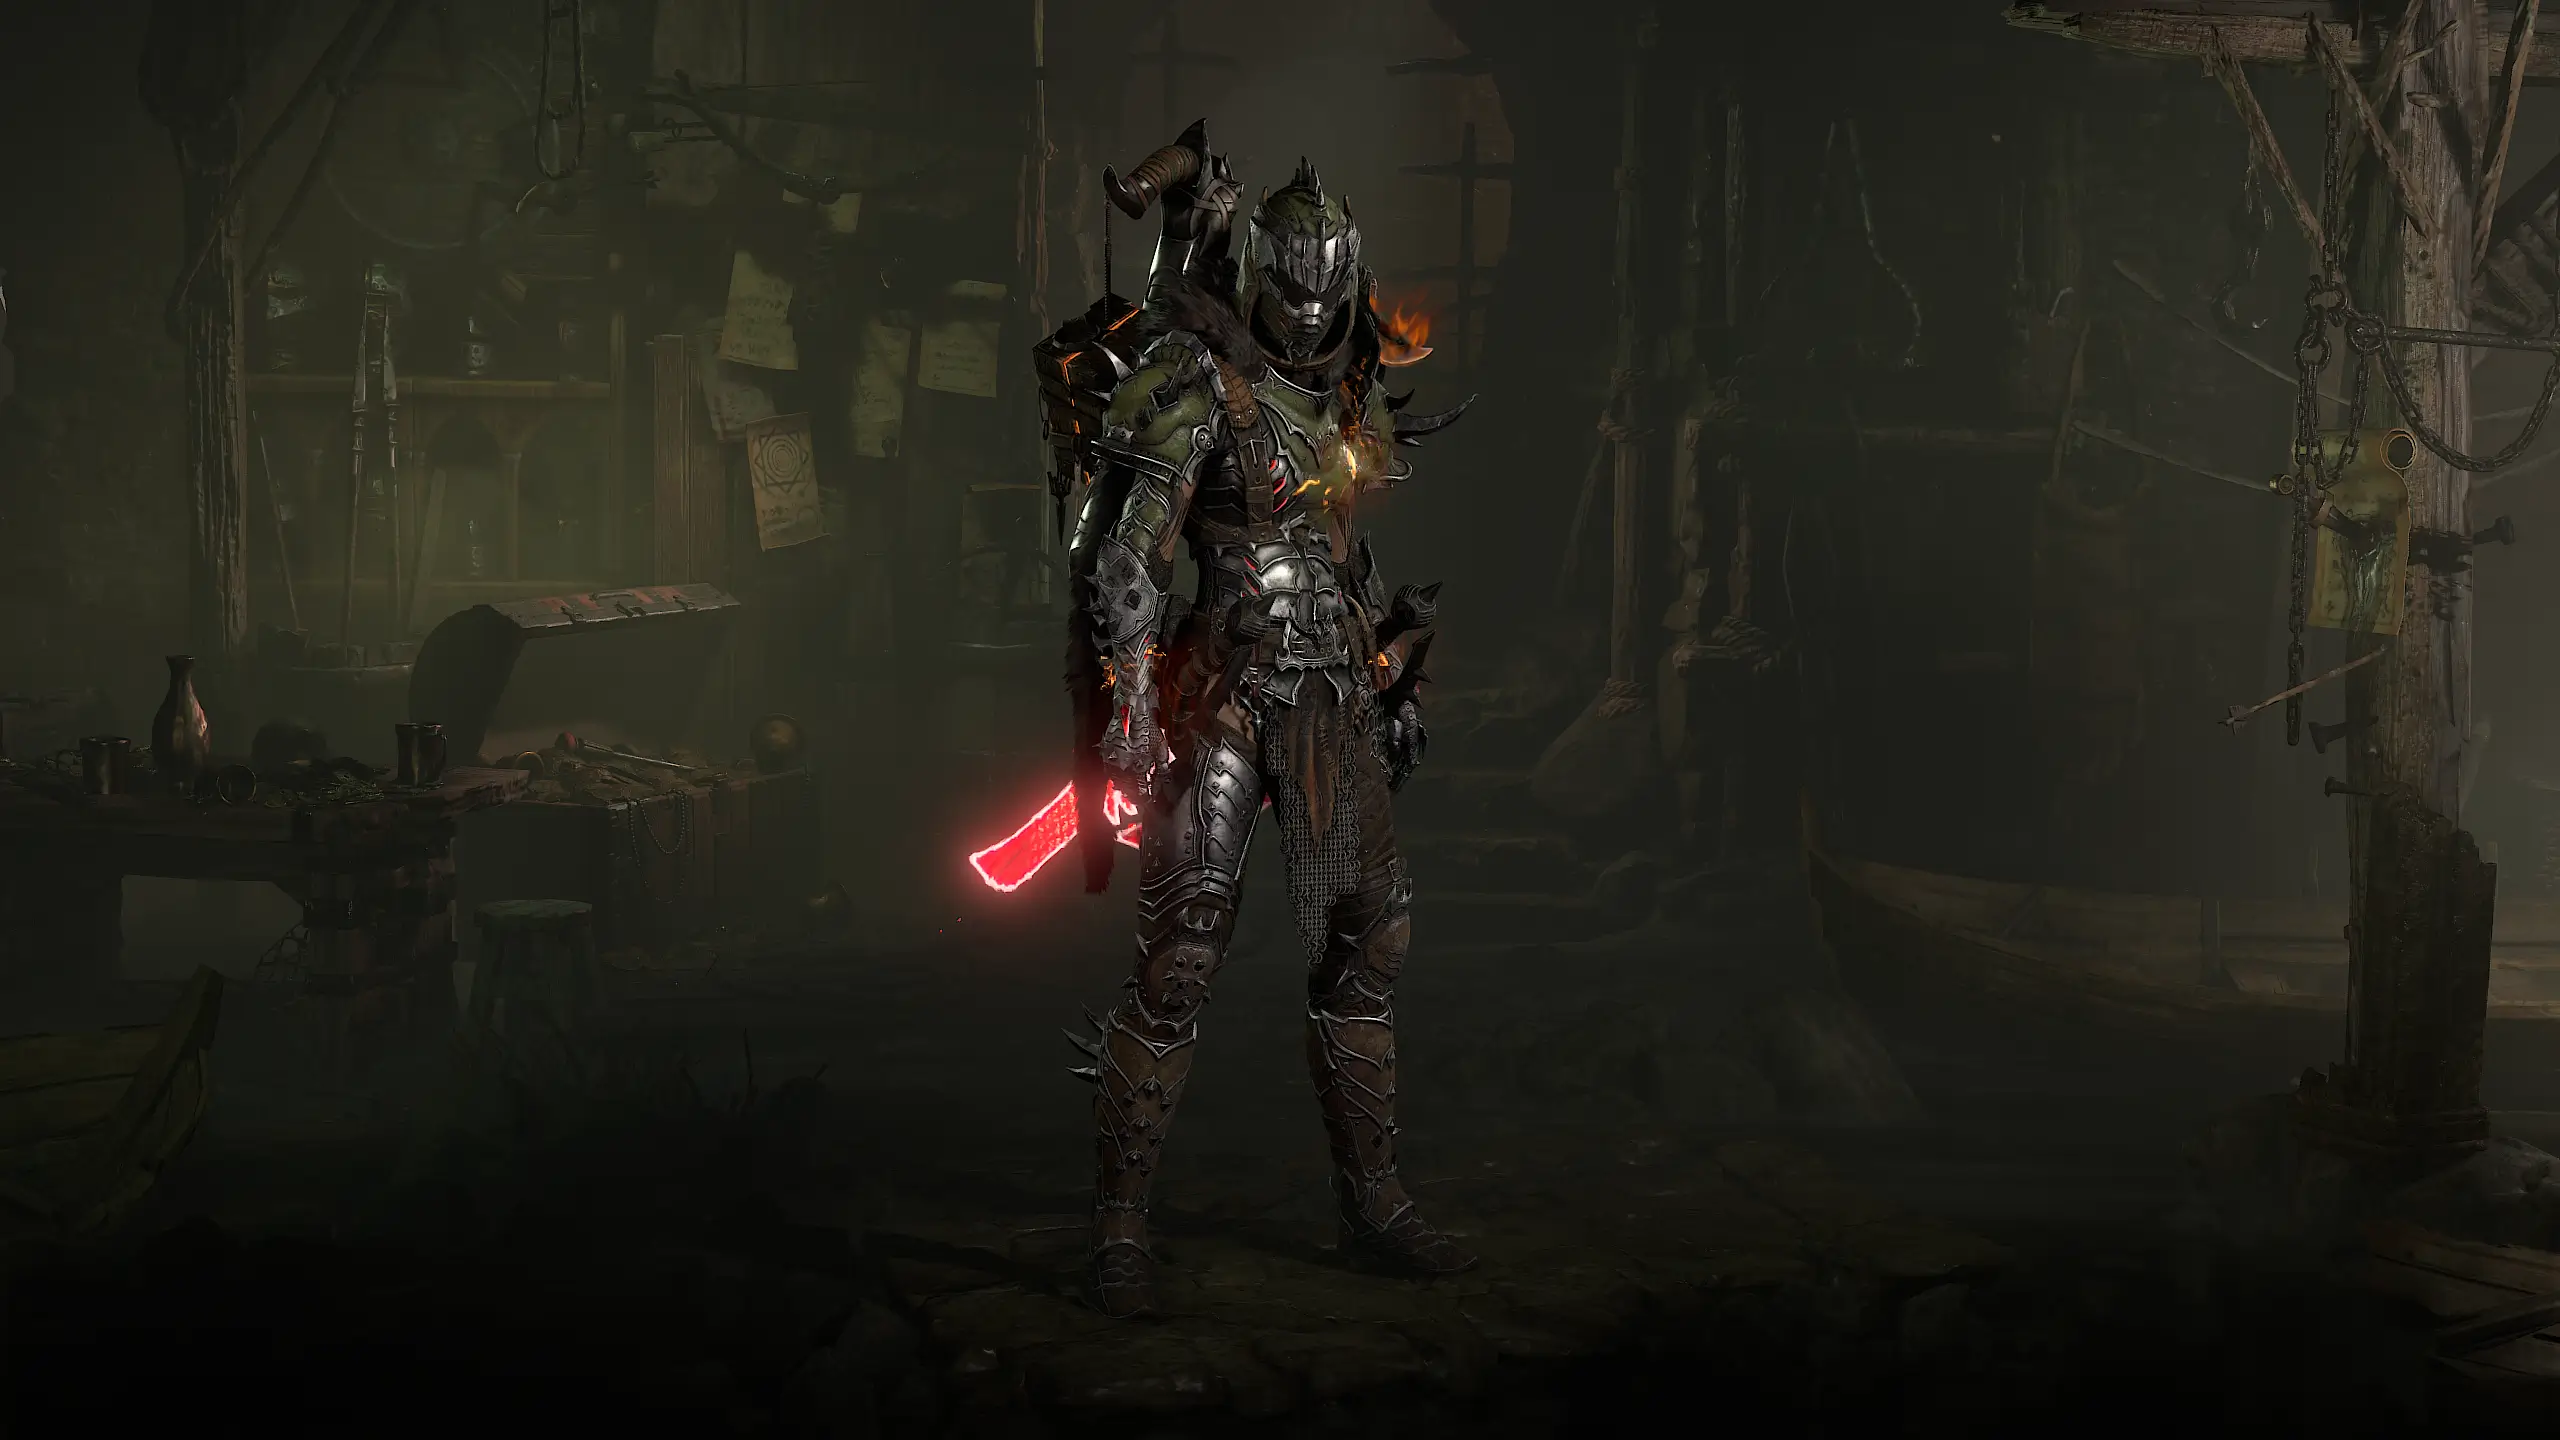
역병 벌레 무리 — 역습 중심으로 구성한 시즌 15 혼령사 게임 종반 빌드입니다. 기술 바 구성: 역습, 유린자, 독성 피부, 탐식자, 격렬한 할퀴기 및 참화. 핵심 장비: 꿈틀거리는 달의 반지. 핵심 위상: 역병의 위상 및 감염의 위상. 정복자: 시작, 집중, 추진력 및 쓴 약 (외 1개), 문양: 사육사, 파멸, 고름, 소모 및 영리함.
혼령사 게임 종반 Build (S-Tier) 작성자 Chrix
기술
- 와류 (등급 1)
- 참화 (등급 15)
- 독성 피부 (등급 15)
- 격렬한 할퀴기 (등급 1)
- 유린자 (등급 15)
- 역습 (등급 15)
- 발톱 연타 (등급 1)
- 천 년의 폭풍 (등급 1)
- 회피 휘둘러치기 (등급 1)
- 재빠른 벌레 (등급 1)
- 탐식자 (등급 1)
- 군체 의식 (등급 1)
- 무리의 역습 (등급 1)
- 부패물 뿜기 (등급 1)
- 넘어뜨리기 (등급 1)
- 지속시간 증가 (등급 1)
- 포악함 최대 (등급 1)
- 치유 (등급 1)
- 원기 생성 (등급 1)
- 재사용 대기시간 감소 (등급 1)
- 피해 보너스 (등급 1)
- 취약 (등급 1)
- 약화 (등급 1)
- 화신 지속시간 (등급 1)
- 충전 증가 (등급 1)
- 치유 (등급 1)
- 즉시 처치 (등급 1)
아이템
- 에베와카의 조화
- 꿈틀거리는 달의 반지
위상
- 쇠약의 독소의 위상
- 감염의 위상
- 역병의 위상
- 불안의 위상
- 동적인 제압의 위상
- 민활의 위상
- 우월의 위상
장비 구성
- Helm: 에베와카의 조화
- Chest Armor: — 쇠약의 독소의 위상
- Gloves: — 역병의 위상
- Pants: — 불안의 위상
- Boots: — 동적인 제압의 위상
- Amulet: — 우월의 위상
- Ring 1: 꿈틀거리는 달의 반지
- Ring 2: — 민활의 위상
- Main Hand: — 감염의 위상
정복자 보드
- 시작
- 집중
- 추진력
- 쓴 약
- 영재의 박자
문양
- 사육사
- 파멸
- 고름
- 소모
- 영리함
용병
- 주 용병: Raheir (Tank)
- 증원: Raheir (Tank)
Pestilent Swarm Build at a Glance
| Variant | Purpose | Key difference |
|---|---|---|
| Midgame | Stepping stone to Endgame | Jaguar in both Spirit Hall slots,  Loyalty's Mantle, regular Splinters |
| Endgame | Torment, The Pit, Nightmare Dungeons | Gorilla and Eagle,  Arioc's Needle, two Talisman sets |
| Speedfarm | Fast farming of Helltide and dungeons | Eagle as primary Spirit,  Shattered Vow, more speed |
The Midgame variant of Pestilent Swarm carries you into the Endgame.  Counterattack of the Swarm turns Counterattack into a Centipede Skill that sends out Pestilent Swarms.
 Ring of Writhing Moon summons another swarm every 4 seconds, and all swarms orbit around you. Here you go all in on the Jaguar Spirit and Loyalty's Mantle. The Paragon boards already match the Endgame version.
Requirements
- Ring of Writhing Moon is mandatory. Without it the swarms do not orbit you.
- Aspect of Pestilence (gloves) and Aspect of Infestation (weapon) carry the swarm damage.
- The charm
 Loyalty's Mantle only pays off when both Spirit Hall slots hold the same Spirit. That is why you pick Jaguar twice here.
- You do not need Greater Affixes (affixes with a boosted value) yet.
Combat Rotation
This is how you play Pestilent Swarm in the Midgame:
- Cast
 The Devourer before big packs so kills grant Supremacy stacks.
- Use all Counterattack charges.
- Activate
 Ravager and cast
 Scourge into the pack.
- Keep moving: Aspect of Alacrity and Drive both need movement.
Skills
Your bar holds Counterattack, Ravager,  Toxic Skin, The Devourer,
 Rushing Claw and Scourge.
 Vortex is not on the bar. The runeword with
 Kry casts Vortex for you.
- Counterattack:
 Counterattack of the Swarm, Damage Bonus and Cooldown Reduction.
- Ravager: Flurry of Claws,
 Duration Increase and
 Ferocity Maximum.
- Toxic Skin: Skuttle Bug, Healing and
 Vigor Generation.
- Scourge: Only one point, plus Hive Mind, Vulnerable and Weaken.
- Rushing Claw:
 Evasive Swipe, Incarnate Duration and Charge Refund.
- The Devourer: Spew Putrefaction, Healing and
 Instant Kill.
- Vortex: 1000 Year Storm and
 Knock Down.
Gear and Aspects
| Slot | Item | Key stats |
|---|---|---|
| Helm |  Harmony of Ebewaka | Dexterity, Cooldown Reduction, runes  Yul and  Que |
| Chest | Aspect of Debilitating Toxins | Ranks to Counterattack, runes  Moni and Kry |
| Gloves | Aspect of Pestilence | Cooldown Reduction, Vulnerable Damage multiplier |
| Pants | Aspect of Apprehension | Dexterity, two Grand Emeralds |
| Boots | Aspect of Kinetic Suppression | Movement Speed, Ranks to Ravager |
| Amulet | Aspect of Supremacy | Vulnerable Damage multiplier, Ranks to All Skills |
| Ring 1 | Ring of Writhing Moon | Vulnerable Damage multiplier |
| Ring 2 | Aspect of Alacrity | Vulnerable Damage multiplier |
| Weapon | Aspect of Infestation | Damage Over Time multiplier, two Grand Emeralds |
Aspect of Alacrity makes Defensive and Mobility Skills recover 75% faster while you move. That includes Counterattack and Scourge.
Tempering: Maximum Resolve Stacks on helm, chest and pants. Damage Over Time on weapon, gloves and ring 2. Cooldown Reduction on ring 1 and amulet. Movement Speed on the boots.
Sockets: Your jewelry holds the  Splinter of the Black Soulstone, of Sin and of Hellfire. Que in the helm invokes Earthen Bulwark and grants you a Barrier.
Paragon and Glyphs
The boards match the Endgame: Starter board ( Menagerist), Convergence (
 Bane), Drive (
 Fester), Bitter Medicine (
 Consumption) and Prodigy's Tempo (
 Canny). Drive still carries Fester instead of
 Colossal here. Get your glyphs to level 51 first, because their radius grows from there.
Talisman
Loyalty's Mantle Balazan's Bite
 Ancestral Horadric Seal
Five pieces of Balazan's Bite plus Loyalty's Mantle. An Ancestral Horadric Seal is enough here. The charms roll ranks to Jaguar Skills.
Mercenaries
Your Mercenary is Subo, your Reinforcement is Raheir with Bastion.
How Pestilent Swarm Works in the Midgame
- Swarms: Counterattack releases 3 swarms per cast, and the ring adds one every 4 seconds. Aspect of Pestilence gives them 100% more damage and 50% more duration. Aspect of Infestation makes them deal extra Poison damage over time.
- Double Jaguar: With Jaguar as primary and secondary Spirit, Loyalty's Mantle makes both bonuses 100% stronger. Jaguar Skills cost less Vigor and have shorter cooldowns.
- Resolve: Aspect of Kinetic Suppression grants Resolve from Mobility Skills. At 8 stacks, a Defensive Skill like Counterattack deals 150% more damage.
- Poison over time: Five pieces of Balazan's Bite extend your Poisoning and instantly kill a Poisoned non-boss enemy every 6 seconds.
Moving to Endgame
Once you own Arioc's Needle and the  Seal of the Diamond Mind, switch to the Endgame variant. There you pick Gorilla and Eagle in the Spirit Hall. Loyalty's Mantle then makes room for two pieces of
 Kwatli's Grace.
Common Mistakes
These mistakes cost the most damage with Pestilent Swarm:
- Picking different Spirits: Loyalty's Mantle only works with Jaguar twice.
- Standing still: Without movement your cooldowns recover slower.
- Too much distance: The swarms orbit you and only hit close to you.
- Saving Counterattack: Every unused charge is a set of missing swarms.