

祝福の鎚 パラディン エンドゲームビルドガイド · Diablo 4 · シーズン15
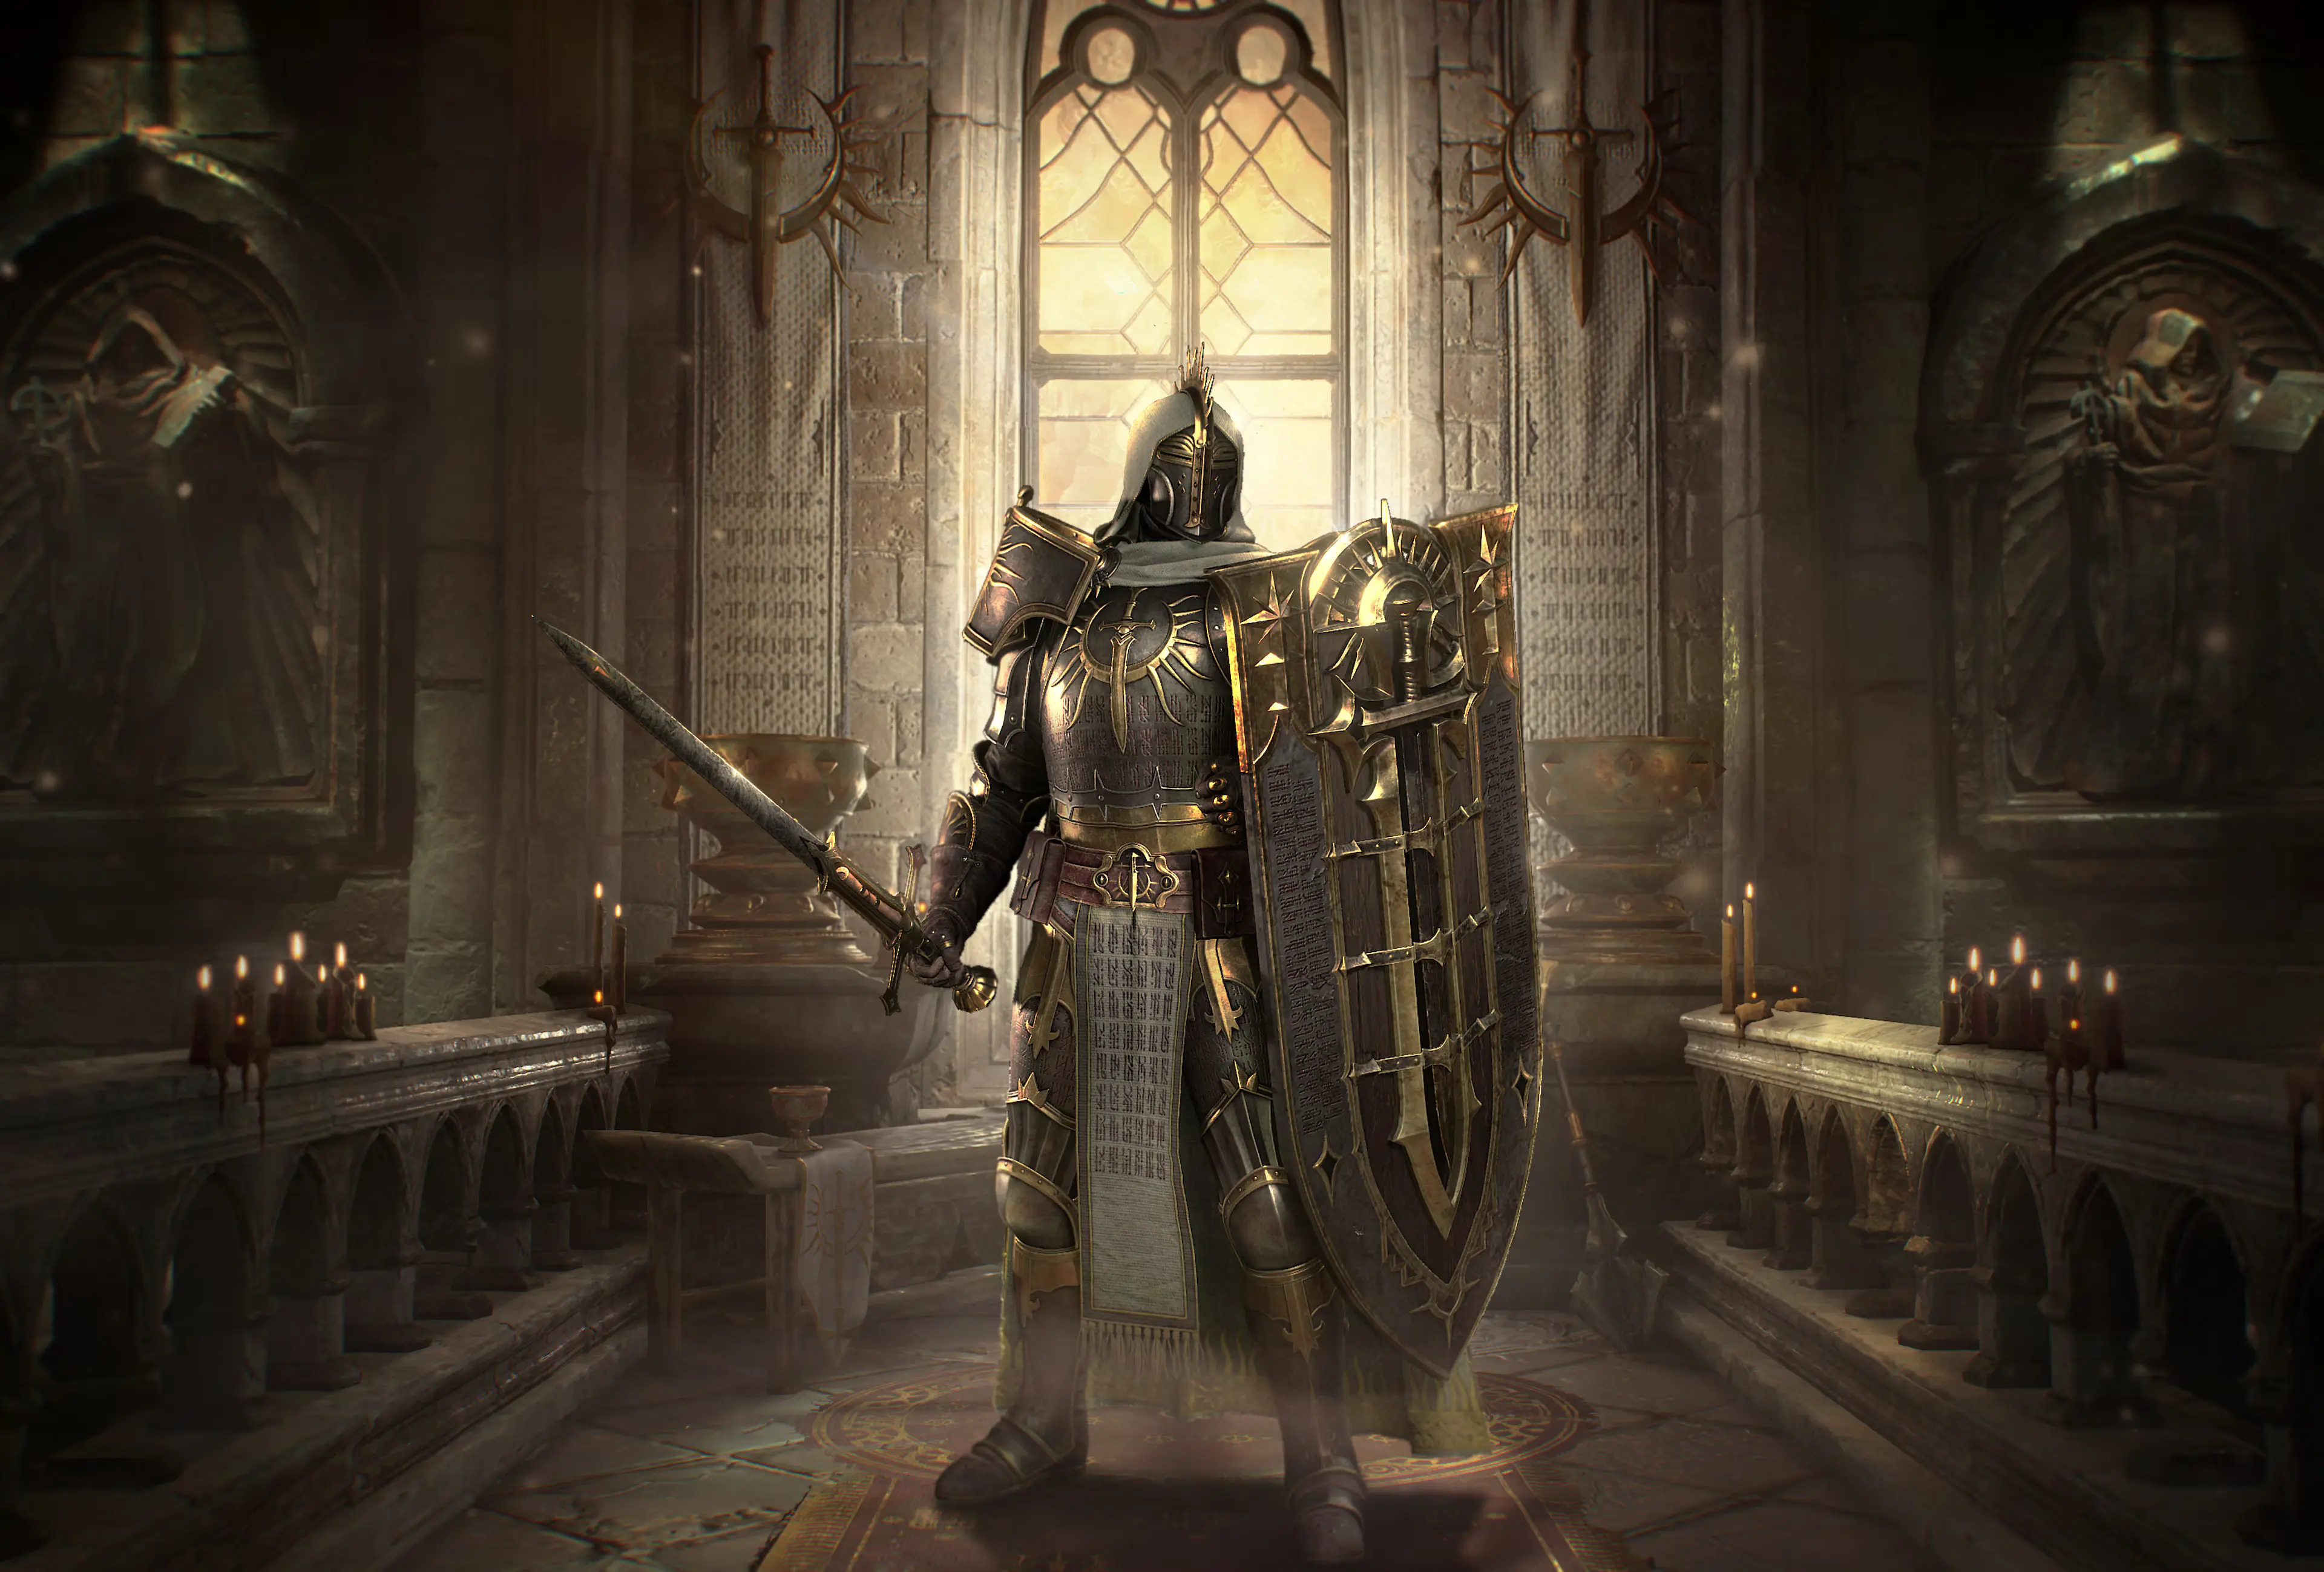
祝福の鎚はシーズン15向けのパラディン エンドゲームビルドです。 スキルバーの構成は狂信のオーラ, 反抗のオーラ, 聖なる光のオーラ, 正義の裁定者, 祝福の鎚 と 落星です。 主要装備:使者のモーニングスター と ザカラムの使者。 主要な化身:転嫁する力の化身。 パラゴンでは開始, 盾持ち, 牙城 と 容赦なき (ほか1件)とグリフ精神力, 使徒, 裁定者, 搾取 と 利口を使用します。
パラディン エンドゲーム Build (A-Tier) 作成者: Chrix
スキル
- クールダウン時間短縮 (ランク1)
- 追加チャージ (ランク1)
- 落星 (ランク1)
- ボーナス回復 (ランク1)
- 祈りの儀式 (ランク1)
- ライフ最大値 (ランク1)
- 発動速度 (ランク1)
- 門弟の光輪 (ランク1)
- ダメージボーナス (ランク1)
- 反抗のオーラ (ランク15)
- 祝福の鎚 (ランク15)
- 慈悲の儀式 (ランク1)
- 追加跳飛 (ランク1)
- 追加のパッシブ蓄積 (ランク1)
- 謙遜の儀式 (ランク1)
- リソース生成 (ランク1)
- 聖なる光のオーラ (ランク8)
- 狂信のオーラ (ランク15)
- クールダウン時間短縮 (ランク1)
- 持続時間 (ランク1)
- セラフィムの翼 (ランク1)
- 正義の裁定者 (ランク13)
アイテム
- 向う見ず
- ザカラムの使者
- 使者のモーニングスター
- 銀白のヴェール
- レオリックの王冠
化身
- 転嫁する力の化身
- 超越の化身
- 裁定者の西風の化身
- 聖罰の化身
- 防塁の化身
装備構成
- Helm: レオリックの王冠
- Chest Armor: — 防塁の化身
- Gloves: — 聖罰の化身
- Pants: 向う見ず
- Boots: — 裁定者の西風の化身
- Amulet: — 転嫁する力の化身
- Ring 1: 銀白のヴェール
- Ring 2: — 超越の化身
- Main Hand: 使者のモーニングスター
- Shield: ザカラムの使者
パラゴンボード
- 開始
- 盾持ち
- 牙城
- 容赦なき
- かがり火
グリフ
- 精神力
- 使徒
- 裁定者
- 搾取
- 利口
傭兵
- プライマリ: Raheir (Tank)
- 援兵: Raheir (Tank)
Blessed Hammer build at a glance
This Blessed Hammer build turns the Paladin into a walking storm of hammers that orbit you and hit everything nearby. The Disciple Oath keeps you in Arbiter form, and  Light's Epiphany keeps your Ultimate coming back fast.
The Midgame variant gets the build online without the most expensive pieces. Block Chance, Critical Strikes and Vulnerable already drive the damage here. Two legendary aspects stand in for the Mythic ring and the gamble gloves. That is enough to clear the first Torment tiers safely and farm what is missing.
It suits players who like to keep moving. You really press one button and handle the rest through timing.
Variants at a Glance
| Midgame | Endgame | |
|---|---|---|
| Goal | Get the build online and unlock Torment tiers | High Torment, the Pit, speedfarming |
| Gloves | Aspect of Holy Punishment |  Fists of Fate |
| Ring 2 | Aspect of Ascension |  Ring of Starless Skies |
| Pants |  Temerity with two Rubies | Temerity with a Runeword |
| Soul Splinters | Greater | Abyssal |
| Paragon | Key nodes on all five boards | Every board fully built |
Treat Midgame as the stepping stone. Skills, aspects and the Talisman stay the same, so moving up later means swapping three pieces and finishing Paragon and splinters.
Requirements
 Herald's Morningstar. It gives the hammer a huge damage boost and spawns extra hammers on Lucky Hit.
 Herald of Zakarum supplies the Block Chance everything else builds on. Aspect of Redirected Force converts it into Critical Strike Damage. You need both from day one.
 Leoric's Crown, Temerity and
 Argent Veil are strong upgrades, not hard requirements. Missing one? Use a legendary with the right affixes for now. You lose some comfort and damage, but the playstyle stays the same.
Combat Rotation
- Keep
 Defiance Aura and
 Fanaticism Aura running for their passives. Use their actives on purpose.
- Dive into the pack with
 Falling Star. This puts you into Arbiter form.
- Keep casting
 Blessed Hammer while you move. The hammers orbit you, so you never stand still.
- Fire
 Arbiter of Justice as soon as it comes off cooldown.
- Pop the active of Fanaticism Aura before big packs to make everything nearby Vulnerable.
- Use Arbiter's Evade as an attack, not as an emergency button.
Falling Star charge to refresh Arbiter form if it is about to drop. Trigger the Fanaticism Aura active right before Arbiter of Justice.How the Damage Works
In Midgame the aspects do a lot of the heavy lifting. The core chain matches the Endgame setup.
- Arbiter form: The Disciple Oath gives Disciple skills 100% more damage. Falling Star enters the form, and Disciple's Halo lets the hammer cash in.
- Ascension: Aspect of Ascension stacks damage every time you cast a skill that grants Arbiter form. Drop out of the form and every stack is gone.
- Holy damage: Aspect of Holy Punishment raises Holy and Fire damage. The hammer deals Holy damage, so it gets the full benefit.
- Ultimate window: The Light's Epiphany 5-piece bonus massively boosts Disciple damage for the duration of Arbiter of Justice.
- Block Chance: Shield Bearer and Aspect of Redirected Force turn Block Chance into damage and Critical Strike Damage.
- Vulnerable: Rite of Humility, Seraph's Wings and the
 Exploit glyph keep enemies Vulnerable.
- Mercenary: Beacon adds damage while Raheir stands inside your aura.
Falling Star before Arbiter form runs out and you keep every stack.
Skills
Your bar holds three auras plus Blessed Hammer, Falling Star and Arbiter of Justice. Blessed Hammer is the only button you press all the time.
| Skill | Job | Key upgrade |
|---|---|---|
| Blessed Hammer | Main damage | Disciple's Halo |
| Falling Star | Mobility, starts Arbiter form | Additional Charge |
| Fanaticism Aura | Attack Speed, Vulnerable | Rite of Humility |
| Defiance Aura | Armor, resistances, healing | Rite of Prayer |
 Holy Light Aura | Extra damage, protection | Rite of Mercy |
| Arbiter of Justice | Burst window | Seraph's Wings |
Disciple's Halo carries the whole build. It turns the hammer into a Disciple skill, so it benefits from the Oath and from the Talisman set. It also makes the hammers circle around you instead of flying off.
Rite of Humility swaps the Fanaticism Aura active from Weaken to Vulnerable on everything nearby. Seraph's Wings boosts Wing Strikes in Arbiter form and lets them apply Vulnerable too.
All upgrades
- Blessed Hammer: Cast Speed for faster throws, Damage Bonus stacks on hit.
- Falling Star: Cooldown Reduction when you kill Vulnerable enemies, Additional Charge.
- Fanaticism Aura: Extra Passive Stack, Resource Generation for more Faith.
- Defiance Aura: Bonus Healing, Rite of Prayer for healing per second plus Resolve, Maximum Life.
- Holy Light Aura: Rite of Mercy for a longer chain and Fortify, Additional Bounce.
- Arbiter of Justice: Cooldown Reduction, Duration, Seraph's Wings.
Disciple Oath
The build runs the Disciple Oath. Casting a Disciple skill with a cooldown grants 4.5 seconds of Arbiter form, and Disciple skills deal 100% more damage while you are in it. That is why Falling Star matters so much. It has a cooldown and keeps the form alive.
Gear and Aspects
Greater Affixes (boosted affix rolls, ★) are rare at this stage, so get the right affixes first. ◆ marks the Masterworking target, the affix you upgrade at the blacksmith.
| Slot | Item / aspect | Key affixes |
|---|---|---|
| Helm | Leoric's Crown | Cooldown Reduction ◆ |
| Chest | Bulwark's Aspect | Faith Regeneration ◆, Life, Armor |
| Gloves | Aspect of Holy Punishment | Holy Damage ★◆, Crit Chance, Crit Damage |
| Pants | Temerity | Faith Regeneration ◆, Armor |
| Boots | Aspect of the Arbiter's Zephyr | Faith Regeneration ◆, Movement Speed |
| Weapon | Herald's Morningstar | Life, Crit Damage |
| Shield | Herald of Zakarum | Damage Reduction ◆ |
| Amulet | Aspect of Redirected Force | Vulnerable ★◆, Crit Chance |
| Ring 1 | Argent Veil | Crit Damage ◆, Vulnerable |
| Ring 2 | Aspect of Ascension | Crit Damage ◆, Vulnerable |
Leoric's Crown counts as jewelry and amplifies whatever sits in the helm, so two Soul Splinters go there. Temerity turns overhealing into a Barrier. The amulet carries a transfigured Aspect of the Disciple, which Weakens enemies and cuts the damage they deal to you.
Tempering and sockets
| Slot | Tempering | Sockets |
|---|---|---|
| Helm | Maximum Life |  Greater Splinter of Anguish,  Greater Splinter of Pain |
| Chest | Block Chance | Runeword  Cir +  Lac |
| Gloves | Critical Strike Damage ★ | – |
| Pants | Block Chance | 2×  Grand Ruby |
| Boots | Movement Speed | – |
| Weapon | Crit Chance | Grand Ruby |
| Shield | Crit Chance | Grand Ruby |
| Amulet | Lucky Hit: restore Primary Resource ★ |  Greater Splinter of Sin |
| Ring 1 | Cooldown Reduction |  Greater Splinter of the Black Soulstone |
| Ring 2 | Cooldown Reduction |  Greater Splinter of the Mother |
Tempering and Runewords
Tempering adds an extra affix at the blacksmith. In Midgame you temper Block Chance on both chest and pants. That gets Shield Bearer and Aspect of Redirected Force working early.
Runeword: In the chest, Cir builds up energy quickly as you cast. Lac spends it on a Barbarian war cry that taunts enemies and briefly reduces the damage you take.
Paragon and Glyphs
Boards go Starter → Shield Bearer, then Castle, Relentless and Beacon. The last three attach to the right, left and top of Shield Bearer.
| Board | Legendary node | Glyph |
|---|---|---|
| Starter | – |  Spirit |
| Shield Bearer | Damage based on Block Chance |  Apostle |
| Castle | Damage based on Armor damage reduction |  Arbiter |
| Relentless | Damage and cooldown reduction while moving | Exploit |
| Beacon | Damage while a mercenary stands in your aura |  Canny |
Each glyph wants Strength, Intelligence or Willpower inside its radius. The radius grows from glyph level 51, so treat that as your first real milestone.
Talisman
Five charms from Light's Epiphany form the core. The 2-piece bonus cuts the cooldown of Arbiter of Justice whenever Disciple skills deal damage. Since the hammer is a Disciple skill, that happens constantly. The 3-piece adds Life and Movement Speed in Arbiter form. The 5-piece unleashes every Ultimate when you cast Arbiter of Justice and massively boosts Disciple damage for its duration.
The sixth slot goes to  Griswold's Opus. It raises Critical Strike Damage for every enemy you hit, which suits the hammer's area damage. An
 Ancestral Horadric Seal gives you the six slots.
 Seal of the Diamond Mind lowers the charms needed per set by one. Four pieces then unlock the 5-piece bonus. The planner's set counter does not include this.
Mercenaries
Raheir is your permanent companion. His Bastion soaks most of the damage aimed at you for a short time, and he fights right next to you. That matters, because Beacon only pays out while an ally or mercenary stands in your aura. Aldkin is the reinforcement. His field slows enemies and lowers their damage, and he triggers whenever you cast a skill.
Upgrade Path to Endgame
- Farm the missing uniques: Leoric's Crown, Temerity, Argent Veil
- Fists of Fate for the gloves
- Ring of Starless Skies for the second ring
-
 Igni +
 Gar runeword for the pants
- Upgrade Soul Splinters to Abyssal
- Push glyphs past level 51 so their radius grows
- Spend the remaining Paragon points in Castle and Relentless
Common Mistakes
- Leaving Raheir behind: Beacon only counts while a mercenary is inside your aura. Stay close to him.
- Dropping Arbiter form: When the form ends, every Aspect of Ascension stack is lost. Keep a Falling Star charge ready.
- Standing still: Relentless and Argent Veil reward movement. Walk through the pack, the hammers follow.
- Ignoring Block Chance: Shield Bearer and Aspect of Redirected Force scale with it. Temper Block Chance where the build asks for it.
- Running out of Faith: No Faith means no Blessed Hammer. Faith Regeneration on chest, pants and boots is mandatory.