

シールドチャージ パラディン エンドゲームビルドガイド · Diablo 4 · シーズン15
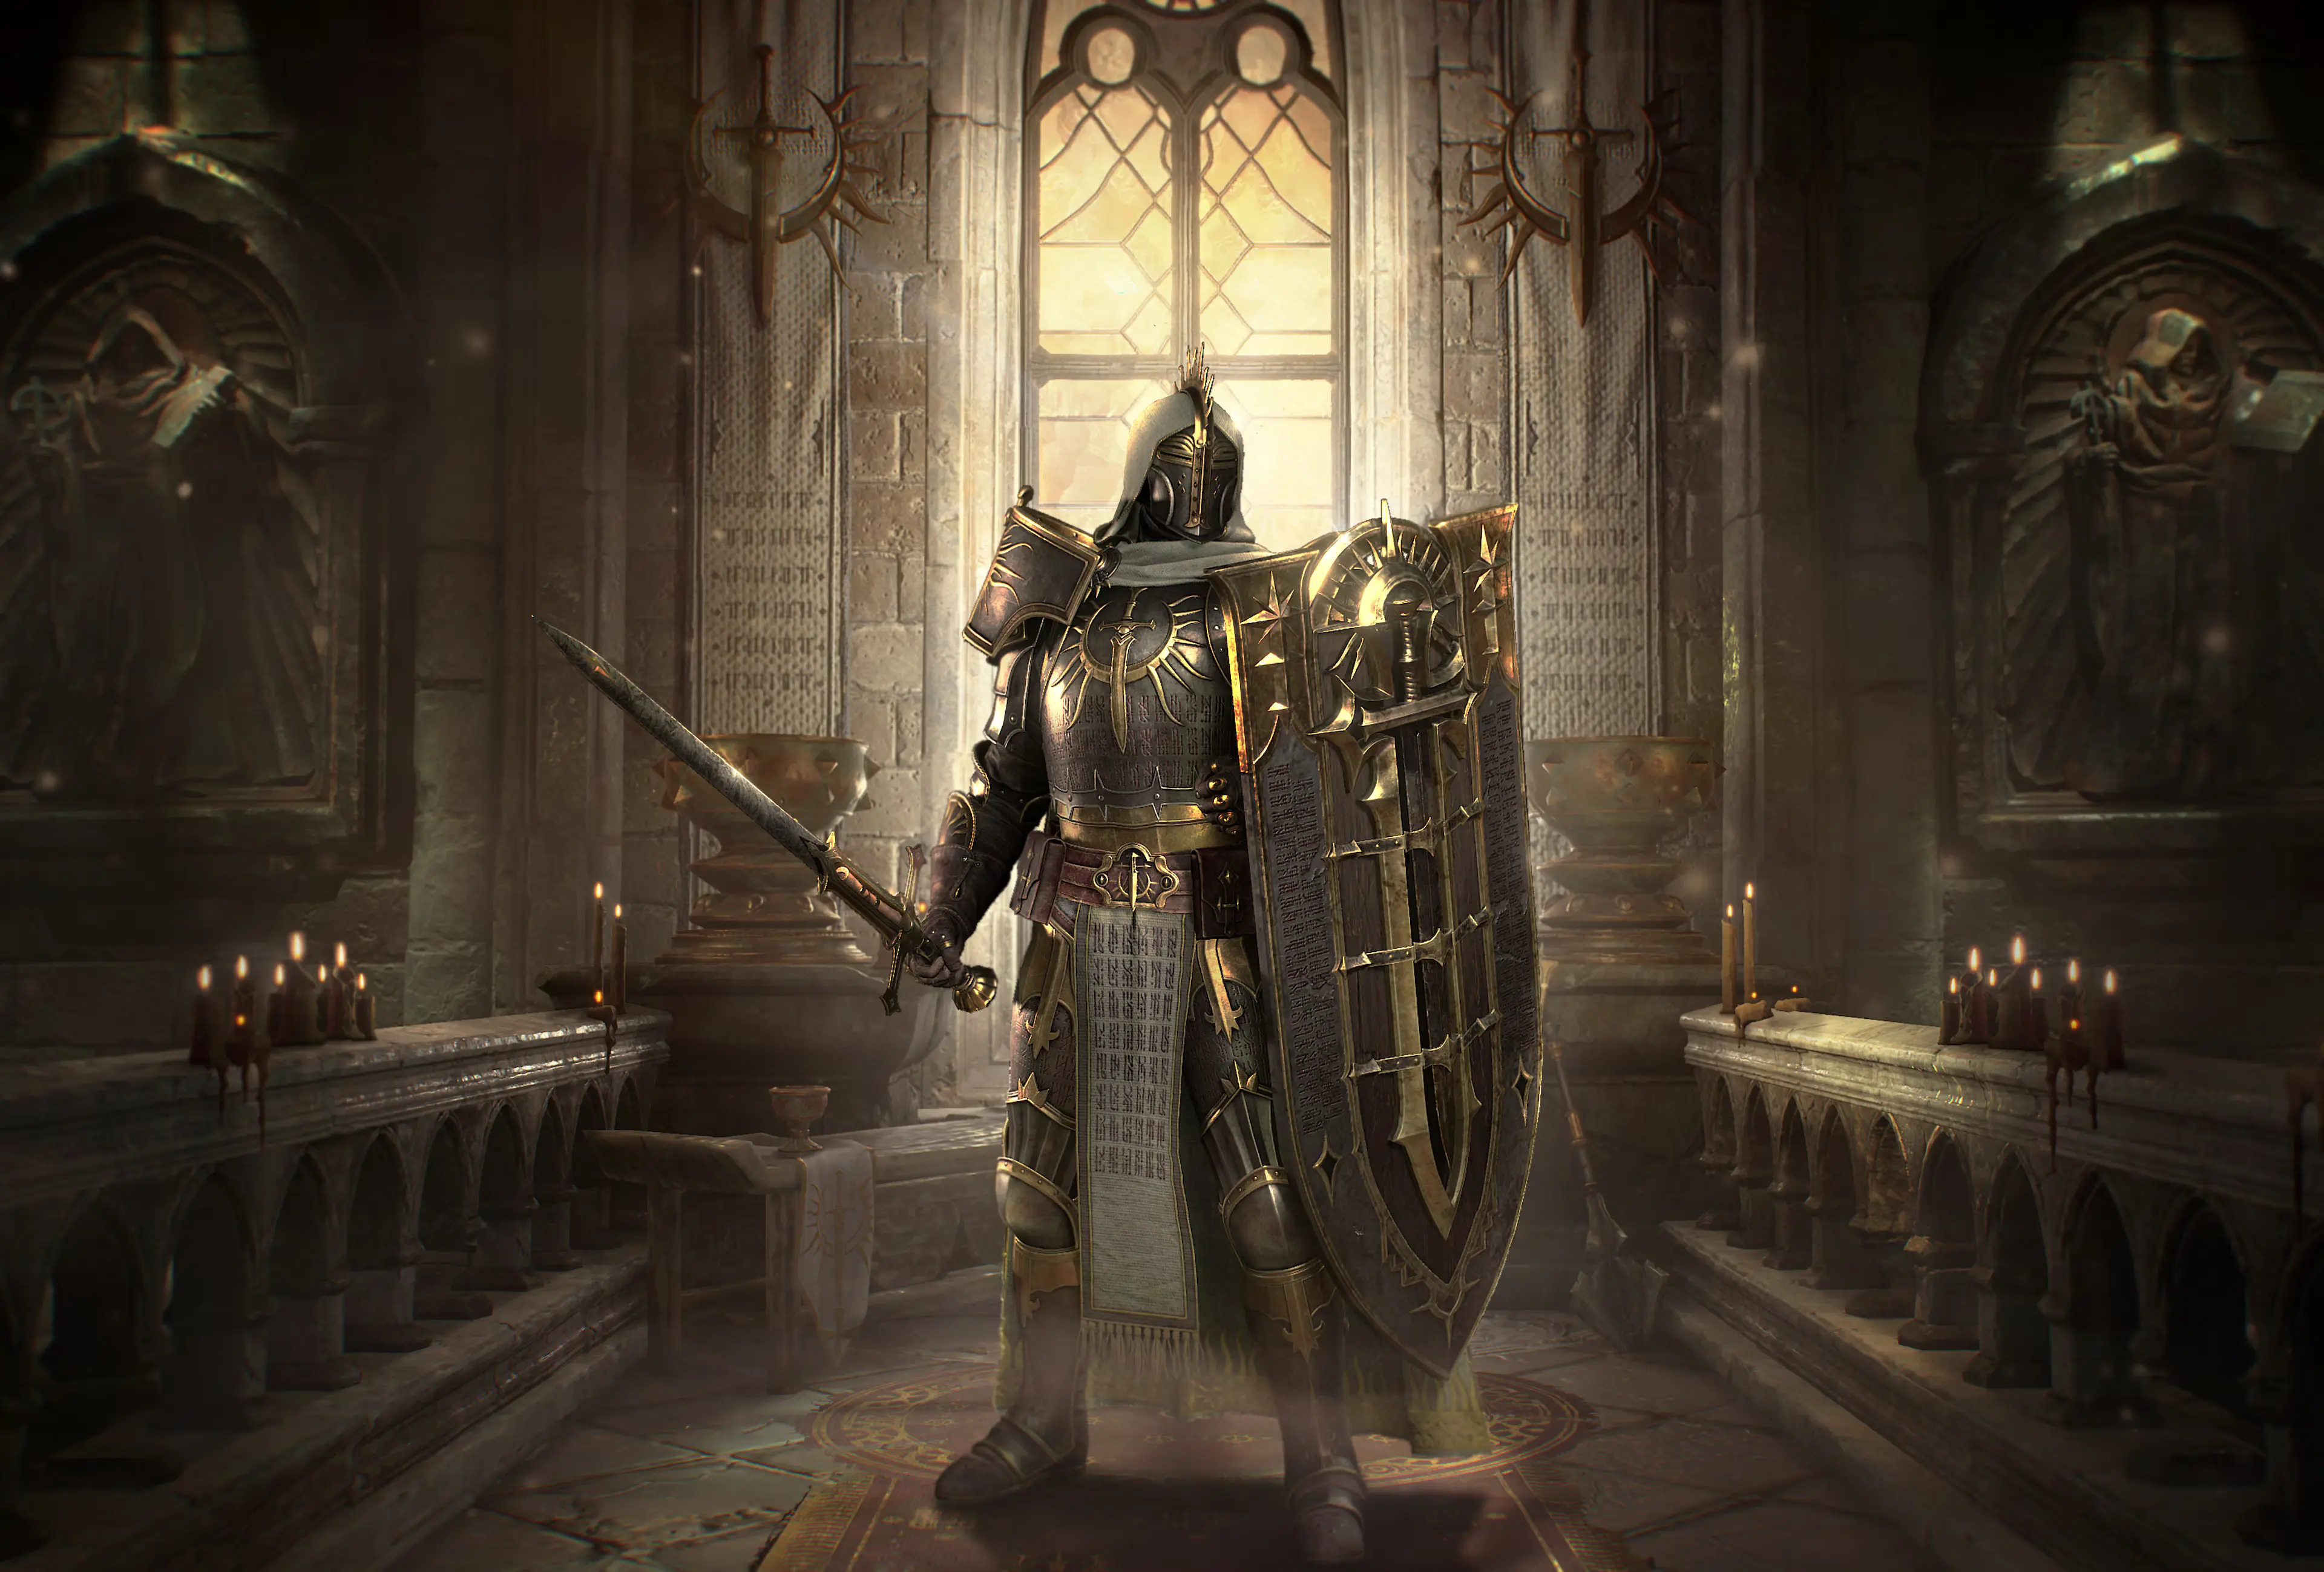
シールドチャージはシーズン15向けのパラディン エンドゲームビルドです。 スキルバーの構成は激突, 庇護, 要塞, 反抗のオーラ, 狂信のオーラ と シールドチャージです。 主要装備:ザカラムの使者 と ティーボルトの意志。 主要な化身:連続発動の化身 と ラパの古文書の化身。 パラゴンでは開始, 容赦なき, 牙城 と 盾持ち (ほか1件)とグリフ復讐, 凌駕, 精神力, 歩哨 と 研鑽を使用します。
パラディン エンドゲーム Build (A-Tier) 作成者: Chrix
スキル
- 潜在力 (ランク1)
- 荊棘の加護の儀式 (ランク1)
- ライフ最大値 (ランク1)
- 反抗のオーラ (ランク15)
- 命中をブロックとしてカウント (ランク1)
- 容赦なき突撃 (ランク1)
- 決意 (ランク1)
- シールドチャージ (ランク4)
- 持続時間 (ランク1)
- 万全なる守り (ランク1)
- クールダウン時間短縮 (ランク1)
- 追加のパッシブ蓄積 (ランク1)
- 復讐の儀式 (ランク1)
- リソース生成 (ランク1)
- 懲罰 (ランク1)
- 決意 (ランク1)
- 聖戦士の進撃の効果 (ランク1)
- 激突 (ランク1)
- 狂信のオーラ (ランク15)
- 庇護 (ランク15)
- 決意ダメージボーナス (ランク1)
- 抑圧不可 (ランク1)
- 荊棘の加護の城壁 (ランク1)
- 要塞 (ランク15)
アイテム
- ティーボルトの意志
- ザカラムの使者
- 灰色者の外套
- レオリックの王冠
化身
- 転嫁する力の化身
- 棘ある思念の化身
- 重装者の盟約の化身
- ラパの古文書の化身
- 懲罰の化身
- 連続発動の化身
装備構成
- Helm: レオリックの王冠
- Chest Armor: 灰色者の外套
- Gloves: — 連続発動の化身
- Pants: ティーボルトの意志
- Boots: — 棘ある思念の化身
- Amulet: — ラパの古文書の化身
- Ring 1: — 転嫁する力の化身
- Ring 2: — 重装者の盟約の化身
- Main Hand: — 懲罰の化身
- Shield: ザカラムの使者
パラゴンボード
- 開始
- 容赦なき
- 牙城
- 盾持ち
- かがり火
グリフ
- 復讐
- 凌駕
- 精神力
- 歩哨
- 研鑽
傭兵
- プライマリ: Raheir (Tank)
- 援兵: Raheir (Tank)
Shield Charge build at a glance
The Shield Charge build turns the Paladin into a battering ram. You hold  Shield Charge and plow straight through enemy packs. Every hit counts as a block and can trigger Retribution, a Thorns burst around you. The Midgame variant prepares you for the endgame. You collect the four core uniques, still buy the aura upgrades with skill points and work your way through the Paragon. No mythic items are needed. Even so the build is tanky, fast and strong in Helltides and the early Pit tiers.
Variants at a Glance
| Variant | Use case | Key difference | Talisman |
|---|---|---|---|
| Midgame (this variant) | Entering Torment, gearing up | Regular uniques, aura upgrades bought with skill points, Paragon as a work in progress |  Ancestral Horadric Seal, 5×  Cathan's Righteous Will,  Griswold's Opus |
| Endgame | The Pit, Tower, Helltides, bosses | Six mythic uniques including  Blood-Mad Idol and  Penitent Greaves, aura upgrades from the talisman, full Paragon |  Seal of the Diamond Mind, 4× Cathan's Righteous Will, 2×  Cathan's Iron Conviction |
 Blessed Shield and shares the Thorns foundation with this build. With Shield Charge you are the projectile and always stand in the middle of the pack.
Requirements
 Herald of Zakarum raises your Retribution chance and makes Retribution 50% larger. It also adds 40 to 50% Strength, Resistance and Armor.
 Tibault's Will grants 25 Faith regeneration while you are Unstoppable and for 5 seconds after. You also deal more damage during that window.
 Mantle of the Grey empowers the Juggernaut Oath. Your Juggernaut skills grow in size and gain damage for every point of Resolve consumed.
 Leoric's Crown counts as jewelry. The Soul Splinters in your helm become 35 to 50% stronger.
Combat Rotation
- Activate
 Defiance Aura and
 Fanaticism Aura before you engage. Both still cost Faith in the Midgame, so cast them before you start charging.
- Hit an enemy with
 Clash. This starts Crusader's March: 6 seconds of extra Block Chance plus more Retribution and Thorns.
- Cast
 Aegis. While it lasts you gain Block Chance, Armor and Thorns.
- Hold Shield Charge and steer through the densest part of the pack.
- Drop
 Fortress on big packs and elites. Stay inside the area or you lose the damage bonus.
- When Faith runs low, release the charge, use Clash and charge again.
 Yom rune try to crowd control the boss. If the boss is immune, that attempt triggers the strongest bonus of Cathan's Righteous Will: 500% more damage for 15 seconds.
How the Damage Works
This build lives on Thorns. The Shield Charge hit itself is a side note, the big numbers come from Retribution.
- Blocks as the trigger:
 Hit Count As Blocking turns every Shield Charge hit into a block. Every block can trigger Retribution, which deals Thorns damage in an area around you.
- Retribution chance: Punishment gives 30% Retribution chance during Crusader's March.
 Crusader's March Effectiveness makes the march 25% stronger. Impunity and Herald of Zakarum add more chance on top.
- Thorns: Aspect of Lapa's Scripture grants Thorns whenever you lose Resolve and stacks up to 20 times. Sticker-thought Aspect on the boots adds a large flat Thorns value while channeling. Rite of Thorns grants extra Thorns and raises all your Thorns damage. Both scale with the aura's ranks.
- Multipliers: Aspect of Channeling increases all damage by 70% while channeling. Inside Fortress,
 Resolve Damage Bonus adds 4% damage per Resolve stack. Tibault's Will adds 15 to 20% damage while you are Unstoppable.
- Critical Strikes: Aspect of Redirected Force converts your Block Chance into Critical Strike Damage. The bonus doubles after a block. Since Shield Charge blocks constantly, you keep the doubled value almost all the time.
- Vulnerable:
 Greater Splinter of the Mother in ring 2 makes every enemy you touch Vulnerable for 10 seconds. Shield Charge touches almost everything in the pack. Vulnerable enemies take more damage.
- Resolve: Shield Charge is a Juggernaut skill. The Juggernaut Oath consumes 8 Resolve stacks on cast. In return your Juggernaut skills deal 100% more damage for 5 seconds. The Resolve upgrades on Shield Charge and Clash refill the stacks.
Skills
| Bar | Skill | Upgrades | Role |
|---|---|---|---|
| 1 | Clash | Punishment, Crusader's March Effectiveness, Resolve | Crusader's March, Retribution chance |
| 2 | Aegis | Impunity,  Duration,  Cooldown Reduction | Block Chance, Thorns |
| 3 | Fortress | Resolve Damage Bonus,  Unstoppable, Rampart of Thorns | Immunity, damage, Unstoppable |
| 4 | Defiance Aura | Rite of Thorns,  Potency,  Maximum Life | Thorns, Armor, Resistances |
| 5 | Fanaticism Aura | Rite of Vengeance,  Extra Passive Stack,  Resource Generation | Critical Strikes, Faith |
| 6 | Shield Charge | Relentless Charge, Hit Count As Blocking, Resolve | Main skill and movement |
- Shield Charge: Relentless Charge turns the mobility skill into a Core skill without a cooldown. It costs 20 Faith on cast plus 1 Faith per second. The Retribution upgrade excludes Hit Count As Blocking. Always pick the blocking version.
- Defiance Aura: Rite of Thorns grants extra Thorns and raises all your Thorns damage. Potency strengthens the aura through Potency, Maximum Life adds 15% Maximum Life.
- Fanaticism Aura: Rite of Vengeance raises your Critical Strike Damage, and Critical Strikes trigger the passive. Extra Passive Stack allows one more stack. Resource Generation raises your Resource Generation by 25%, which keeps Faith up for Shield Charge.
- Clash stays at one point. Ranks mostly raise its own hit damage. The Block Chance from Crusader's March stays the same. The leftover points go into Shield Charge.
- Aegis: With Duration and Cooldown Reduction it is up about half of the time. During that window Impunity raises your Thorns by 40%.
- Fortress: Rampart of Thorns slows enemies inside by 50% and deals 500% of your Thorns damage to them every second. Slow counts as crowd control, which feeds Aspect of Chastisement. Unstoppable makes you Unstoppable and turns on Tibault's Will.
Gear and Aspects
On offense you want Thorns, Critical Strike Damage Multiplier, Vulnerable Damage Multiplier and Physical damage. On defense you want Maximum Life, Resistances and Damage Reduction. ◆ marks the masterworking target. Greater Affixes, affixes with a boosted value, are not needed yet in the Midgame.
| Slot | Target | Affixes by priority |
|---|---|---|
| Helm | Leoric's Crown | % Cooldown Reduction, Thorns |
| Chest | Mantle of the Grey | Thorns, Maximum Life |
| Gloves | Aspect of Channeling | Critical Strike Damage Multiplier ◆, Vulnerable Damage Multiplier, Critical Strike Chance, Physical Damage Multiplier |
| Pants | Tibault's Will | Thorns, Faith Regeneration |
| Boots | Sticker-thought Aspect | Strength, Maximum Life, Movement Speed, Resistance to All Elements |
| Weapon | Aspect of Chastisement | Critical Strike Damage Multiplier ◆, Strength, Life On Hit, Physical Damage Multiplier |
| Shield | Herald of Zakarum | Thorns ◆, Damage Reduction |
| Ring 1 | Aspect of Redirected Force | Critical Strike Damage Multiplier ◆, Vulnerable Damage Multiplier, Critical Strike Chance, Physical Damage Multiplier |
| Ring 2 | Aspect of the Juggernaut's Covenant | Vulnerable Damage Multiplier ◆, Critical Strike Damage Multiplier, Critical Strike Chance, Physical Damage Multiplier |
| Amulet | Aspect of Lapa's Scripture | Critical Strike Damage Multiplier ◆, Vulnerable Damage Multiplier, Physical Damage Multiplier, Strength |
The uniques also bring fixed properties such as Strength and Maximum Life. Vulnerable comes from the Splinter of the Mother in ring 2. That frees the boots for Sticker-thought Aspect and its flat Thorns bonus.
Tempering, Masterworking and Runewords
Tempering adds an extra property at the Blacksmith. Masterworking raises affix values, and the affix marked ◆ gets the big jumps. Transfiguration follows in the Endgame variant.
Tempering and sockets per slot
| Slot | Tempering | Sockets |
|---|---|---|
| Helm | Maximum Resolve Stacks ◆ |  Greater Splinter of Anguish,  Greater Splinter of Pain |
| Chest | Maximum Resolve Stacks ◆ |  Bac + Yom |
| Gloves | % Critical Strike Damage | – |
| Pants | Maximum Resolve Stacks ◆ |  Igni +  Gar |
| Boots | % Defiance Aura Potency ◆ | – |
| Weapon | % Critical Strike Damage |  Grand Skull |
| Shield | % Critical Strike Damage |  Grand Ruby |
| Ring 1 | % Cooldown Reduction |  Greater Splinter of the Black Soulstone |
| Ring 2 | % Cooldown Reduction | Greater Splinter of the Mother |
| Amulet | % Cooldown Reduction | Grand Ruby |
The runes form two runewords. Bac gathers Offering while you move, and Shield Charge keeps you moving. Yom spends it on Petrify, which stuns enemies and raises your Critical Strike Damage against them. Igni stores Offering over time and releases it whenever you cast a non-Basic skill. Gar turns that into 2% Critical Strike Chance per proc, up to 10%.
Paragon and Glyphs
Both variants use the same five Paragon boards in this order. In the Midgame variant the Paragon is a work in progress: every board and glyph is connected, but not every node is taken yet. The Endgame variant shows the full build.
| Order | Board | Glyph | Why |
|---|---|---|---|
| 1 | Starter |  Revenge | Thorns damage makes enemies take more damage from you |
| 2 | Relentless |  Outmatch | More Physical damage against normal enemies and bosses |
| 3 | Castle |  Spirit | Critical Strikes make enemies more vulnerable to you |
| 4 | Shield Bearer |  Sentinel | More damage per Resolve stack |
| 5 | Beacon |  Honed | Critical Strikes generate Faith |
Get every glyph to level 51 first. From there its radius grows and covers more nodes. Then level Spirit and Honed, since both grant Critical Strike Damage per attribute points in range. Sentinel, Outmatch and Revenge follow.
Talisman
Ancestral Horadric SealCathan's Righteous WillGriswold's OpusIn the Midgame you use Ancestral Horadric Seal with six slots. Five of them hold Cathan's Righteous Will, the sixth goes to Griswold's Opus.
- Righteous Will: Enemies you block are briefly Feared. Your minimum and maximum Resolve rise, and every point of minimum Resolve grants 10% Damage Reduction. The top bonus gives you 500% damage when you try to crowd control an immune enemy.
- Griswold's Opus: Every enemy you hit with direct damage raises your Critical Strike Damage, up to 40 to 50%. Shield Charge hits many enemies at once and fills the stacks quickly.
Mercenaries
Raheir is your hired companion. Ground Slam slows enemies, and with Inspiration they take 15% more damage afterwards. Raheir's Aegis grants you 15% Resistance to All Elements. Bastion makes you Unstoppable for a moment, which turns on Tibault's Will. Aldkin joins as reinforcement whenever you cast Fortress. His Field of Languish slows enemies inside your Fortress and cuts their damage by 20%.
Upgrade Path to Endgame
Work through the list from top to bottom. Each step brings you closer to the Endgame variant.
- Collect all four uniques: Herald of Zakarum, Tibault's Will, Mantle of the Grey and Leoric's Crown
- Keep filling the Paragon boards
- Farm Seal of the Diamond Mind and switch to 4× Cathan's Righteous Will plus 2× Cathan's Iron Conviction
- Refund the aura upgrades and put the points into Shield Charge
- Blood-Mad Idol on the amulet, Aspect of Lapa's Scripture on ring 2 and Penitent Greaves on the boots
- Make all six uniques mythic and upgrade the Soul Splinters to Abyssal
- Collect Greater Affixes, add transfigurations and put Sticker-thought Aspect on the amulet
Common Mistakes
- Wrong Shield Charge upgrade: The Retribution upgrade excludes Hit Count As Blocking. Without blocking hits, the whole build loses its trigger.
- Crusader's March runs out: Without the march you lose Block Chance and Punishment. That also weakens Aspect of Redirected Force. Hit something with Clash every 6 seconds.
- Skipping Rite of Thorns: Without Rite of Thorns you miss a big part of your Thorns. Take it before any other aura upgrade.
- Standing next to Fortress: The Resolve damage bonus only works inside the area. Charge inside your Fortress, not around it.
- Charging on empty: Without Faith the charge stops. Plan Clash and Fortress for Unstoppable into your loop.