

Cri ardent Feu Guide du build Démoniste Haut niveau · Diablo 4 · Saison 15
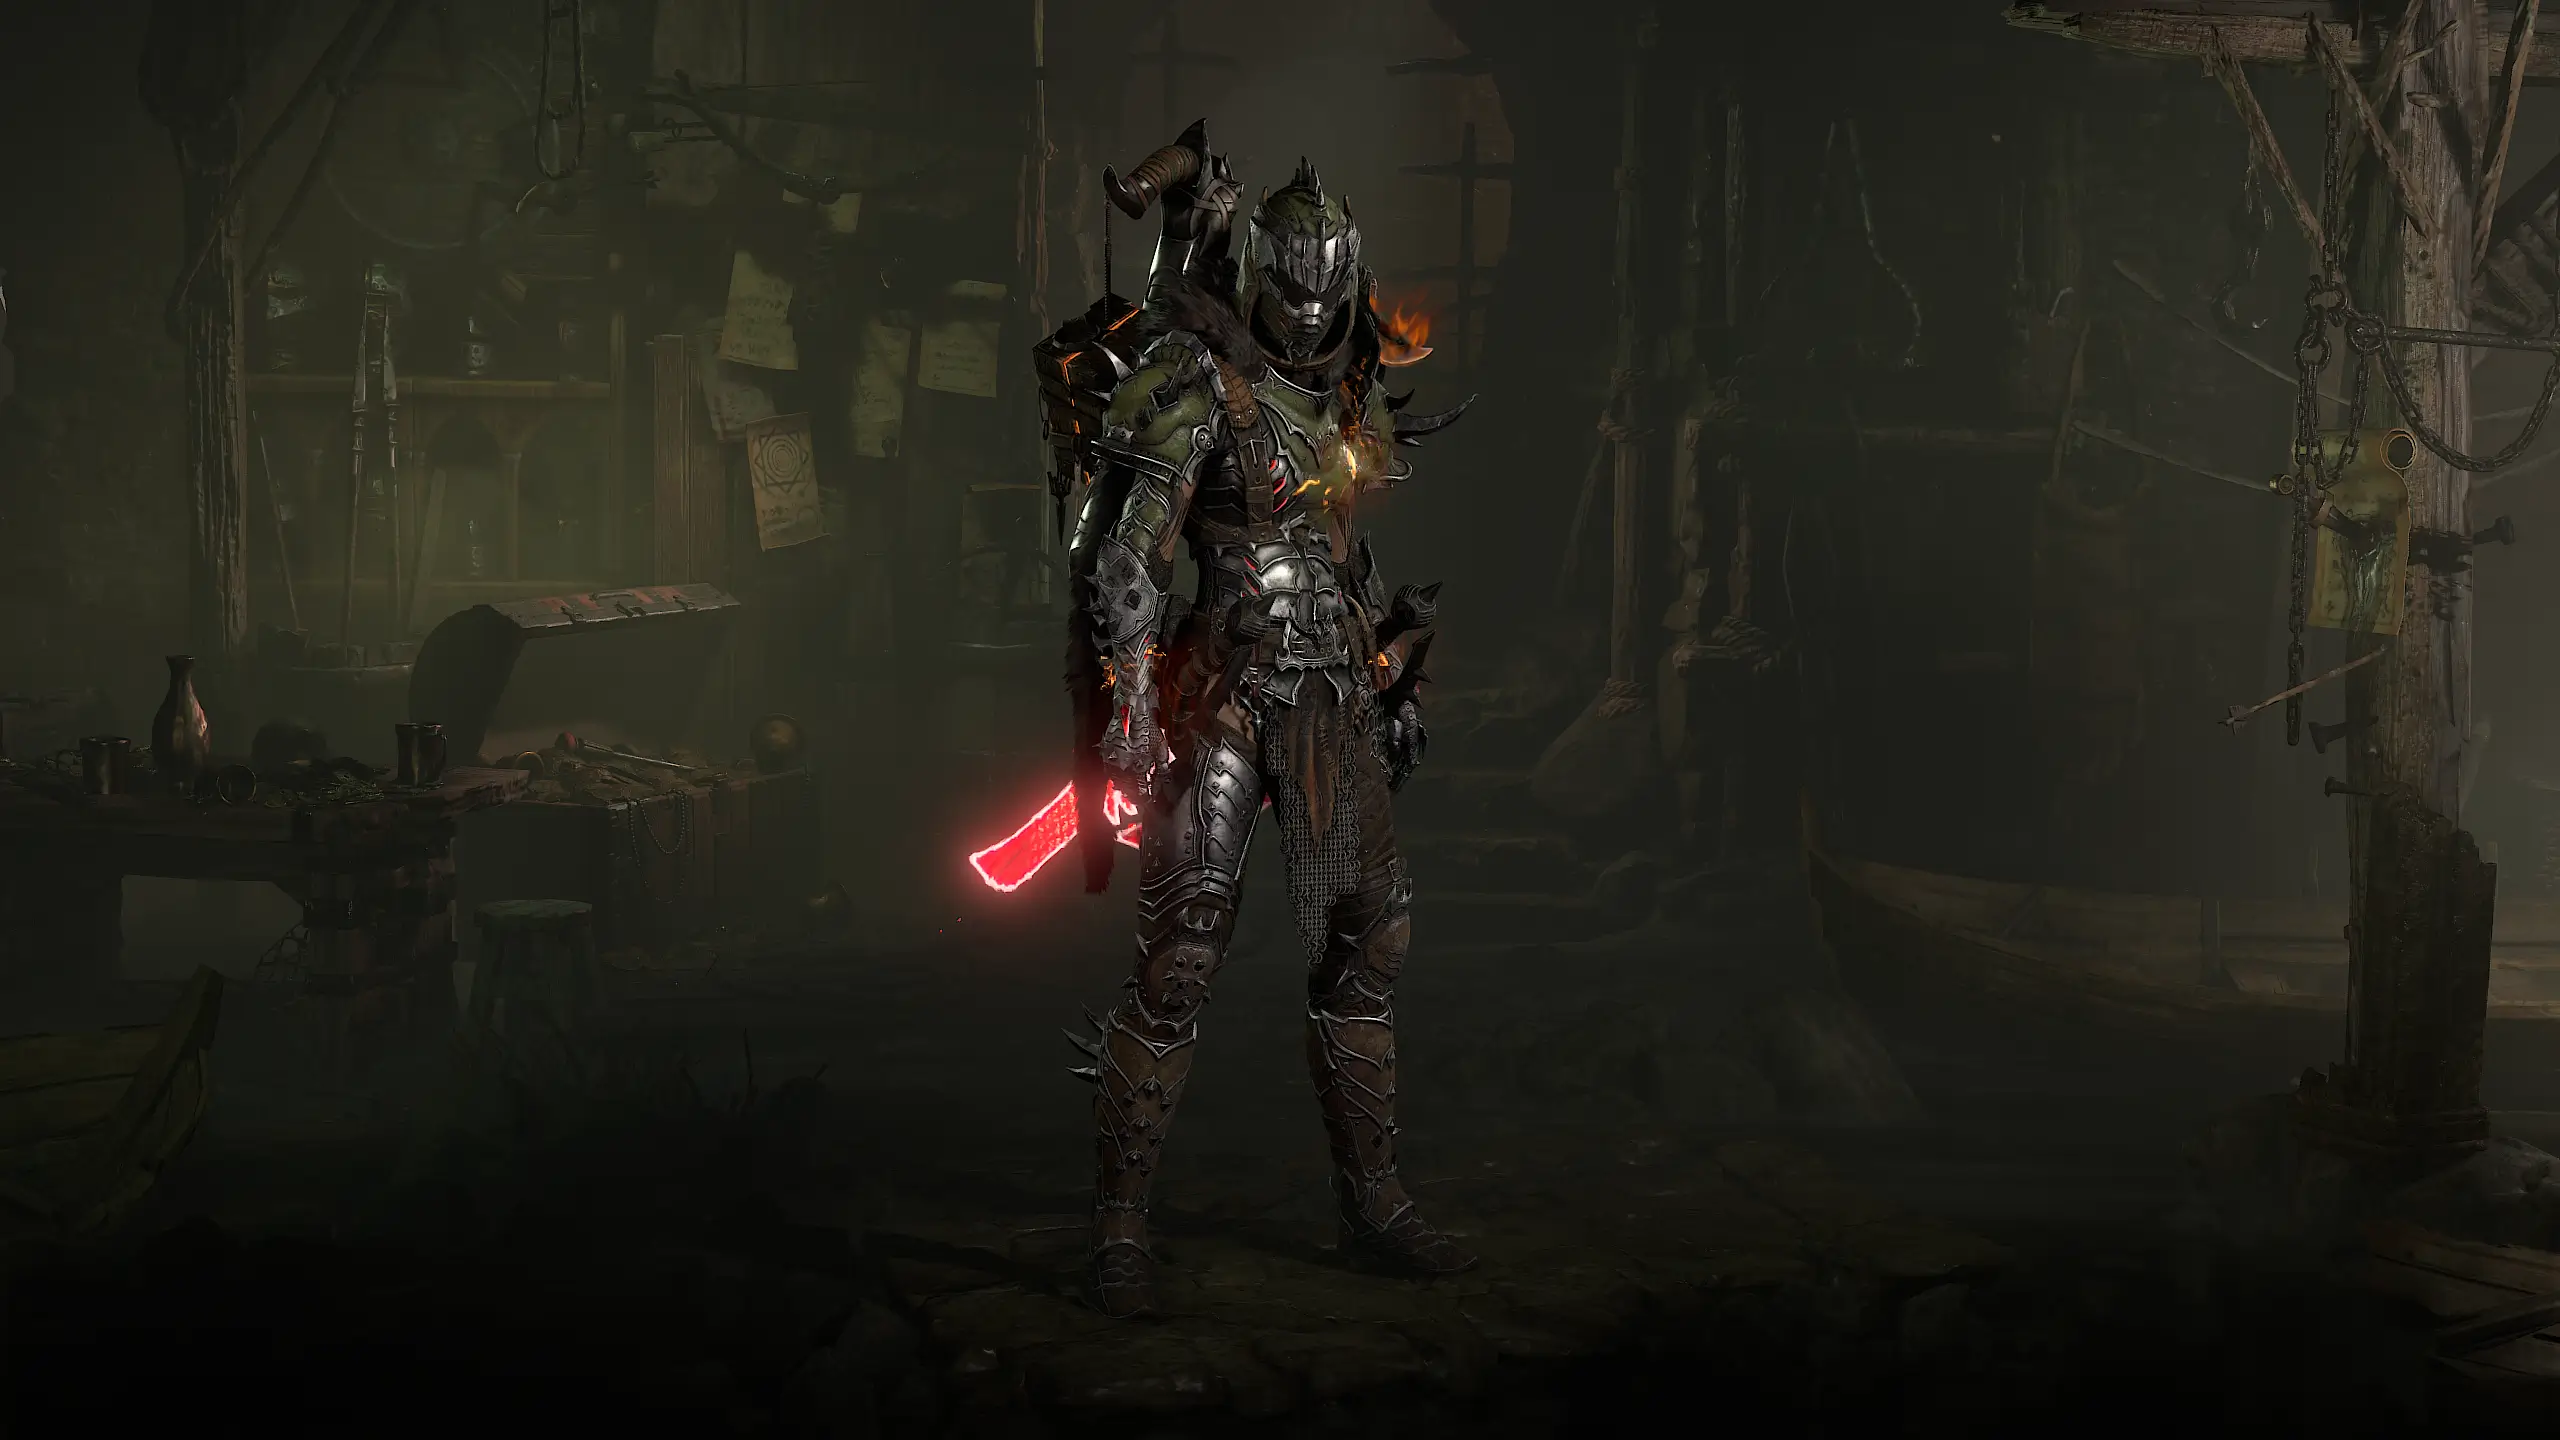
Cri ardent Feu est un build Démoniste Haut niveau pour la Saison 15. La barre de compétences comprend Commandement des Déchus, Métamorphose, Sombre geôle, Bombardement et Cri ardent. Équipement clé : Élégie, Témérité et L’idole octuple. Aspects clés : Aspect d’immortalité et Aspect sadique. Le Parangon utilise Commencer, Spicules démoniaques, Ritualisme et Insondable (+1 autres) avec les glyphes Vision surnaturelle, Démonologue, Libération, Forge infernale et Attrition.
Démoniste Haut niveau Build par TukTuk84#2752
Compétences
- Vitesse de déplacement (Rang 1)
- Ralentissement (Rang 1)
- Fortification (Rang 1)
- Réduction du temps de recharge (Rang 1)
- Vitesse d’impact (Rang 1)
- Dégâts (Rang 1)
- Dégâts (Rang 1)
- Télékinésie (Rang 1)
- Sceau de lave (Rang 1)
- Déluge incessant (Rang 1)
- Cri ardent (Rang 15)
- Aura de chaînes (Rang 1)
- Sombre geôle (Rang 15)
- Bombardement (Rang 15)
- Sceau de subversion (Rang 6)
- Cri orbital (Rang 1)
- Métamorphose (Rang 15)
- Démon de la destruction (Rang 1)
- Colère (Rang 1)
- Dégâts à vie (Rang 1)
- Boucliers de chair (Rang 1)
- Commandement des Déchus (Rang 1)
Objets
- Témérité
- Marque du wendigo
- Homoncule infernal
- Main d’apothéose
- Flamme dévorante de Moloch
- Élégie
- L’idole octuple
- Couronne de Léoric
- Énigme
Aspects
- Aspect sadique
Équipement
- Helm: Couronne de Léoric
- Chest Armor: Énigme
- Gloves: Main d’apothéose
- Pants: Témérité
- Boots: — Aspect sadique
- Amulet: Flamme dévorante de Moloch
- Ring 1: Marque du wendigo
- Ring 2: L’idole octuple
- Main Hand: Élégie
- Off-Hand: Homoncule infernal
Plateaux de parangon
- Commencer
- Spicules démoniaques
- Ritualisme
- Insondable
- Dynamisme
Glyphes
- Vision surnaturelle
- Démonologue
- Libération
- Forge infernale
- Attrition
Mercenaires
- Principal: Raheir (Tank)
- Renfort: Raheir (Tank)
Blazing Scream Warlock – Endgame Build
The  Blazing Scream Warlock is an extremely powerful endgame build for Diablo 4 Season 15. The build revolves around Blazing Scream, which is massively enhanced by
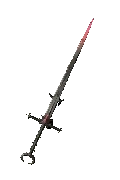 Elegy,
 Infernal Homunculus and
 The Eightfold Idol.
With Elegy, Blazing Scream becomes an Archfiend Skill and gains Skull Splitter for free. This creates additional Lesser Demon skulls that automatically seek out enemies and deal the same damage as the main skull.
Infernal Homunculus further enhances this mechanic. The Eightfold Idol also causes Blazing Scream to automatically leave behind the trails of  Sigil of Subversion.
Farm-Lock or Maximum Endgame Version?
Farm-Lock
The Farm-Lock version is my preferred setup for most endgame content.
- Very high damage
- Relaxed playstyle
- Fewer resource problems
- Accessible earlier
- Excellent for farming
- Less dependent on perfectly optimized gear
Blazing Scream orbits around you for 10 seconds. During this time, you can freely move through enemy groups without constantly recasting Blazing Scream.
At the same time, Elegy grants Skull Splitter for free. This automatically creates additional Lesser Demon skulls that seek out enemies on their own.
You activate Blazing Scream once and can then focus on  Bombardment,
 Dark Prison and Teleport.
Maximum Endgame Version
The maximum endgame version is focused much more heavily on pushing the highest possible damage.
It is especially suited for:
- The Tower
- Very high Pit tiers
- Boss pushing
- Maximum damage scaling
- Highly optimized gear
For that reason, I strongly recommend  Ring of Starless Skies. It helps manage the high resource costs while also increasing your damage.
Playstyle
The Farm-Lock version uses Orbital Scream, allowing Blazing Scream to remain active around you for 10 seconds.
Thanks to Elegy and Skull Splitter, additional Lesser Demon skulls are automatically created during this time and independently seek out enemies.
At the start of an important damage phase, activate  Metamorphosis followed by Dark Prison.
After that, hold down Bombardment and continuously teleport through enemy groups with  Enigma.
The basic gameplay loop looks like this:
Orbital Scream → Metamorphosis → Dark Prison → Hold Bombardment → Teleport
While you are moving, Blazing Scream continues dealing damage and Elegy keeps creating additional skulls.
Bombardment and the Splinter of the Black Soulstone
Bombardment serves a particularly important purpose in this version of the build.
Bombardment causes large numbers of your own demons to appear in quick succession. Their deaths or disappearance help build the stacks of the  Splinter of the Black Soulstone extremely quickly.
This makes Bombardment excellent for rapidly increasing the damage bonus provided by the Splinter.
At the same time, Blazing Scream creates even more Lesser Demons through Elegy and Skull Splitter.
The build therefore constantly produces new demons while their deaths help support the Black Soulstone mechanic.
Your defensive setup is therefore extremely important.
Important: Metamorphosis Causes Self-Damage
Metamorphosis with Destruction Demon is one of the build's most important offensive mechanics.
While Metamorphosis is active, your damage increases significantly.
However, there is one major downside:
The build therefore requires a reliable combination of Healing and Barrier generation.
This becomes even more important when combined with the Splinter of the Black Soulstone, as the additional damage taken can otherwise become dangerous very quickly.
Sadistic Aspect
Sadistic Aspect is extremely important for this playstyle.
I recommend using it on your Boots, for example.
Because this build constantly creates and loses its own demons, Sadistic Aspect provides a reliable source of Healing.
This Healing helps compensate for the self-damage caused by Metamorphosis.
Temerity
The build also uses  Temerity in the Pants slot.
Temerity converts excess Healing into a Barrier.
This creates one of the most important defensive interactions in the build:
Demons die → Sadistic Aspect heals → Overhealing → Temerity generates Barrier
This Barrier protects you against both incoming enemy damage and the risks of an aggressive Metamorphosis playstyle.
Undying Aspect
Undying Aspect can also be used as an additional defensive option.
It provides further Healing whenever you cast Skills and therefore fits very well with the Metamorphosis playstyle.
If you are struggling to keep your Life or Barrier stable, Undying Aspect is a very strong additional option.
Sadistic Aspect, however, has the higher priority for this setup.
Que for Additional Barrier
You can optionally use the Que Rune.
Que invokes Earthen Bulwark, granting you another Barrier.
This is particularly useful:
- In the Tower
- At high Pit tiers
- Against powerful bosses
- With an aggressive Metamorphosis playstyle
- If your Barrier is not yet consistently stable
Resource Management
Enigma turns your Evade into Teleport.
This Teleport consumes Primary Resource.
Because the Farm-Lock version teleports very frequently while also using Bombardment, your Wrath can occasionally run low.
This is exactly where  Command Fallen comes in.
If your resources start dropping:
- Release Bombardment
- Hold down Command Fallen
- Continue teleporting
- Rebuild your Wrath
- Switch back to Bombardment once your resources are stable again
If necessary, simply hold Command Fallen instead of Bombardment and continue teleporting through enemies.
Rotation
Enemy Groups
Orbital Scream → Metamorphosis → Dark Prison → Bombardment → Teleport
- Activate Orbital Scream
- Use Metamorphosis for your damage phase
- Activate Dark Prison
- Hold down Bombardment
- Continuously teleport through enemy groups with Enigma
- Let Blazing Scream and the skulls created by Elegy deal damage automatically
- Refresh Orbital Scream before its duration expires
When Resources Run Low
Release Bombardment → Hold Command Fallen → Keep Teleporting → Restore Wrath → Return to Bombardment
Blazing Scream remains active during this time and continues dealing damage.
Elites and Bosses
Orbital Scream → Metamorphosis → Dark Prison → Bombardment
- Activate or refresh Orbital Scream
- Activate Metamorphosis
- Use Dark Prison
- Hold down Bombardment
- Reposition yourself with Teleport
- Use your demons to build and maintain Splinter of the Black Soulstone stacks
- Pay close attention to your Life and Barrier
- Temporarily use Command Fallen if your Wrath becomes too low
- Switch back to Bombardment once your resources recover
Affix Priority
For the maximum endgame version, the following stats are particularly valuable:
- Maximum Life
- Critical Strike Chance
- Attack Speed
- Critical Strike Damage
- Willpower
- Resource Cost Reduction
- Resource Generation
- Cooldown Reduction as needed
- Armor and Resistances as needed
Maximum Life
Maximum Life improves your survivability while also supporting several important mechanics of the build.
It is especially valuable because of Metamorphosis and the build's strong Healing and Barrier interactions.
Critical Strike Chance
High Critical Strike Chance is one of the most important offensive stats for the endgame version.
Attack Speed
Attack Speed improves your overall damage output and the general flow of the build.
Critical Strike Damage
As your Critical Strike Chance becomes more reliable, Critical Strike Damage also becomes increasingly valuable.
Willpower
Willpower remains an important general damage stat for the Warlock.
Resource Stats
Resource stats become especially important for the maximum endgame version.
Enigma consumes Wrath when teleporting, while your offensive Skills also require resources.
The better your Resource Cost Reduction and Resource Generation are, the longer you can maintain the aggressive playstyle.
Most Important Gear
Elegy
Elegy is one of the core items of the build.
Blazing Scream becomes an Archfiend Skill and gains Skull Splitter for free.
This automatically creates additional Lesser Demon skulls that independently seek out enemies.
Combined with Orbital Scream, you only need to refresh Blazing Scream periodically while a large portion of your damage happens automatically.
Infernal Homunculus
Infernal Homunculus enhances your Archfiend Skills and their synergies with Lesser Demons.
The Eightfold Idol
The Eightfold Idol causes Blazing Scream to automatically leave behind the trails of Sigil of Subversion.
This means Sigil of Subversion does not need to be actively included in your rotation.
Enigma
Enigma is particularly important for the flow of the Farm-Lock version.
Your Evade becomes Teleport.
This allows you to continuously jump through enemy groups while Orbital Scream and your additional skulls continue dealing damage.
Temerity
Temerity converts excess Healing into Barrier and protects you during Metamorphosis.
Sadistic Aspect
Sadistic Aspect provides the necessary Healing through your dying demons.
Together with Temerity, it forms the defensive foundation of the build.
Ring of Starless Skies
For the maximum endgame version, I strongly recommend Ring of Starless Skies.
This version requires significantly more resources than the Farm-Lock setup.
The Ring helps control the high resource costs while simultaneously increasing your damage.
Splinter of the Black Soulstone
The Splinter of the Black Soulstone is an enormous damage multiplier.
Because the Warlock can create such a large number of its own demons, this build can build its stacks particularly quickly.
Bombardment is especially important for this interaction.
Keep in mind that higher stacks also put greater pressure on your defenses.
Gear Optimization
First, establish the core Blazing Scream mechanics:
- Elegy
- Infernal Homunculus
- The Eightfold Idol
- Enigma
- Temerity
- Sadistic Aspect
- Undying Aspect
- Que
This is where Ring of Starless Skies becomes especially valuable.
Farm-Lock in Short
If your Wrath becomes too low:
Hold Command Fallen → Keep Teleporting → Restore Wrath → Return to Bombardment
Refresh Orbital Scream before its 10-second duration expires.
The main skull orbits around you, Elegy automatically creates additional Lesser Demon skulls and Bombardment produces even more demons.
This allows the build to deal constant damage while rapidly building the Splinter of the Black Soulstone.
Conclusion
For most endgame content, I recommend the Farm-Lock version.
It takes advantage of the Warlock's enormous power without making the build unnecessarily resource-intensive or complicated.
With Orbital Scream, Blazing Scream remains active for 10 seconds. Through Elegy and Skull Splitter, additional skulls are automatically created during that time.
Activate Metamorphosis and Dark Prison, hold Bombardment and then teleport through enemy groups.
Bombardment causes large numbers of your own demons to appear and disappear, allowing the Splinter of the Black Soulstone to build its stacks extremely quickly.
If your resources become low, temporarily switch to Command Fallen, rebuild your Wrath and simply continue teleporting while doing so.
The maximum endgame version is more heavily focused on the Tower and high-end push content. It requires considerably more resources, making Ring of Starless Skies especially valuable.
Sadistic Aspect, Temerity and reliable Barrier generation are therefore essential parts of the build.