

ブラッドウェーブ ネクロマンサー エンドゲームビルドガイド · Diablo 4 · シーズン15
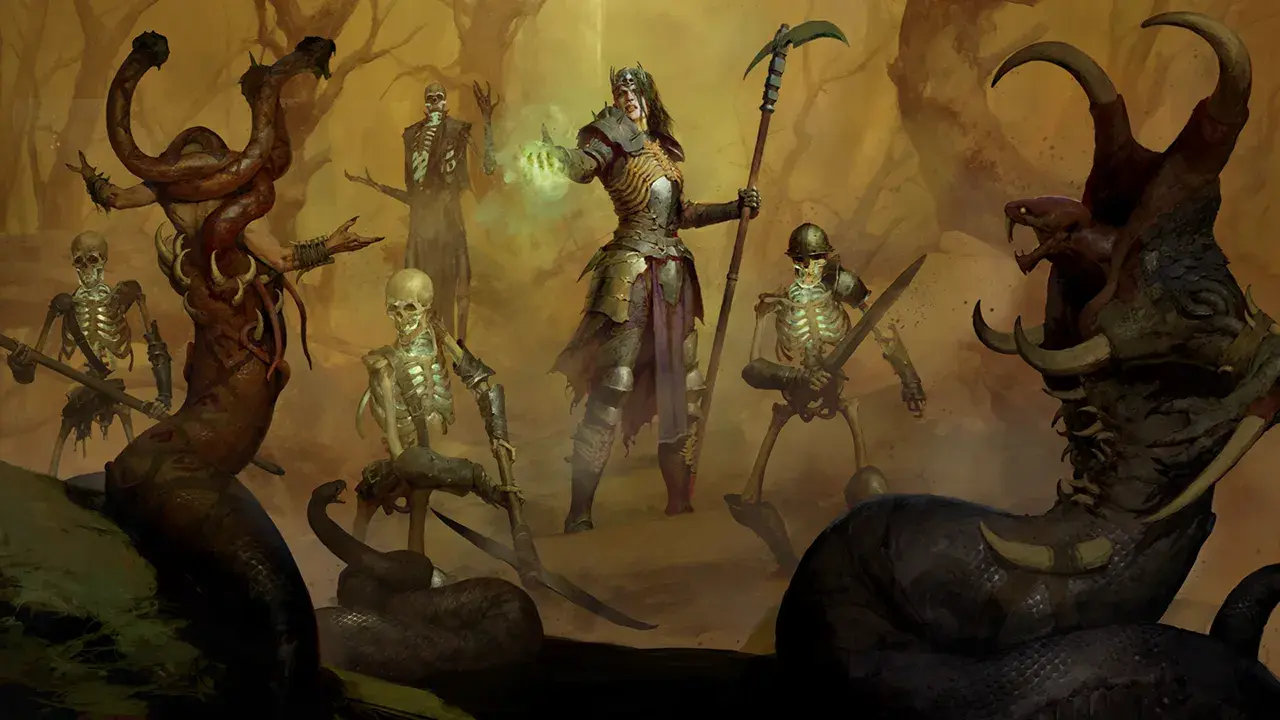
ブラッドウェーブはシーズン15向けのネクロマンサー エンドゲームビルドです。 スキルバーの構成はブラッドランス, 刈り取り, ボーンプリズン, ブラッドミスト, 鎌切り と ブラッドウェーブです。 主要装備:レオリックの王冠 と ケッシミの遺産。 主要な化身:血潮の化身 と 肥血の化身。 パラゴンでは開始, 血の海, 肉喰らい と 死の香り (ほか1件)とグリフ肉体, 墓守, 精髄, うわばみ と 支配を使用します。
ネクロマンサー エンドゲーム Build (S-Tier) 作成者: Chrix
スキル
- 鎌切り (ランク1)
- ブラッドミスト (ランク1)
- 刈り取り (ランク1)
- アイアンメイデン (ランク10)
- ブラッドウェーブ (ランク15)
- ブラッドランス (ランク1)
- 衰弱 (ランク15)
- 死体生成 (ランク1)
- 精髄生成 (ランク1)
- 弱者淘汰 (ランク1)
- オーバーパワー (ランク1)
- 強化 (ランク1)
- ただれた傷口 (ランク1)
- コスト減少 (ランク1)
- 容赦なき死神 (ランク1)
- 行動制御効果と死体生成 (ランク1)
- 移動速度 (ランク1)
- ブラッド・ラッシュ (ランク1)
- オーバーパワー (ランク1)
- ボーンプリズン (ランク15)
- 精髄生成 (ランク1)
- 終身刑 (ランク1)
- 脆弱 (ランク1)
- 脆弱 (ランク1)
- 血の乙女 (ランク1)
- 処刑と強化 (ランク1)
- 決意 (ランク1)
- 生気吸収 (ランク1)
- クールダウン時間短縮 (ランク1)
- オーバーパワー (ランク1)
- 血液学 (ランク1)
- ダメージボーナス (ランク1)
アイテム
- 星無き空の指輪
- 追放された領主のタリスマン
- ケッシミの遺産
- レオリックの王冠
化身
- 融血の化身
- 肥血の化身
- 血潮の化身
- 重装者の化身
- 圧砕する化身
- 戦場を駆ける化身
装備構成
- Helm: レオリックの王冠
- Chest Armor: — 重装者の化身
- Gloves: — 肥血の化身
- Pants: ケッシミの遺産
- Boots: — 戦場を駆ける化身
- Amulet: 追放された領主のタリスマン
- Ring 1: 星無き空の指輪
- Ring 2: — 血潮の化身
- Main Hand: — 圧砕する化身
- Off-Hand: — 融血の化身
パラゴンボード
- 開始
- 血の海
- 肉喰らい
- 死の香り
- 虚弱
グリフ
- 肉体
- 墓守
- 精髄
- うわばみ
- 支配
傭兵
- プライマリ: Raheir (Tank)
- 援兵: Raheir (Tank)
Blood Wave Build at a Glance
The  Blood Wave Necromancer is an endgame build. It spams a single skill and multiplies its damage through three states: Fortified, Healthy and Overpower. The Hematolagnia upgrade strips Blood Wave of its cooldown. It becomes a Core skill costing 70
 Essence. You throw as many waves as your Essence allows.
 Kessime's Legacy turns that into two waves per side. They converge in front of you, pull enemies in and explode. Strong against anything that arrives in packs. Against single, mobile targets you lose exactly that pull. Written for players on Torment world tiers.
Requirements
One piece cannot be replaced: Kessime's Legacy. Without those pants there are no converging waves and no pull.  Leoric's Crown counts as jewelry. It boosts the gem socketed in the helm by 35 to 50%. That is why two soul splinters sit there instead of runes.
 Banished Lord's Talisman supplies the Overpower stacks,
 Ring of Starless Skies is the upgrade on top. Without the talisman you lose the stacks. With them go the bonus from Tides of Blood Aspect and from the Bone Mage sacrifice. Playable, but clearly weaker. Everything else is legendary aspects from the Codex of Power.
Combat Rotation
- Jump into the pack with
 Blood Mist. It consumes a corpse and leaves you Unstoppable for 3 seconds.
- Drop
 Bone Prison around yourself: more Essence and Cast Speed, at the cost of life per second.
- Spam Blood Wave.
 Decrepify and
 Iron Maiden fire alongside as soon as the runewords have banked enough Offering.
- When Essence runs dry, refill with
 Reap;
 Blood Lance and
 Sever for single stragglers.
- After roughly 275 Essence spent the talisman hands you four Overpower stacks. The waves right after that are your strongest.
How the Damage Works
Four states unlock the multipliers:
- Fortified: Fortify is a protective pool that builds on top of your life. Crushing Aspect pays 65% for it, Aspect of Thickened Blood up to 90%.
- Healthy: Aspect of Coalesced Blood gives 70%, and Tides of Blood Aspect doubles its own bonus.
- Overpower: Tides of Blood gives 35%, the Bone Mage sacrifice 20%. Consuming a stack makes the talisman add 130 to 150% Critical Strike Damage for 8 seconds.
- Spending resource: Ring of Starless Skies pushes up to 50% on top.
 Word of the Blood Binder set closes the loop. Blood skills Fortify you on cast. They cost 3% of your maximum life and are cast twice. Through the 3-piece bonus your maximum life grows along with the Fortify. That is why the armour pieces carry maximum life and not a damage stat.
Skills
The points spread across eight active skills. Only six sit on the bar: Reap, Blood Lance, Sever, Bone Prison, Blood Mist and Blood Wave. You never cast Decrepify or Iron Maiden yourself. The runewords do it. Both still sit at rank 15 and 10, because the runewords call the skilled version.
Three upgrades define how it plays:
- Hematolagnia removes Blood Wave's cooldown and makes it a Core skill for 70 Essence. The wave gets shorter and no longer knocks back. You do not want knockback here anyway, Kessime pulls them in.
 Life Imprisonment turns Bone Prison into a blood skill cast around yourself. Standing inside gives 20% more Essence generation and Cast Speed. It also drains 5% of your maximum life per second.
- Blood Rush turns Blood Mist into a mobility skill: it consumes a corpse, teleports you to the target spot and makes you Unstoppable for 3 seconds.
- Reapers: 15% more damage
- Bone Mages: 20% more damage while you hold an Overpower stack
- Iron
 Golem: 15% more Critical Strike Damage
Gear and Aspects
| Slot | Item or Aspect |
|---|---|
| Helm | Leoric's Crown |
| Chest | Juggernaut's Aspect |
| Gloves | Aspect of Thickened Blood |
| Pants | Kessime's Legacy |
| Boots | Embattled Aspect |
| Amulet | Banished Lord's Talisman |
| Ring 1 | Ring of Starless Skies |
| Ring 2 | Tides of Blood Aspect |
| Weapon | Crushing Aspect |
| Off-hand | Aspect of Coalesced Blood |
The affix marked as a Greater Affix is the one to chase while farming, one per piece:
- Helm, chest, pants, boots: Maximum Life
- Gloves, ring 1, ring 2: x% Critical Strike Damage Multiplier
- Amulet: x% Vulnerable Damage Multiplier
- Weapon: Weapon Damage · Off-hand: Damage Reduction
Essence is your limit, not a cooldown. Every piece is fully masterworked.Sockets and Runewords
Sockets: Your helm holds two abyssal soul splinters:  Abyssal Splinter of Sin and
 Abyssal Splinter of the Black Soulstone. Thanks to Leoric's Crown, that is the strongest socket slot in the build. The amulet holds the
 Greater Splinter of Pain, Ring 2 the
 Abyssal Splinter of Anguish and Ring 1 a
 Grand Ruby. Weapon and off-hand each carry a
 Horadric Skull.
Two runewords are worth understanding:
 Poc +
 Wat in the chest: Poc spends 5% of your maximum resource to bank Offering. Wat calls Abhorrent Decrepify at 100 Offering.
 Igni +
 Teb in the pants: Igni banks Offering every 0.3 seconds and releases it when you cast a non-Basic skill. Teb calls Abhorrent Iron Maiden at 100 Offering.
Paragon and Glyphs
Five boards: Starter, Bloodbath, Flesh-eater, Scent of Death, Frailty. The node allocation is in the planner. With glyphs one threshold matters above all: at level 51 the radius grows, and only from there does a glyph reach the surrounding nodes you placed it for. Get every glyph to 51 first before pushing a single one higher. The build runs  Corporeal,
 Gravekeeper, Essence,
 Imbiber and
 Dominate.
Talisman

 Ancestral Horadric Seal
 with six slots: five pieces of Word of the Blood Binder plus Red Blessing.
Mercenaries
Subo comes along as your mercenary, Raheir is the reinforcement with Bastion, triggered on skill cast.
Common Mistakes
- Putting Decrepify or Iron Maiden on the bar. Both run off the runewords.
- Standing inside Bone Prison when there is nothing to kill. 5% of your maximum life per second adds up fast.
- Trading maximum life for a damage stat: through the Blood Binder set, life is a multiplier here.
- Leaving glyphs below level 51: until then the radius stays small and the surrounding nodes do nothing.
- Swapping Kessime's Legacy for legendary pants because the stats look better. That removes the pull.