

蝕の鎖 ウォーロック エンドゲームビルドガイド · Diablo 4 · シーズン15
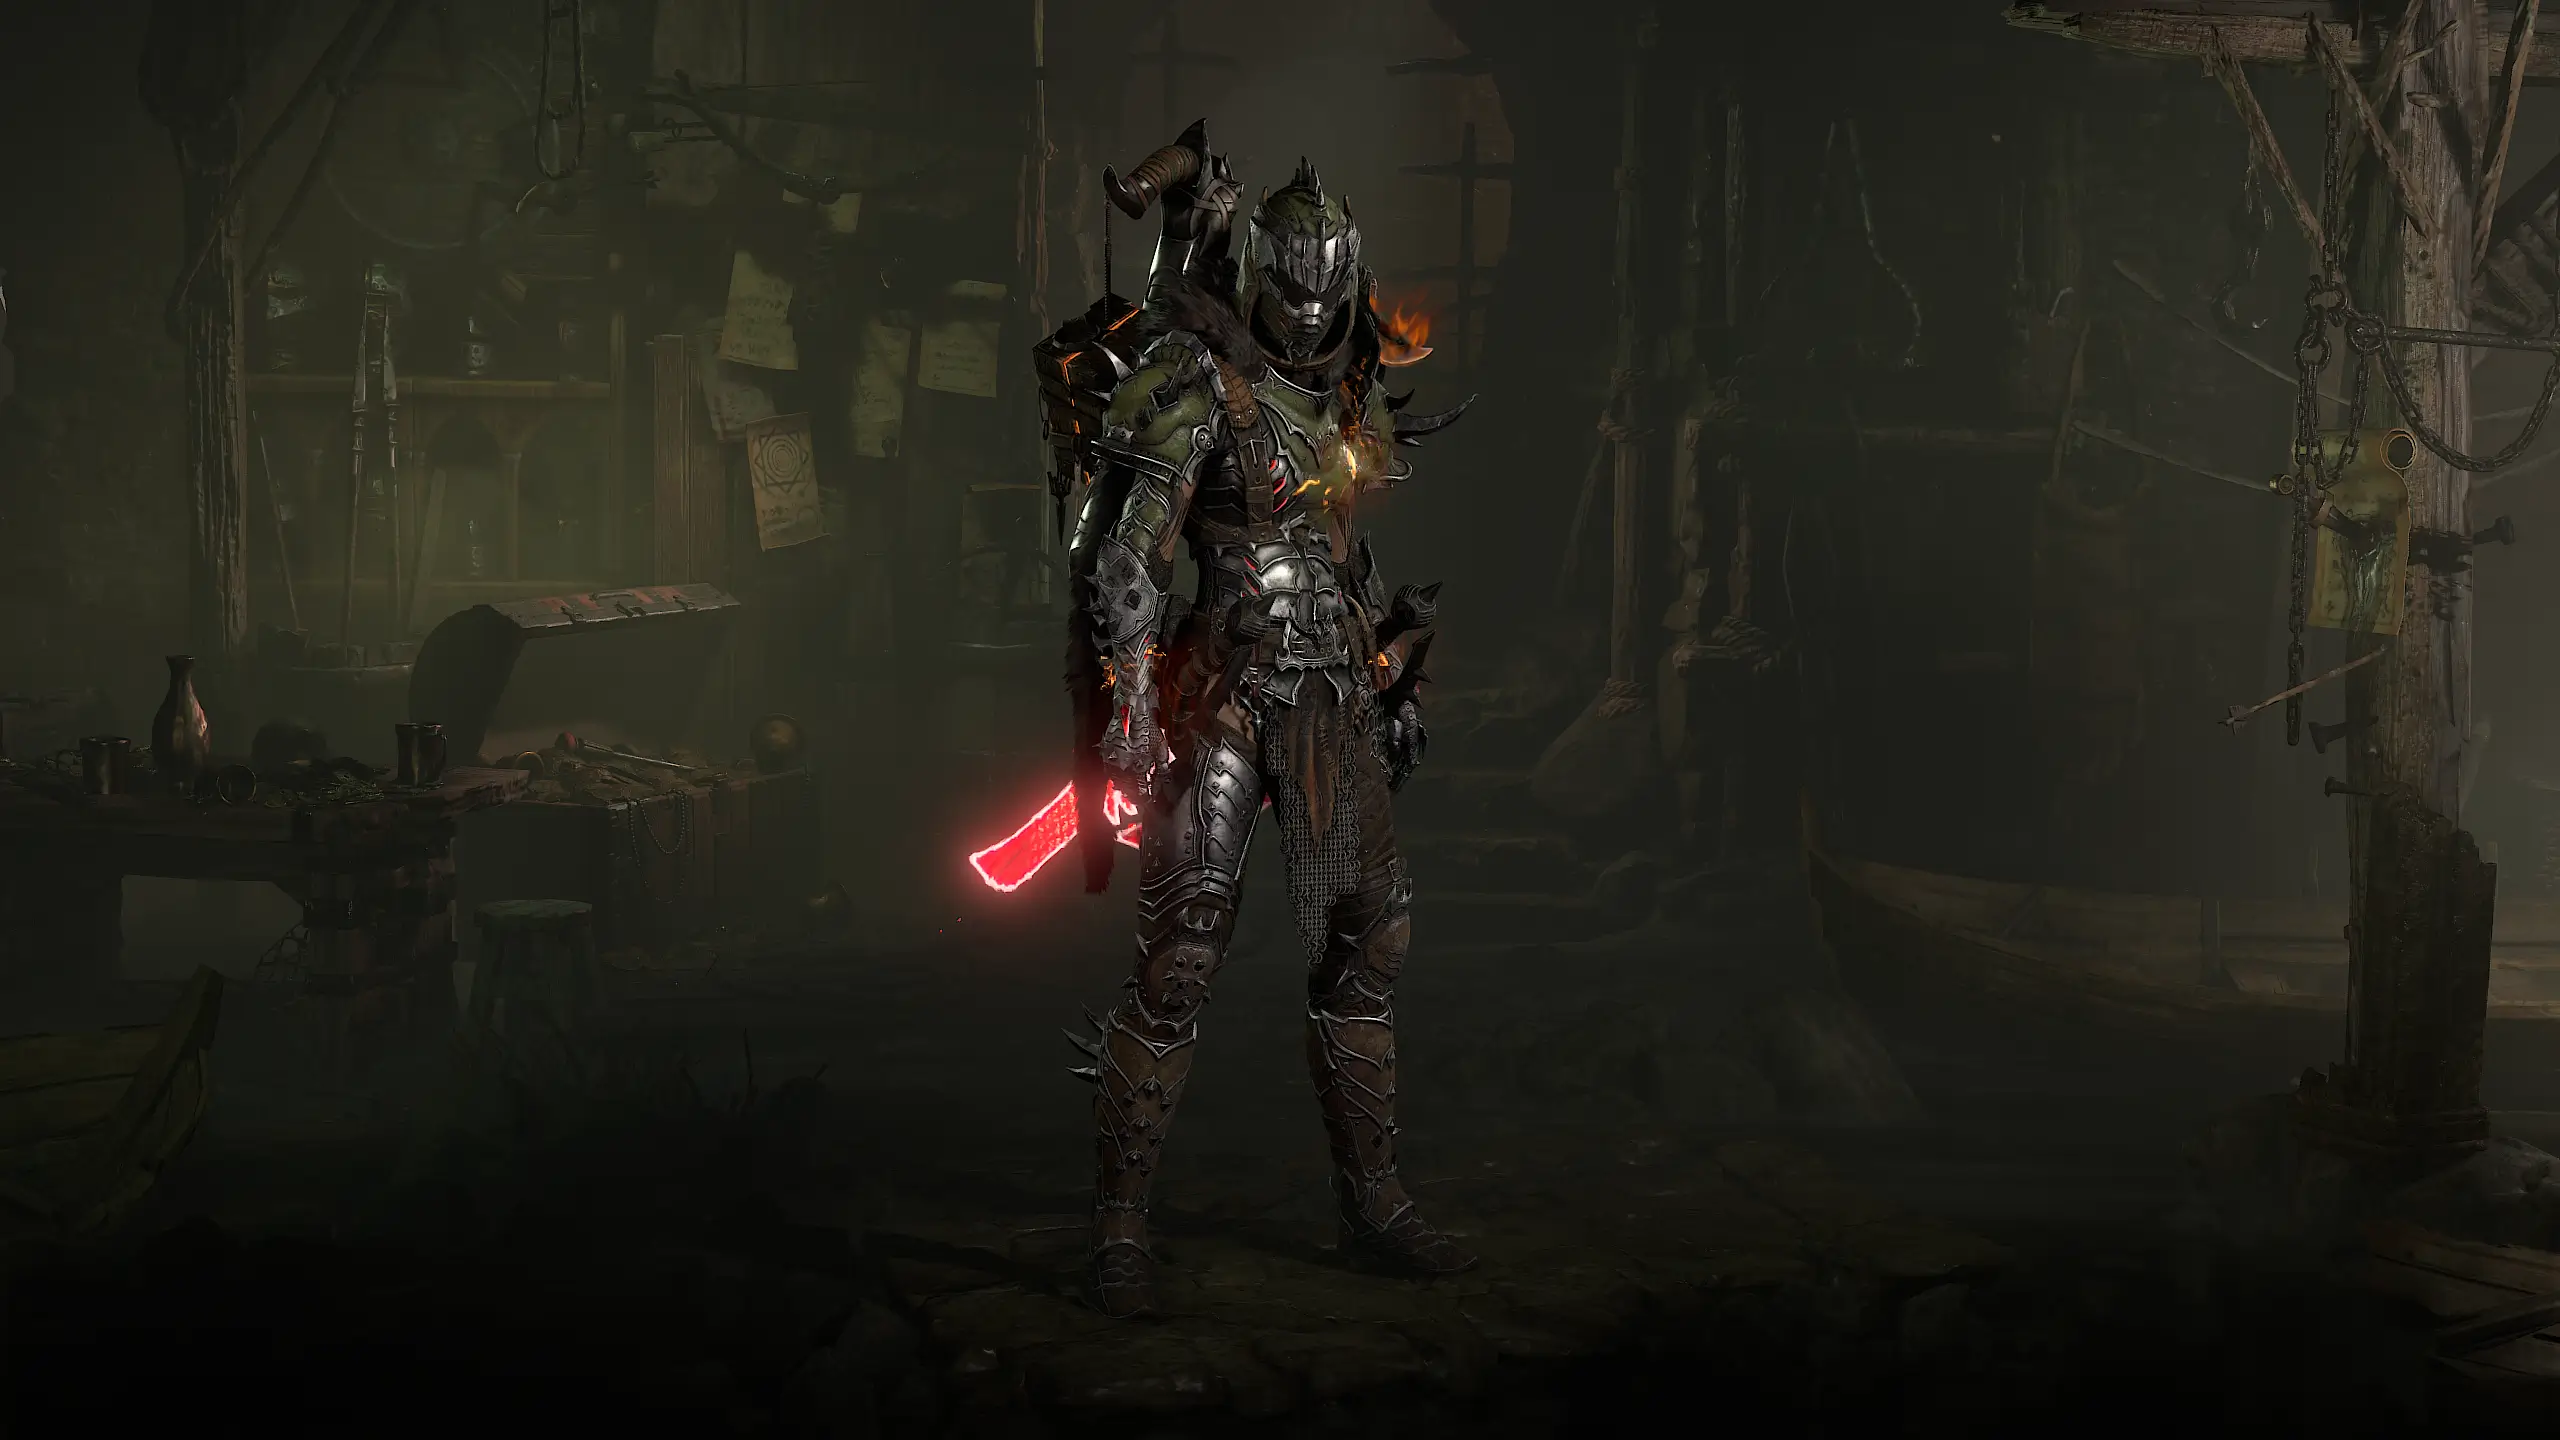
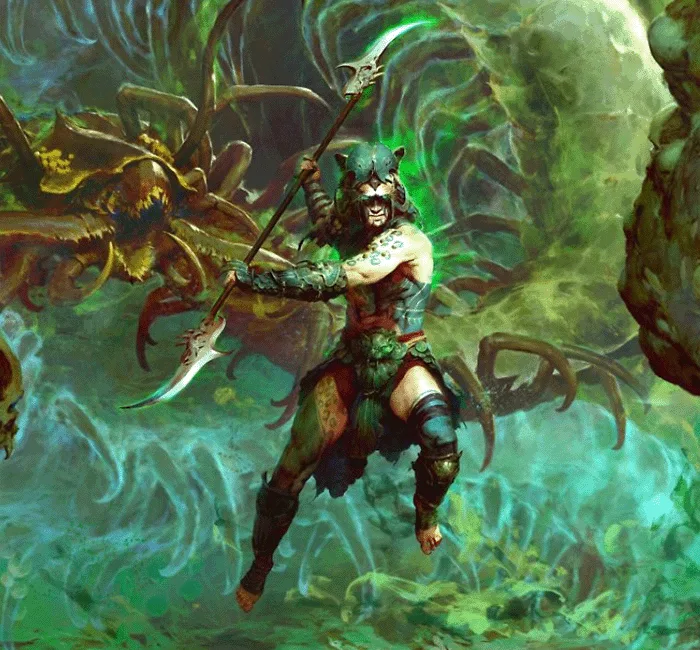
蝕の鎖はシーズン15向けのウォーロック エンドゲームビルドです。 スキルバーの構成は異教の歩哨, 召喚の紋章, 恐怖の群れ, 蝕の鎖 と 眩い咆哮です。 主要装備:デュリエルの災禍 と ハマットの石。 パラゴンでは開始, 儀式学, 大いなる呪力 と 渾沌とグリフエルドリッチ・サイト, 発揚, 深淵 と 解放を使用します。
ウォーロック エンドゲーム Build (B-Tier) 作成者: Chrix
スキル
- 血の契約 (ランク1)
- 強化 (ランク1)
- 弱体化 (ランク1)
- ダメージ減少 (ランク1)
- 移動速度 (ランク1)
- 重い銛 (ランク1)
- 捕縛ダメージ (ランク1)
- 衝撃速度 (ランク1)
- ダメージ (ランク1)
- ヘルワームの召喚 (ランク1)
- 連鎖爆発 (ランク1)
- 影の回想 (ランク1)
- 冥界の道 (ランク15)
- 眩い咆哮 (ランク15)
- 鎖のオーラ (ランク1)
- 闇の牢獄 (ランク3)
- 歩哨 (ランク1)
- 異教の歩哨 (ランク1)
- 召喚の紋章 (ランク1)
- 蝕の鎖 (ランク15)
- 軌道上の絶叫 (ランク1)
- 追加噛みつき (ランク1)
- 引き込み (ランク1)
- 恐怖の群れ (ランク15)
- 喰らう群れ (ランク1)
アイテム
- 神殺しの王冠
- ハマットの石
- デュリエルの災禍
化身
- 大津波の化身
- 重装者の化身
- 圧砕する化身
- 災禍の化身
- 底知れぬ闇の化身
- 危難の化身
- 逆境の化身
装備構成
- Helm: 神殺しの王冠
- Chest Armor: — 重装者の化身
- Gloves: — 底知れぬ闇の化身
- Pants: — 逆境の化身
- Boots: — 大津波の化身
- Amulet: ハマットの石
- Ring 1: — 危難の化身
- Ring 2: — 災禍の化身
- Main Hand: デュリエルの災禍
- Off-Hand: — 圧砕する化身
パラゴンボード
- 開始
- 儀式学
- 大いなる呪力
- 渾沌
グリフ
- エルドリッチ・サイト
- 発揚
- 深淵
- 解放
傭兵
- プライマリ: Raheir (Tank)
- 援兵: Raheir (Tank)
Umbral Chains build at a glance
This build turns  Umbral Chains into the Warlock's main damage skill. With the Chain Burst upgrade every chain explodes once it is fully stretched or runs out.
 Scourge of Duriel adds the Epicenter variant on top. Every chain now also links back to you and to each Greater Demon you summon. More demons mean more chains, and more chains mean more explosions.
Damage scales through Overpower, Hex and Vulnerable. The biggest multiplier comes from the  Chains of Horazon set. You fight from mid range and mostly press one button while a few cooldowns run on the side.
The Midgame variant is meant for players who just reached Torment and already own the key Uniques. It needs no Mythic Uniques. It lacks the toughness and damage for high Pit tiers, which is what the Endgame variant adds.
Variants at a Glance
| Variant | Purpose | What changes |
|---|---|---|
| Midgame | Entering Torment, collecting pieces |  Godslayer Crown, Juggernaut's Aspect, Aspect of Misfortune, Greater Splinters, four Paragon boards |
| Endgame | High Torment, the Pit, speed farming |  Leoric's Crown with Abyssal Splinters,  Enigma,  Bindings of Attrition, transfigured aspect on the amulet, fifth board Dominion |
Midgame prepares you for Endgame. Skills, talisman and mercenaries stay the same, so moving up only means swapping gear and finishing the Paragon.
Requirements
Scourge of Duriel. Only the weapon grants Epicenter, and only Epicenter creates the extra chains to you and your Greater Demons. The Hemat Stone raises the potency of Valloch's and the Ritualist Shard's bonuses by 200% and boosts Occult Skill damage. Without it most of the Overpower scaling disappears.
- The five Chains of Horazon charms give you every Soul Shard demon and 200% more damage after each Soul Shard Skill. Two or three pieces already grant the smaller bonuses, but not the big multiplier.
 Anathema of the Primes in the sixth slot is an upgrade, not a requirement. You can replace it later without breaking anything.
Combat Rotation
- Cast
 Summon Valloch whenever it is available. Valloch provides Overpower and triggers the set's damage bonus.
- Place
 Sigil of Summons in front of the pack. It starts the Ritualism bonus and spawns the Hellwyrm once enough enemies die.
- Drop
 Profane Sentinel so enemies become Vulnerable.
- Throw
 Terror Swarm into large packs. The swarm pulls enemies together.
- Cast
 Blazing Scream so the skull orbits you.
- Spend the rest of the time casting Umbral Chains.
How the Damage Works
More chains
Epicenter fromScourge of Duriel links every chain to you and to each Greater Demon for up to 30 seconds. Your Greater Demons are Valloch and the Hellwyrm from Sigil of Summons. Each of those chains explodes through Chain Burst.Overpower
Overpower stacks empower your hits. The Ritualist Shard gives Occult Skills 3.5% damage per stack, andThe Hemat Stone raises that bonus by 200%. Tidal Aspect adds 4 maximum Overpower while you are Fortified. The Chaos board doubles Occult Skill damage as long as you have Overpower.Hex and Vulnerable
The Abyssal Fragment lets Hex stack up to four times, and at four stacks part of your Abyss damage echoes. Aspect of Calamity grants 20% Critical Strike Chance against the target per Hex stack.Profane Sentinel makes enemies Vulnerable, and Aspect of Peril then ramps your damage against them up to 68%. The Greater Hex board makes Hexed, Weakened or Vulnerable enemies take 75% more damage.Fortify, sigils and Shadow Resistance
Fortify is a buffer that absorbs incoming damage. The Prid rune casts
 Dark Prison for you, and its Fortify upgrade fortifies you whenever you hit enemies inside the prison. Crushing Aspect adds 65% damage while Fortified, and Tidal Aspect needs it too. The Ritualism board grants 90% damage for 15 seconds after every sigil. Aspect of Fathomless Dark converts 85% of your Shadow Resistance damage reduction into Abyss Skill damage, so All Resistance is a damage stat here.
Skills
| Slot | Skill | Role |
|---|---|---|
| 1 | Profane Sentinel | Vulnerable |
| 2 | Sigil of Summons | Ritualism, Hellwyrm |
| 3 | Terror Swarm | Grouping, Ultimate |
| 4 | Summon Valloch | Overpower, set bonus |
| 5 | Umbral Chains | Main damage |
| 6 | Blazing Scream | Orbiting skull |
Dark Prison is not on the bar because Prid casts it. Its points and upgrades still apply.
Upgrades in detail
- Umbral Chains: Chain Burst for the damage, Capture Damage for extra damage against Hexed enemies, Heavy Harpoon for 50% more damage to the primary target.
- Blazing Scream: Orbital Scream turns the skull into a summon that circles you for 10 seconds. Damage and Impact Velocity round it out.
- Terror Swarm: Devouring Swarm, Extra Bites and Pull. Pull gathers the pack for your chains.
- Dark Prison: Chain Aura cuts damage from outside by 45% and slows enemies inside. Weaken and Fortify complete it.
- Sigil of Summons: Summon Hellwyrm adds the extra Greater Demon, Blood Ritual pays missing kills with Life.
- Profane Sentinel: Sentry lets you keep several sentinels at once.
- Nether Step: Damage Reduction, Shadow Recall and Movement Speed.
Your class mechanic is the Ritualist Shard with the Abyssal Fragment. The shard grants Summon Valloch. With at least four Overpower stacks, Occult Abyss Skills apply an extra Hex. Valloch adds one more Hex while you hold his siphoned power.
Gear and Aspects
Tempering adds an extra affix to an item. Masterworking boosts one chosen affix. A Greater Affix is an unusually high roll.
| Slot | Item | Key affixes | Tempering |
|---|---|---|---|
| Helm | Godslayer Crown | Willpower ★, Maximum Life ★◆ | Maximum Life |
| Chest | Juggernaut's Aspect | Maximum Life ★◆, Willpower | Maximum Life |
| Gloves | Aspect of Fathomless Dark | Crit Damage ★◆, Vulnerable ★ | Damage per Overpower stack |
| Pants | Aspect of Misfortune | Maximum Life ★◆, Willpower ★ | Maximum Life |
| Boots | Tidal Aspect | Maximum Life ★◆, Willpower ★ | Movement Speed ★ |
| Weapon | Scourge of Duriel | Crit Damage ★◆ | Critical Strike Chance ★ |
| Offhand | Crushing Aspect | Crit Damage ★◆ | Critical Strike Chance ★ |
| Amulet | The Hemat Stone | Crit Damage ★◆, Vulnerable ★ | Damage per Overpower stack |
| Ring 1 | Aspect of Peril | Crit Damage ★◆, Vulnerable ★ | Damage per Overpower stack |
| Ring 2 | Aspect of Calamity | Crit Damage ★◆, Vulnerable ★ | Damage per Overpower stack |
★ Greater Affix · ◆ Masterworking target
Godslayer Crown pulls enemies together when you try to incapacitate them, which feeds your chains. Juggernaut's Aspect grants a lot of Armor but lengthens your Evade cooldown. Aspect of Misfortune punishes Hexed enemies that attack you.
Sockets and runewords
- Helm: two
 Grand Sapphire for Willpower.
- Weapon and offhand:
 Grand Amethyst, since the chains deal Shadow damage.
- Amulet and rings: Greater Splinters of the Black Soulstone, Sin and the Mother. Each one has a strong upside and a real drawback.
- Pants:
 Igni and Prid. Igni stores Offering whenever you cast a non-Basic Skill. Prid spends 500 Offering to cast Dark Prison.
- Chest:
 Nagu and
 Que. Nagu generates Offering from active summons, Que grants a Barrier through Earthen Bulwark.
Paragon and Glyphs
| Order | Board | Glyph |
|---|---|---|
| 1 | Starter |  Eldritch Sight |
| 2 | Ritualism |  Empowered |
| 3 | Greater Hex |  Abyssal |
| 4 | Chaos |  Unbound |
The nodes are in the planner. Level your glyphs to at least 51, because that is where their radius grows. Dominion joins as the fifth board in the Endgame variant.
Talisman
 Ancestral Horadric SealChains of HorazonAnathema of the Primes
The seal opens six slots. Five hold the Chains of Horazon charms and the sixth carries Anathema of the Primes. Anathema makes enemies take more damage after you hit them with Core Skills, and Umbral Chains is a Core Skill.
 Seal of the Diamond Mind you only need four charms for the five-piece bonus. The planner's set display does not count this, but the bonus still works in game.
Mercenaries
Raheir is the main mercenary with Ground Slam, Bastion and his resistance node. Bastion soaks damage for you, Ground Slam slows packs. Varyana joins as reinforcement with Bloodthirst. Bloodthirst triggers when you cast Summon Valloch and grants you extra Attack Speed.
Upgrade Path to Endgame
- Bindings of Attrition instead of Aspect of Misfortune for damage reduction during Dark Prison
- Leoric's Crown instead of Godslayer Crown so the helm can hold splinters
- Enigma instead of Juggernaut's Aspect for the Teleport Evade
- Transfigure Bane-Link Aspect onto the amulet
- Upgrade splinters to Abyssal quality
- Add Dominion as the fifth board
Common Mistakes
- Skipping Valloch: Without Summon Valloch you lose Overpower, a Hex stack and the set bonus at once.
- Not grouping enemies: Scattered enemies catch fewer chains. Throw Terror Swarm first so Pull gathers the pack.
- Ignoring resistances: Aspect of Fathomless Dark scales with Shadow Resistance, so low resistances cost both damage and Life.
- Saving sigils for demons only: Every sigil starts the Ritualism bonus. Keep it on cooldown.
- Forgetting the Mother splinter: After touching 200 enemies you are stunned for a moment. Plan for it in big packs.